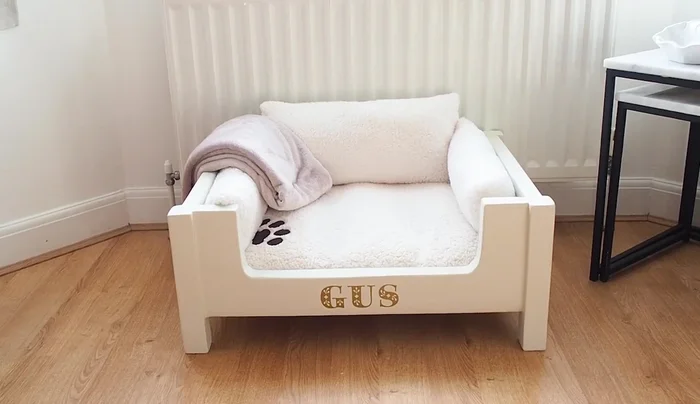
Gus, our beloved canine companion, deserved a comfy upgrade to his sleeping space, and what better way to achieve that than with a fun and budget-friendly DIY project? His old dog bed was looking a little worse for wear, the stuffing lumpy and the fabric faded. Instead of discarding it, we decided to embrace the upcycling spirit and transform it into a cozy haven fit for a king (or, in this case, a very good boy). This project is not only environmentally friendly, repurposing materials instead of sending them to landfills, but also a fantastic way to personalize your pet's belongings and inject some creativity into your home.
This exciting DIY dog bed makeover uses readily available materials and simple techniques, making it accessible to crafters of all levels. Forget expensive pet store purchases; we'll show you how to breathe new life into an old dog bed with minimal cost and maximum cuteness. Get ready to unleash your inner artist and embark on a step-by-step guide to create Gus's spectacular new slumber sanctuary.
Preparation and Safety Guidelines
- Wooden dog bed (from Facebook Marketplace)
- Jigsaw
- Sandpaper
- Filler
- Paint (Rust-oleum matte furniture paint)
- Paintbrushes
- Decorators cork
- PVA glue
- Water
- Sewing machine
- Fabric scraps
- Memory foam mattress (Pets at Home)
- Cricut machine (optional)
- Felt
- Measuring tape
- Always check for and remove any sharp objects, staples, or loose threads from the upcycled materials before using them for your dog's bed. Sharp objects can injure your pet.
- Ensure the chosen fabric and filling materials are safe for dogs. Avoid anything that could be toxic if ingested (e.g., certain foams, paints). Wash fabrics thoroughly before use.
- Supervise your dog with the new bed, especially initially, to ensure they don't damage or ingest any part of it. A well-made, durable bed is ideal, but accidents can happen.
Step-by-Step Instructions
Prepare the Existing Bed
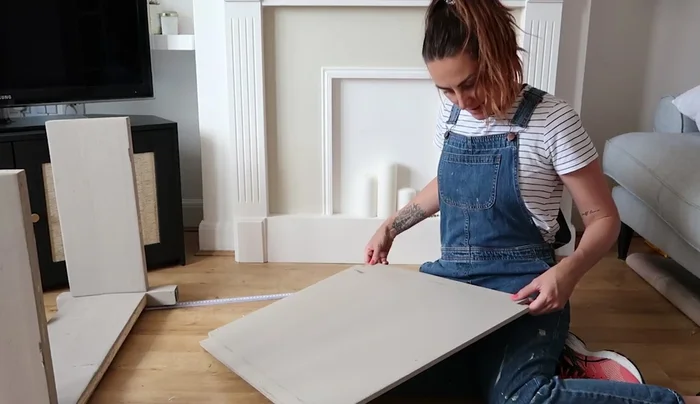
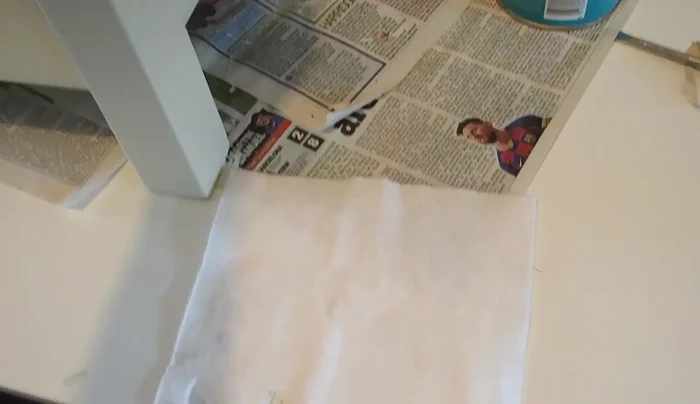
- Disassemble the existing wooden dog bed.
- Measure and cut the base of the bed to reduce its depth using a jigsaw.
- Reattach the sides of the bed to the modified base.

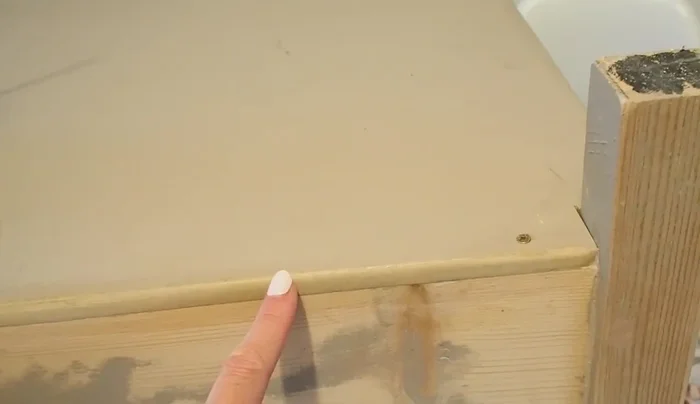
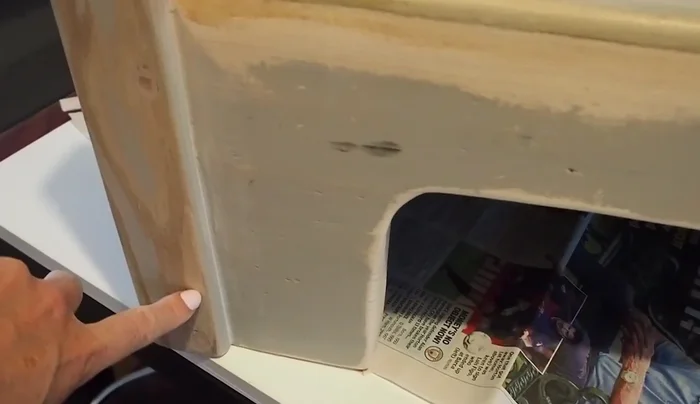
Prepare the Existing Bed Surface Refinement
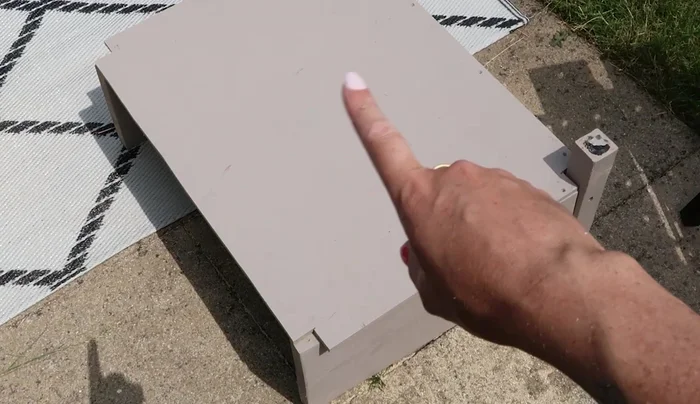
- Sand down all surfaces of the bed to create a smooth finish.
- Fill any cracks or screw holes using filler, and sand again for a smooth surface. Use decorators cork to seal gaps in the wood.
- Prime the MDF edges with PVA glue and water to prevent paint absorption.
Surface Refinement Paint and Decorate
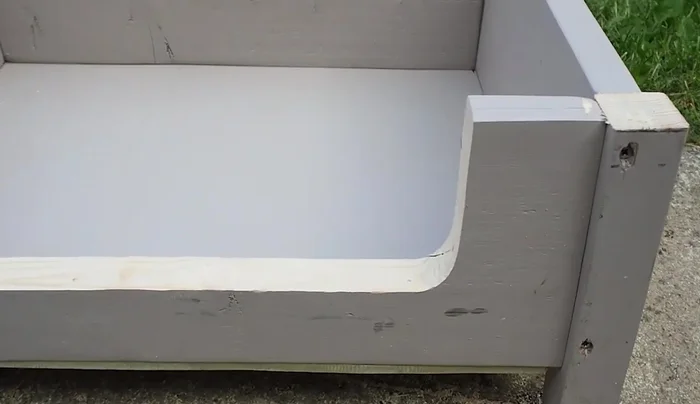
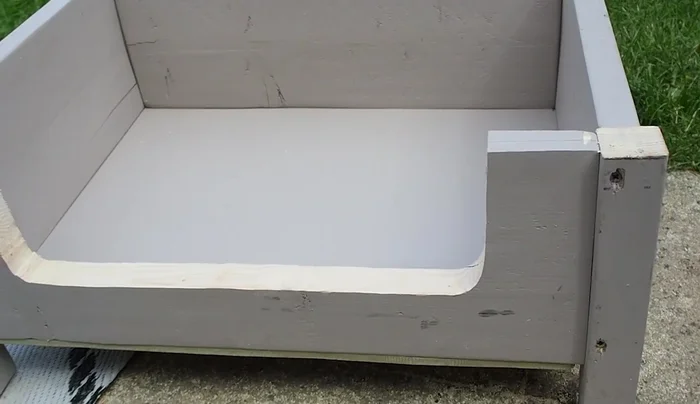
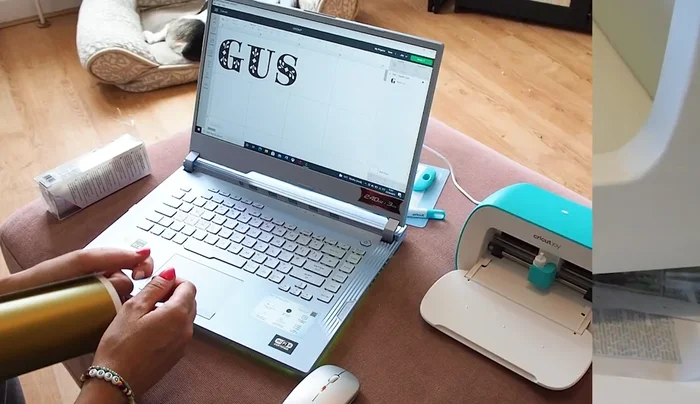
- Paint the bed with two coats of Rust-oleum matte furniture paint.
- Add a name to the bed using a Cricut machine (optional).
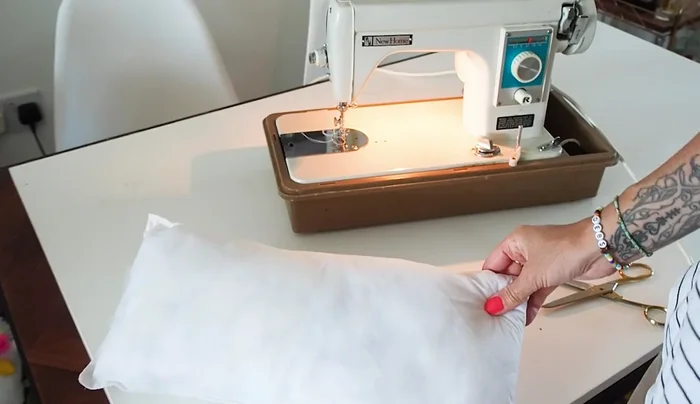
Paint and Decorate Create New Cushions
- Cut and sew cushions from existing fabric and stuffing.
Create New Cushions Final Assembly and Finishing Touches
- Add felt squares to the bottom of the bed's feet to protect the floor.
- Assemble the bed with the mattress and custom-made cushions.
Final Assembly and Finishing Touches
Read more: DIY Vibrant Car Organizer: A Step-by-Step Quilting Tutorial
Tips
- Consider using a pre-existing wooden dog bed to save time and resources.
- Using a memory foam mattress provides orthopedic support for older dogs.
- Choose neutral colors for easier cleaning and to hide dog hair.
- Prime MDF edges with PVA glue and water before painting for a better finish.