Ever tossed an empty energy drink can into the recycling bin, only to feel a pang of guilt about its potential? What if I told you that discarded aluminum can, with a little creativity and elbow grease, could be transformed into something beautiful and functional? This tutorial will guide you through the exciting process of creating a unique and stylish journal cover using an upcycled energy drink box—a fantastic project that combines sustainability with self-expression. It's a perfect way to repurpose something destined for the landfill, adding a touch of eco-consciousness to your crafting endeavors.
Forget expensive store-bought journal covers! This mixed media project utilizes readily available materials and simple techniques to achieve a truly personalized result. We'll explore various decorating methods, from paint and stencils to decoupage and embellishments, offering endless opportunities for customization. Ready to turn trash into treasure? Let's dive into the step-by-step instructions and unlock the creative potential of that seemingly insignificant aluminum box.
Preparation and Safety Guidelines
- Energy drink box
- Scissors/Craft Knife
- Chipboard (optional)
- Packing paper
- DIY Mod Podge (or white glue & water)
- Tissue paper (decorative)
- Scotch glue stick
- Acrylic paint
- Fabric scraps
- Needle & thread
- Tombow glue (optional)
- Die-cut machine (optional)
- Scrap paper
- Beads/charms (optional)
- Always use sharp scissors or a craft knife with caution, keeping fingers away from the blade to avoid cuts.
- Ensure the energy drink box is thoroughly cleaned and dried before starting the project to prevent mold or mildew.
- When using Mod Podge or other adhesives, work in a well-ventilated area and avoid contact with skin and eyes. Follow the manufacturer's instructions carefully.
Step-by-Step Instructions
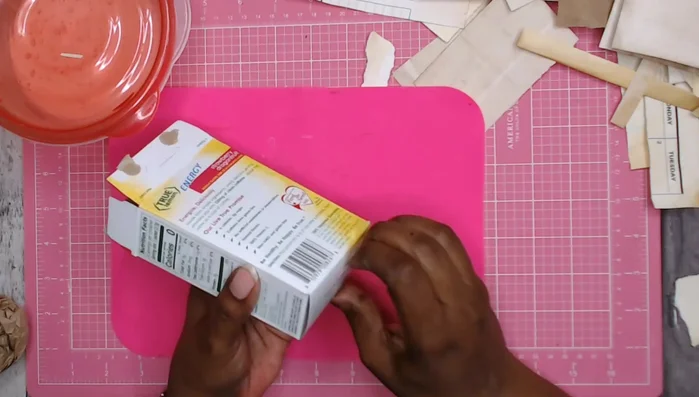
Prepare the Box
- Cut off flaps and separate into three sections for easier folding and to prevent cracking.

Prepare the Box Prepare the Chipboard Base (Optional)
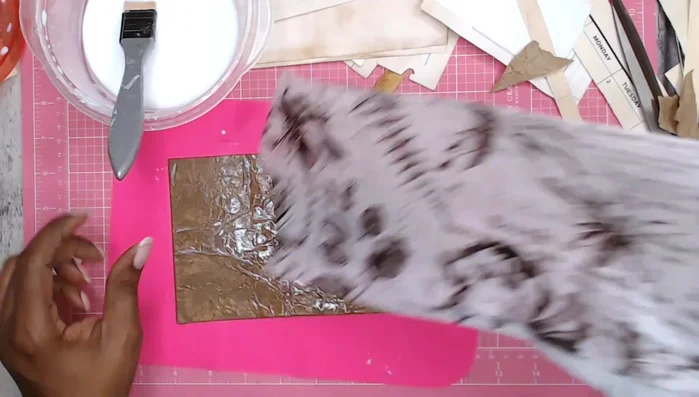
- Wrap the chipboard base with packing paper using DIY Mod Podge or similar adhesive.
Prepare the Chipboard Base (Optional) Decorate the Cover
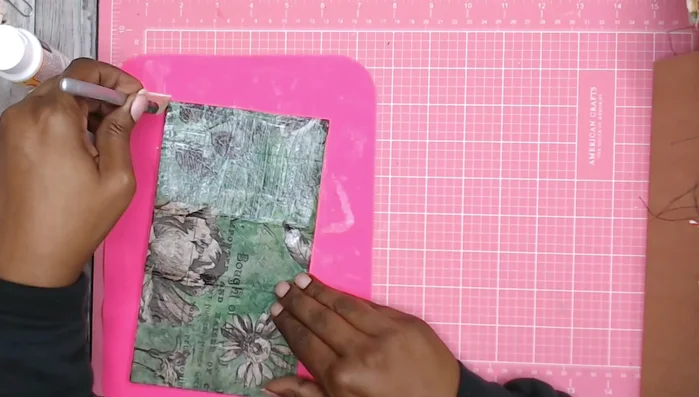
- Apply decorative tissue paper over the packing paper using Mod Podge.
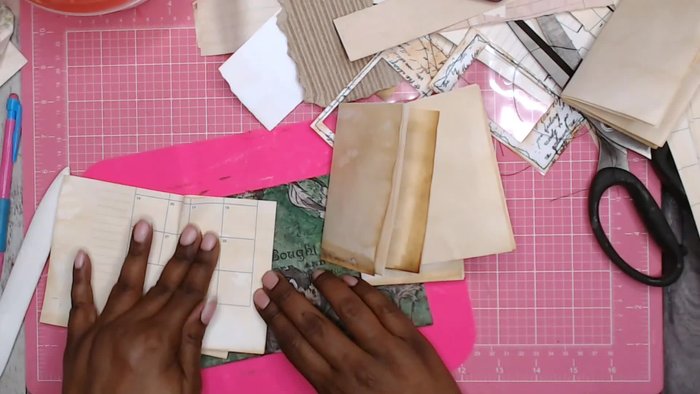
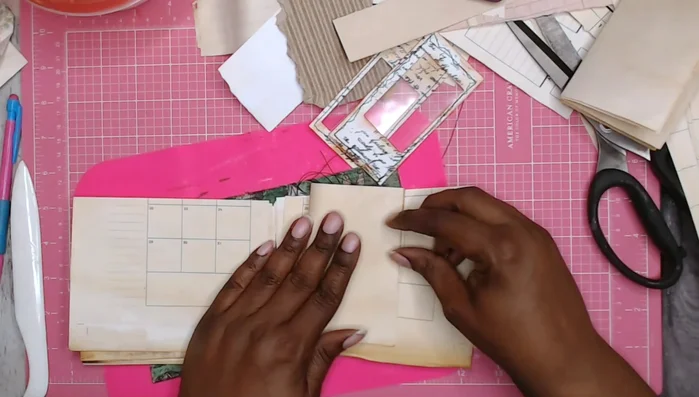
Decorate the Cover Prepare the Journal Pages
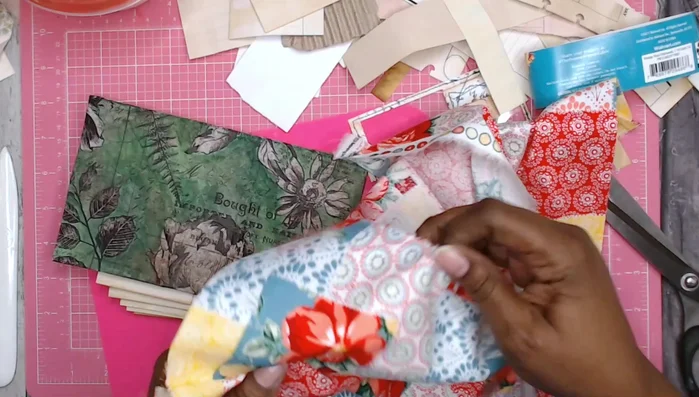
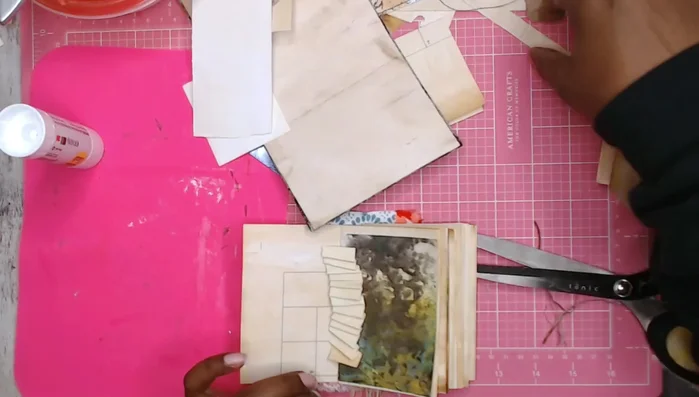
- Fold and assemble paper signatures using misprinted or leftover inserts.
Prepare the Journal Pages Prepare the Spine
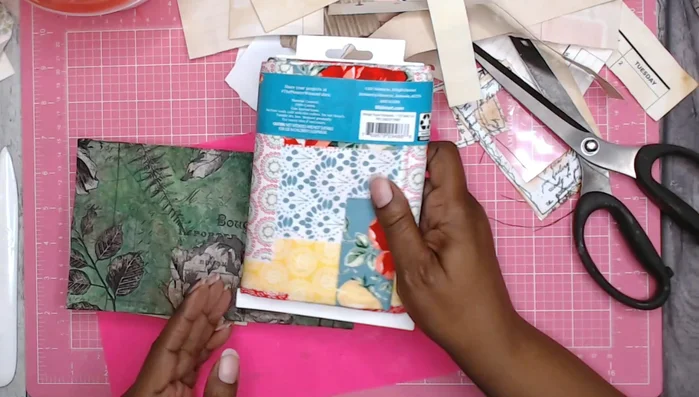
- Cut a piece of fabric slightly wider than the spine area. Attach a piece from the original box, slightly smaller than the fabric, to the back of the fabric.
Prepare the Spine Attach the Pages to the Spine
- Stitch the signatures to the fabric spine.
Attach the Pages to the Spine Add Embellishments
- Glue embellishments, such as folded paper ruffles, to the pages and cover.
Add Embellishments Seal and Finish
- Seal the cover with Mod Podge to protect the paint and embellishments.
Seal and Finish
Read more: DIY King-Size Tufted Headboard: Budget-Friendly Guide
Tips
- Separate the energy drink box into sections to avoid cracking when folding.
- Use leftover or misprinted paper for the journal pages to reduce waste.
- Keep signatures small for easier stuffing and a wide opening.
- Use a glue stick to adhere thin paper for easy smoothing and to prevent air bubbles.
- Use Mod Podge to seal the cover and protect the embellishments.