In today's increasingly conscious world, we're constantly seeking ways to reduce our environmental footprint. One surprisingly simple yet impactful method lies in upcycling – transforming discarded items into something beautiful and useful. This ethos perfectly aligns with the creation of eco-friendly junk journals, offering a creative outlet while promoting sustainability. Instead of contributing to landfills, we can breathe new life into old, forgotten treasures. This project focuses on a particularly rewarding approach: upcycling a thrifted book, giving a cherished (but perhaps damaged) volume a vibrant second life. The transformation is both aesthetically pleasing and environmentally responsible.
This DIY project offers a perfect blend of creativity and conscious consumerism. By repurposing a pre-loved book, you'll be minimizing waste and embracing the charm of imperfection. We'll delve into a step-by-step guide on transforming a thrifted book into a unique and personalized junk journal, perfect for journaling, scrapbooking, or simply displaying as a decorative piece. Let's get started!
Preparation and Safety Guidelines
- Thrifted book
- Razor blade
- Drawing paper
- Cardboard from notepad (optional)
- Needle
- Thread
- Glue (Mod Podge recommended)
- Washi tape (optional)
- Scissors
- Fabric scraps (optional)
- Book press (optional)
- Always prioritize safety when working with sharp objects like scissors, knives, or craft blades. Use caution and consider wearing protective gloves.
- Ensure adequate ventilation when using paints, glues, or other potentially harmful crafting materials. Work in a well-ventilated area or wear a respirator if necessary.
- Be mindful of the book's condition. If the book is brittle or fragile, handle it gently to avoid tearing or further damage. Consider reinforcing weakened pages with archival-quality materials before beginning your project.
Step-by-Step Instructions
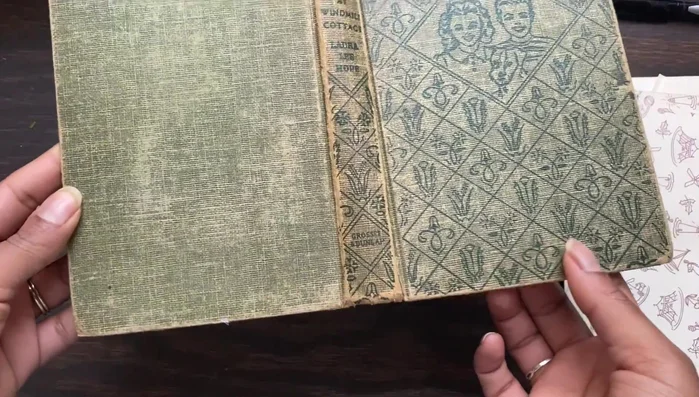
Prepare the Book Cover
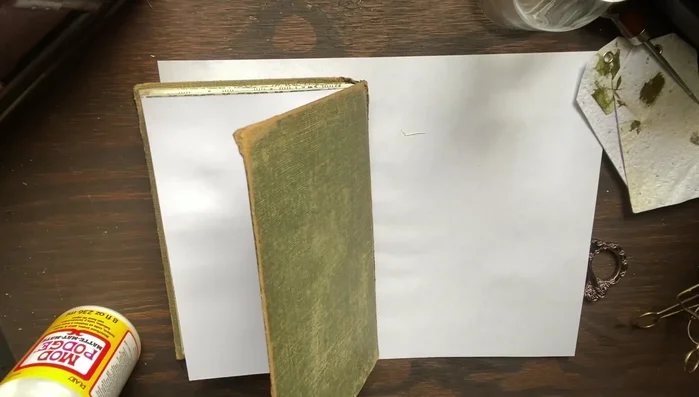
- Cut out the text block from the thrifted book. This is easier with older books.

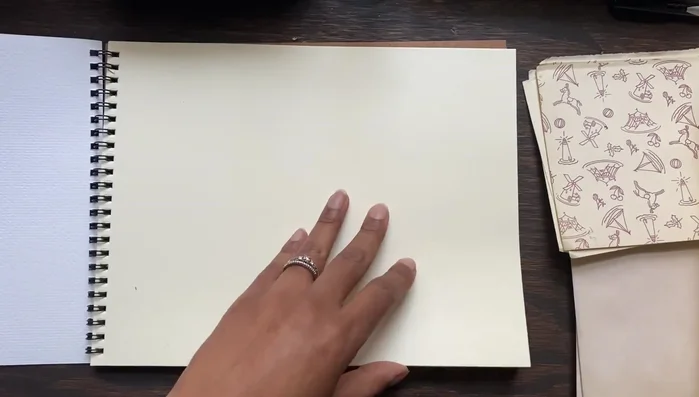
Prepare the Book Cover Create New Pages
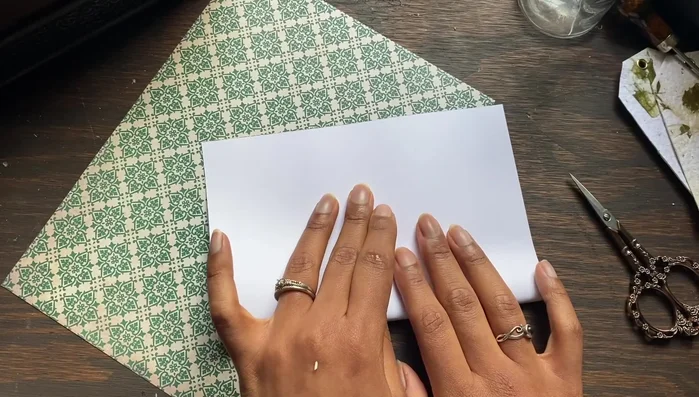
- Create new signatures using drawing paper or salvaged pages from old books/journals. Fold the pages in half.
- Cut the signatures down to size, leaving a small space (about 1/4 inch) from the edges to prevent damage.
Create New Pages Assemble the Text Block
- Check if signatures fit comfortably inside the book cover.
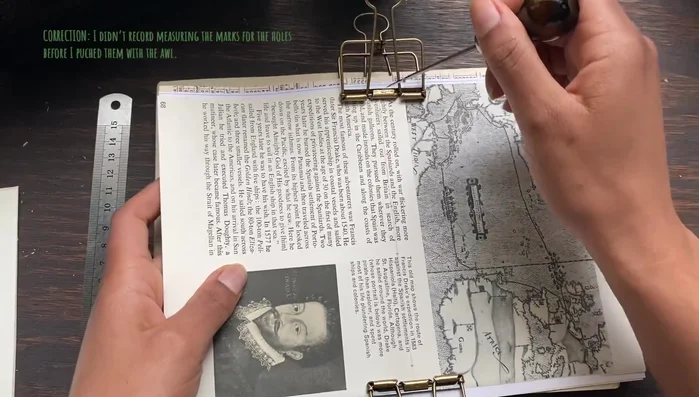
- Punch holes in the folded signatures.
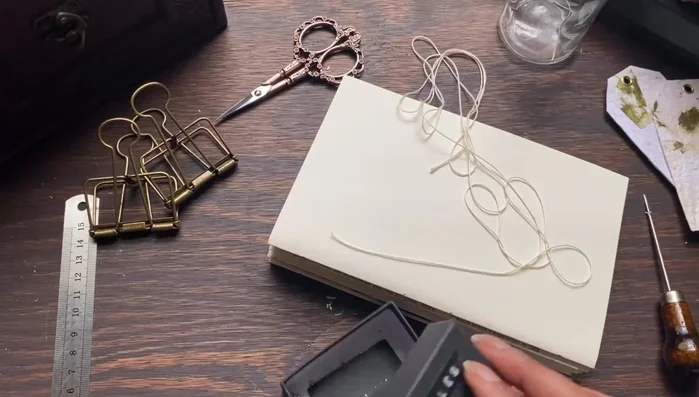
- Sew the signatures together using a kettle stitch (video tutorial linked in description).
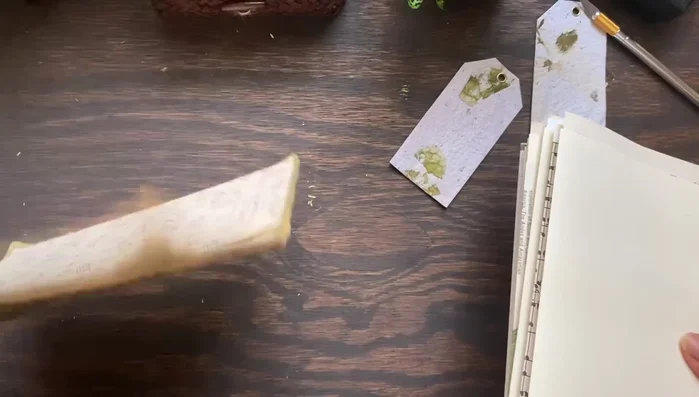
Assemble the Text Block Bind the Text Block
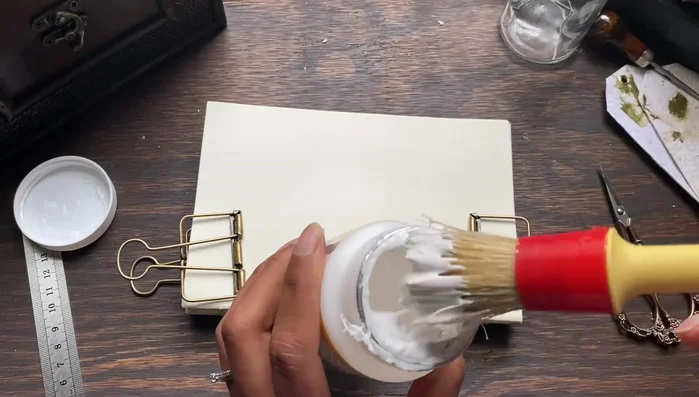
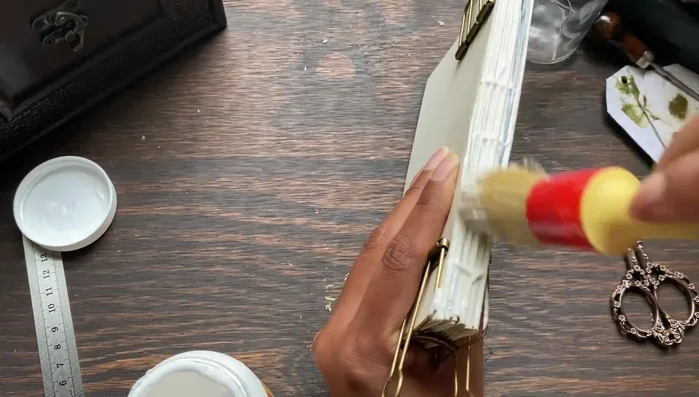
- Apply glue to the spine to close any gaps.
- Place the book under a stack of books or a book press to flatten.
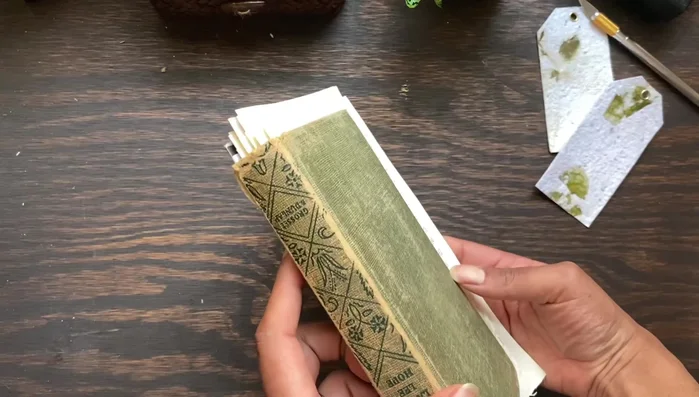
Bind the Text Block Attach the Cover
- Glue the cover pages to the text block. Place a sheet of paper under the first page to protect it from glue leakage.
Attach the Cover Reinforce (Optional)
- Glue fabric to the inside spine for reinforcement, especially with older books.
Reinforce (Optional)
Read more: DIY Blender from a Broken Beyblade Launcher!
Tips
- Save cardboard from notepads for future bookmaking projects.
- Save paper scraps for handmade paper.
- Use a variety of papers, including salvaged pages, envelopes, and packaging to add texture and interest.
- Don't over saturate the paper with glue.