Transform your bathroom or bedroom into a stylish and functional space with a custom-built vanity cabinet. Forget flimsy, mass-produced furniture; this guide empowers you to create a sturdy, long-lasting piece perfectly tailored to your needs and aesthetic preferences. Whether you're a seasoned DIY enthusiast or a beginner looking to tackle a rewarding project, building your own vanity is a satisfying accomplishment that adds significant value to your home. Choosing the right materials and techniques ensures a durable result that will stand the test of time, providing ample storage and a beautiful focal point for your room.
This step-by-step guide will walk you through the entire process, from selecting the perfect wood and hardware to the final finishing touches. We'll cover everything from detailed measurements and cutting techniques to assembly and painting, equipping you with the knowledge and confidence to build a vanity cabinet you'll be proud of. Let's get started!
Preparation and Safety Guidelines
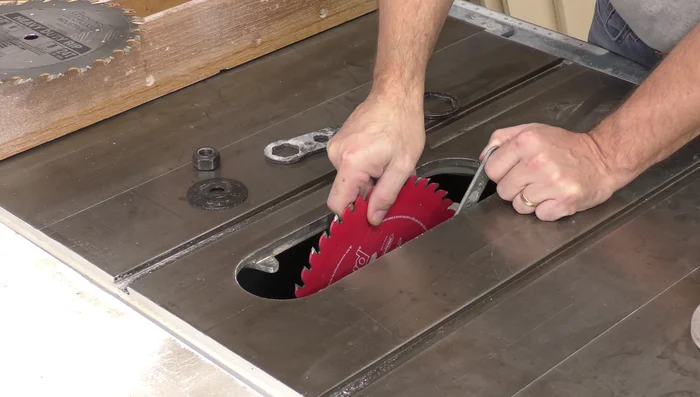
- Table saw
- Miter saw
- Pocket hole jig
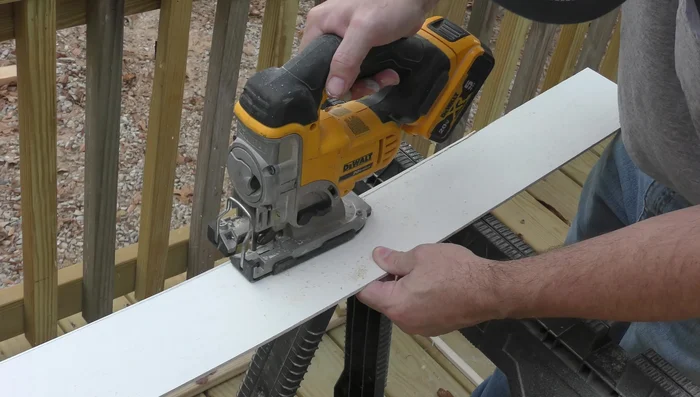
- Jigsaw
- Brad nailer
- Rigid nailer
- Sandpaper
- Primer
- Paint
- Drawer runners
- Hinges
- Drawer pulls
- Door knobs
- Caulk
- Spray adhesive
- Always wear safety glasses and a dust mask when cutting, sanding, or using power tools. Wood dust is harmful to your lungs.
- Ensure all screws and fasteners are securely tightened to prevent the cabinet from collapsing or becoming unstable. Pre-drill pilot holes to avoid splitting the wood.
- Use a level to ensure the cabinet is plumb and square throughout the construction process. An uneven vanity will be unstable and visually unappealing.
Step-by-Step Instructions
Prepare Face Frame
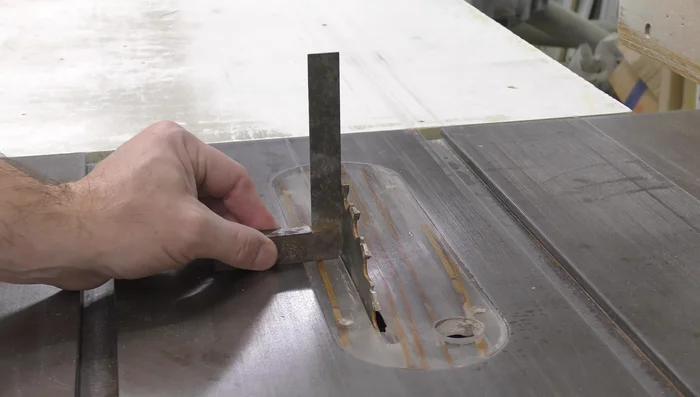
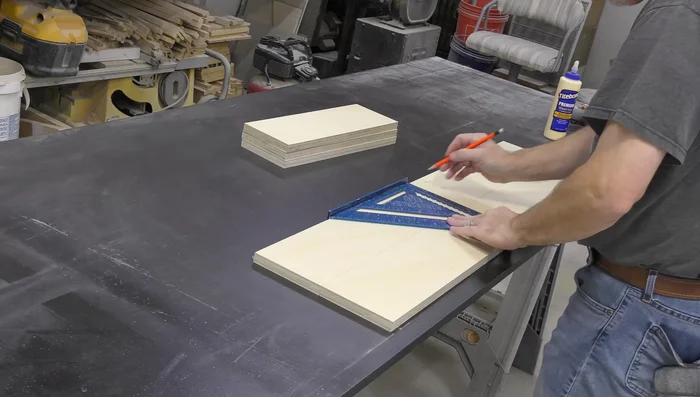
- Cut face frame parts from hard maple (1x6 dressed lumber). Rip to 2 inches using a table saw set at 90 degrees.
- Cut face frame parts to length using a miter saw set at 90 degrees. Use a bump stop for consistent cuts.
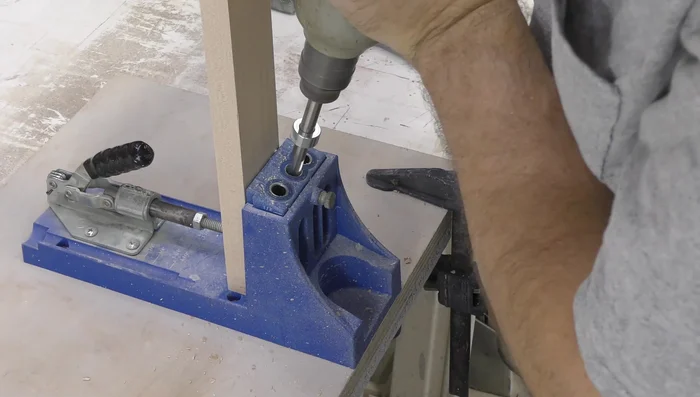
- Drill pocket holes in the back of rails and styles using a pocket hole jig.
- Assemble the face frame using pocket hole screws.

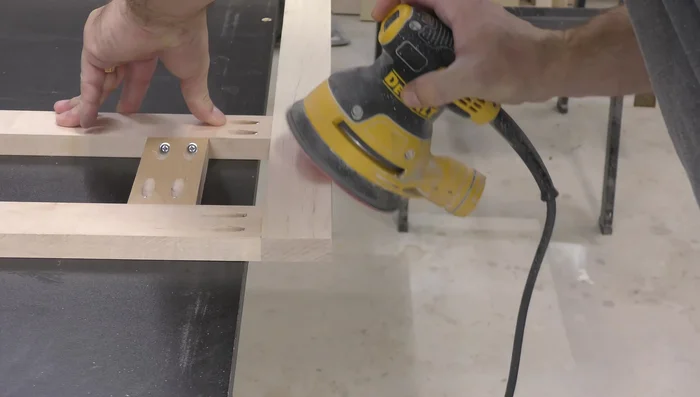
Prepare Face Frame - Sand the backside of the face frame and create micro bevels on the back of the finished end styles and bottom rails.
Prepare Face Frame Prepare Cabinet Body
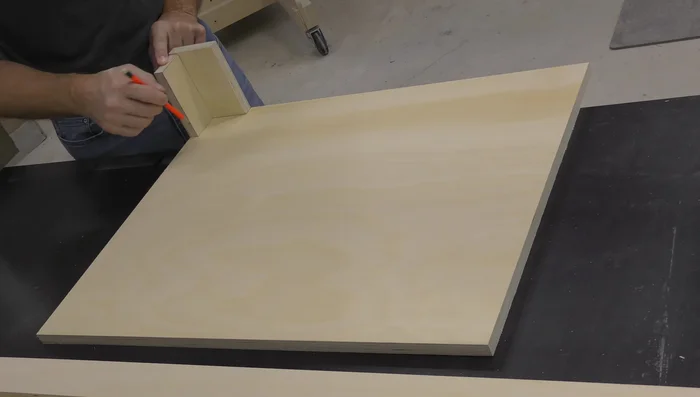
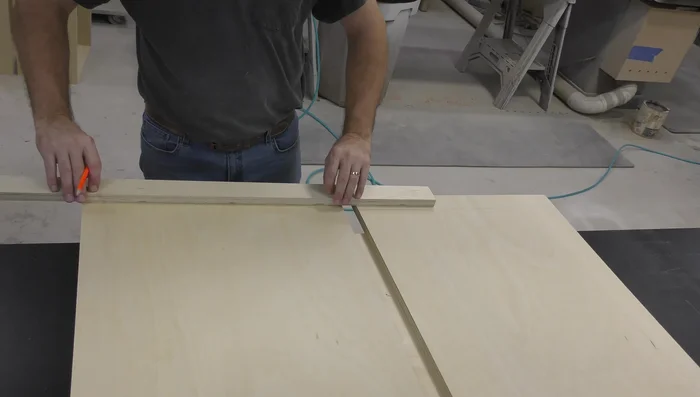
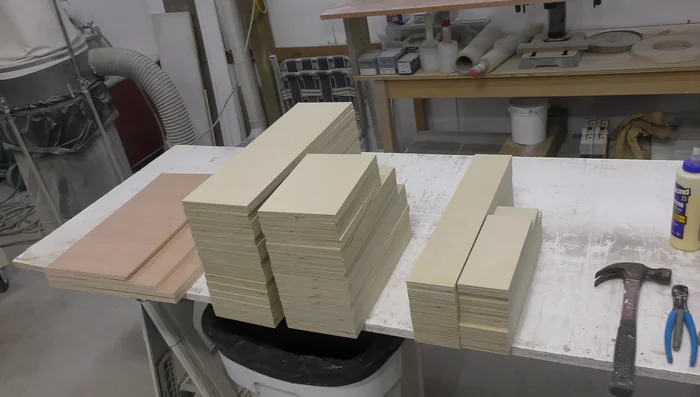
- Cut 3/4 inch plywood parts for the cabinet body. Use a combination blade and a crosscut sled.
- Layout and cut notches for stretchers and nailers in a bulkhead using a jigsaw.
- Assemble the toe kick.
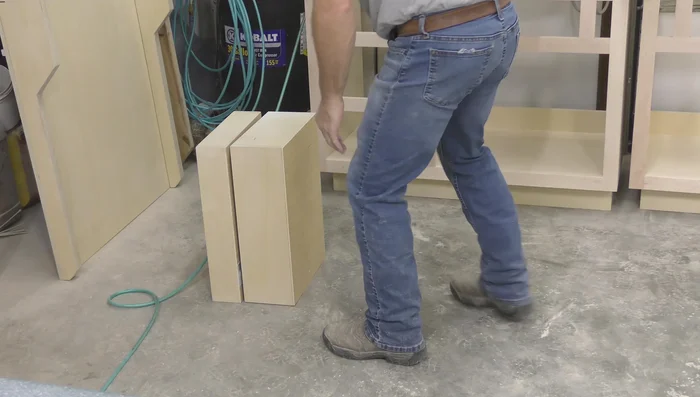
- Layout for the cabinet body, using the cabinet bottom and spacer blocks to set the spacing for the finished ends.
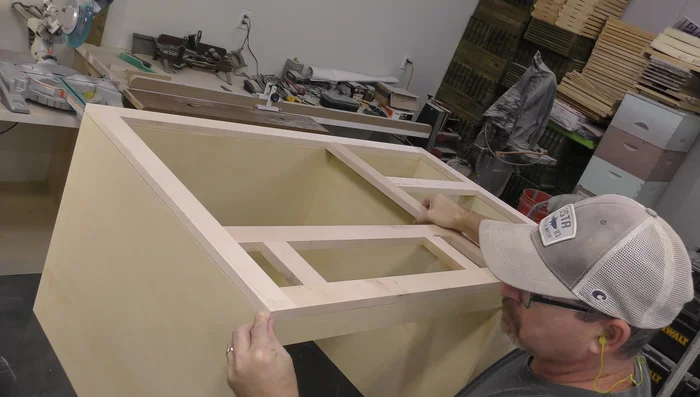
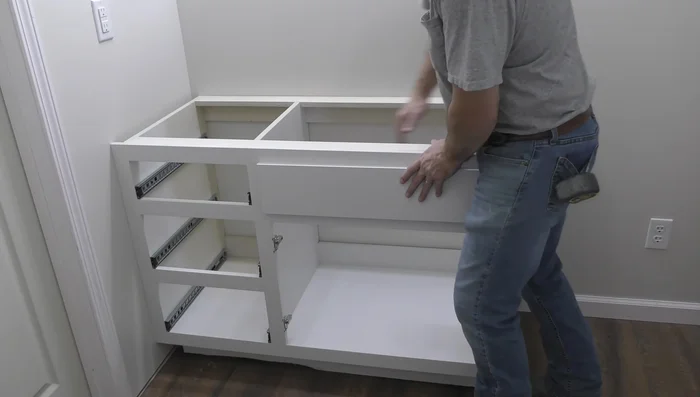
Prepare Cabinet Body Assemble Cabinet Body
- Glue and brad nail the end panels to the bottom. Attach the bulkhead, front stretcher, back nailers, and back stretcher using layout marks.
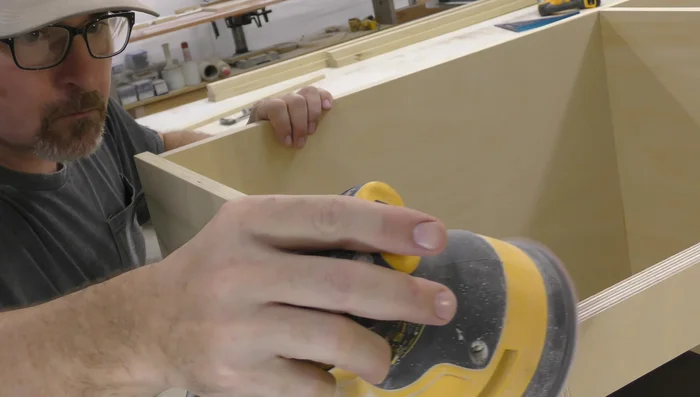
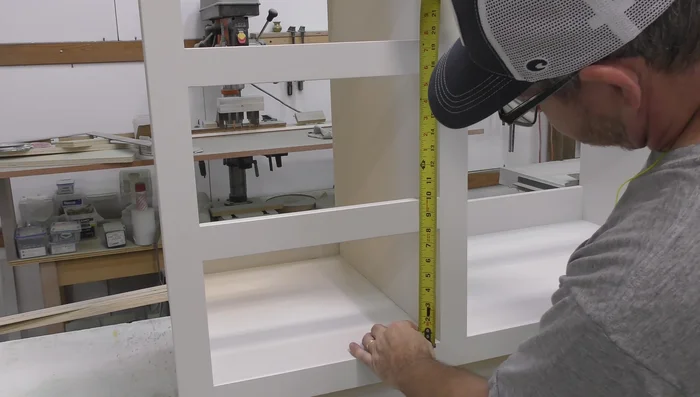
- Sand the cabinet body and create micro bevels on the front edge of the finished ends and the front top edge of the cabinet bottom.
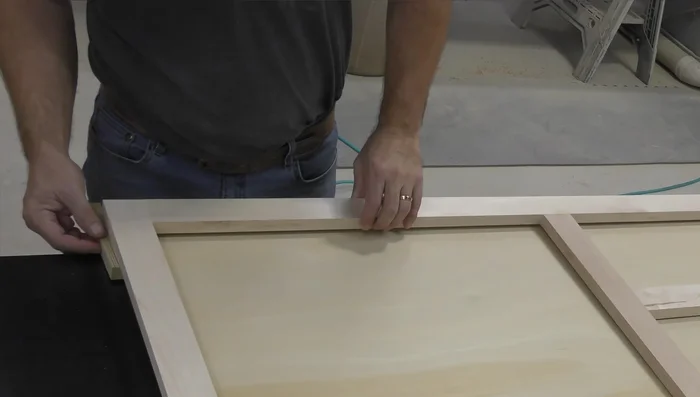
- Glue and attach the face frame to the cabinet body. Use brads to secure it.
Assemble Cabinet Body Build Drawers
- Assemble the drawers using glue and staples.
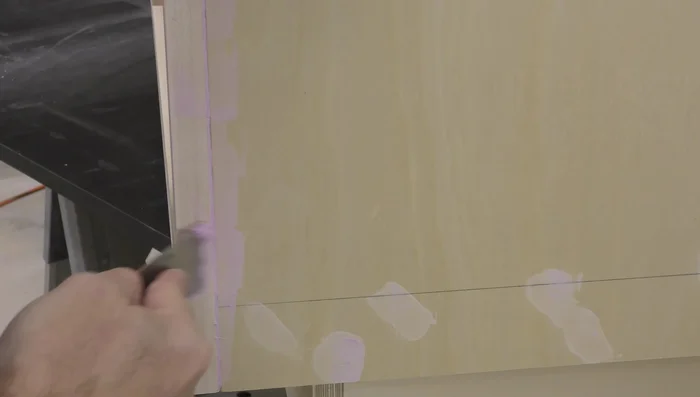
- Fill nail holes and seams with spackling, sand smooth.
Build Drawers Finishing
- Prime and paint the cabinet, drawers, and doors.
Finishing Install Hardware
- Install drawer runners and drawers.
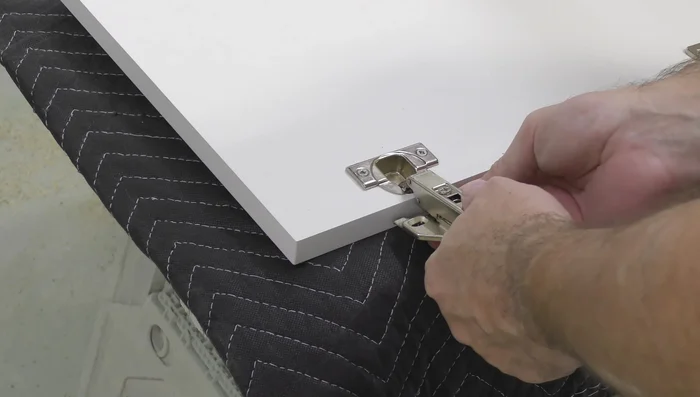
- Install hinges on doors.
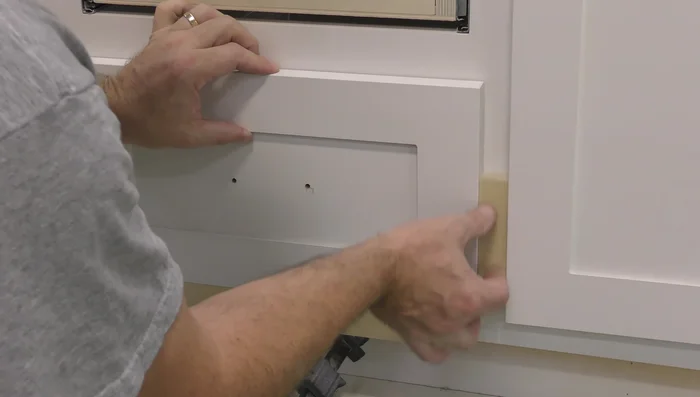
- Install drawer fronts and pulls.
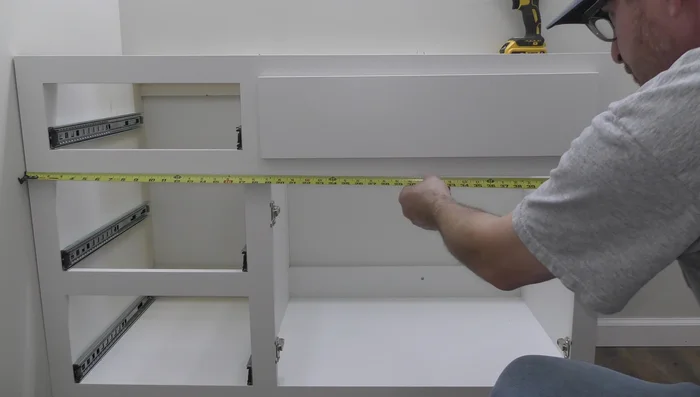
Install Hardware Cabinet Installation
- Level and secure to the wall.
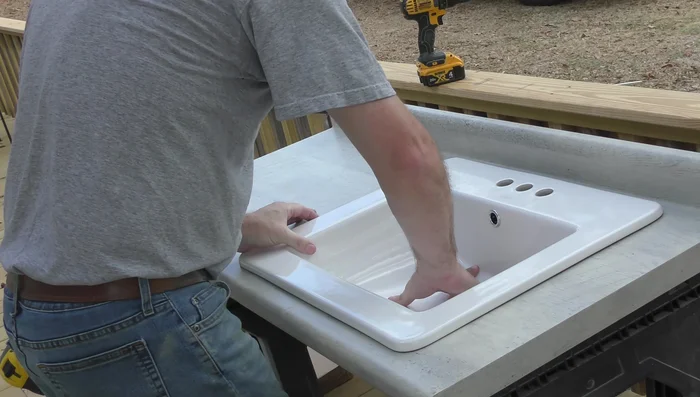
- Cut sink and countertop openings.
- Install countertop and sink.
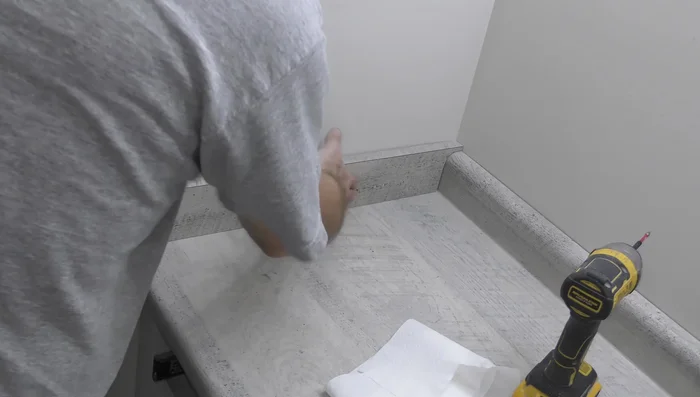
- Install side splash and caulk seams.
Cabinet Installation - Install quarter-round baseboard on toe kick.
Cabinet Installation


Read more: DIY Mason Jar Soap Dispensers: A Step-by-Step Guide with Two Stunning Designs
Tips
- Use a bump stop on the miter saw for consistent cuts.
- Create micro bevels for a cleaner look and easier assembly.
- Use a damp rag to clean up excess glue.
- Sand thoroughly after spackling for a smooth finish.
- Use a drill bit to find studs for secure wall mounting.