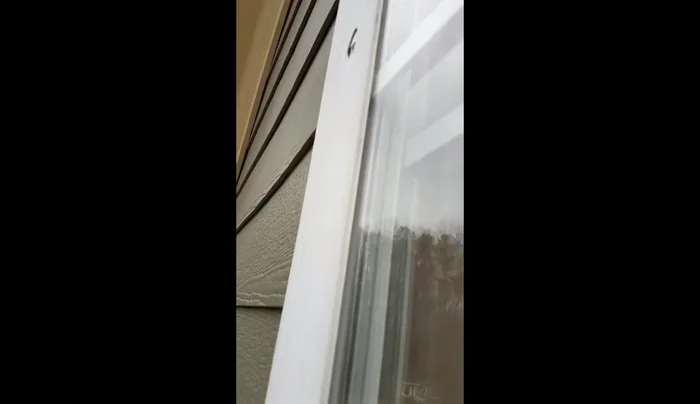
Damaged vinyl windows? Don't despair! Small holes and tears in your vinyl window frames are surprisingly easy to fix, saving you the cost and hassle of a complete replacement. Whether it's a tiny puncture from a stray ball or a larger crack from accidental impact, a simple repair can significantly improve the look and efficiency of your windows, preventing drafts and enhancing curb appeal. A well-patched window will blend seamlessly with the existing frame, leaving you with a professional-looking result that's virtually undetectable.
Forget expensive professional repairs – this guide empowers you to tackle minor vinyl window damage yourself. With just a few inexpensive materials and some basic know-how, you can achieve impressive results in minutes. Ready to transform your damaged windows? Let's dive into our step-by-step guide to patching holes like a pro.
Preparation and Safety Guidelines
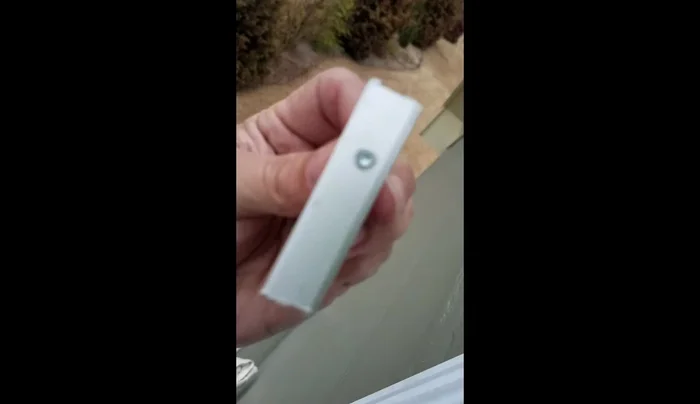
- Small piece of aluminum flat stock
- Drill
- Tap and die set
- Nut or bolt
- Double-sided aluminum sticky tape
- Caulk (100% silicone)
- Razor blade
- Always work in a well-ventilated area. Vinyl repair kits often contain solvents that release fumes.
- Wear appropriate safety gear, including gloves, to protect your skin from chemicals and sharp objects.
- Ensure the window is clean and dry before applying any patch or sealant to ensure proper adhesion.
Step-by-Step Instructions
Prepare the Patch
- Drill and tap a small piece of aluminum flat stock to accept a nut or bolt.
- Apply double-sided tape to the back of the aluminum patch.

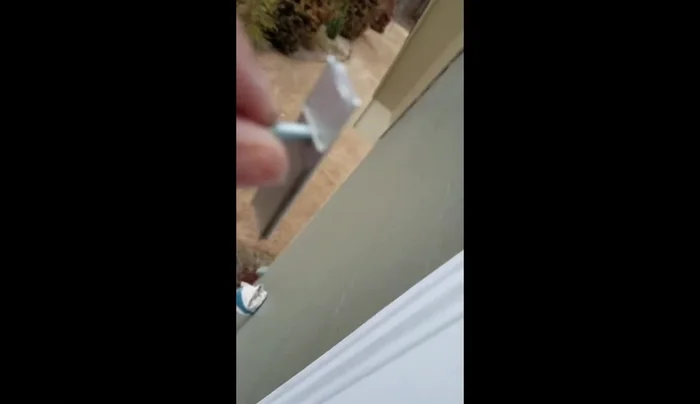
Prepare the Patch Install the Patch
- Insert the patch into the hole in the vinyl window, ensuring it's flush on both sides. Apply pressure to firmly seat the tape.
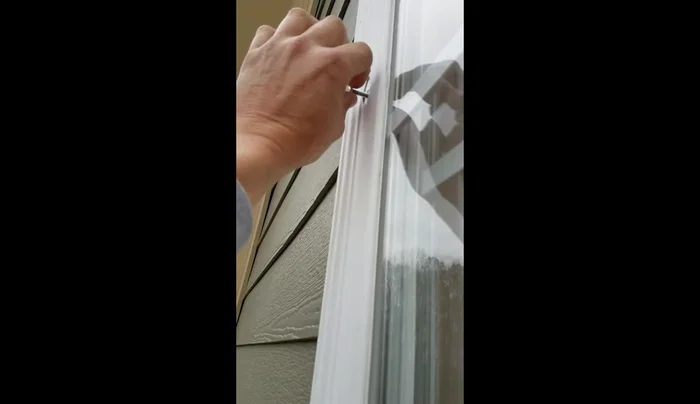
- Secure the patch with a screw or bolt.
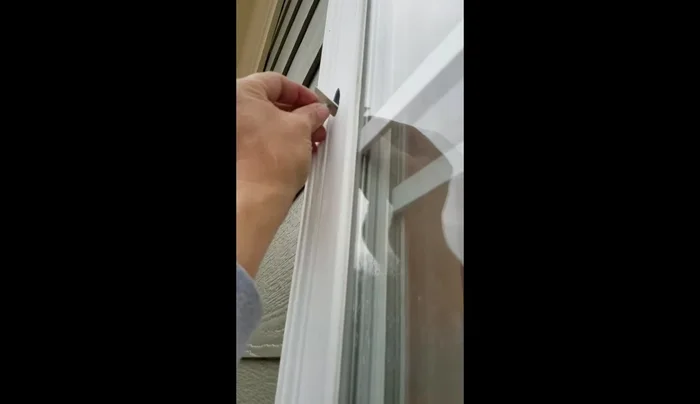
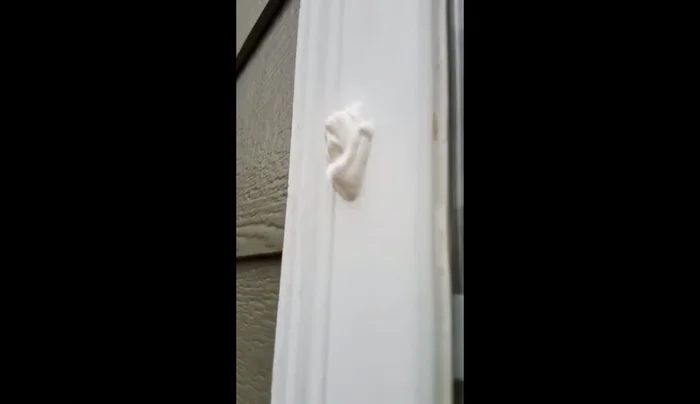
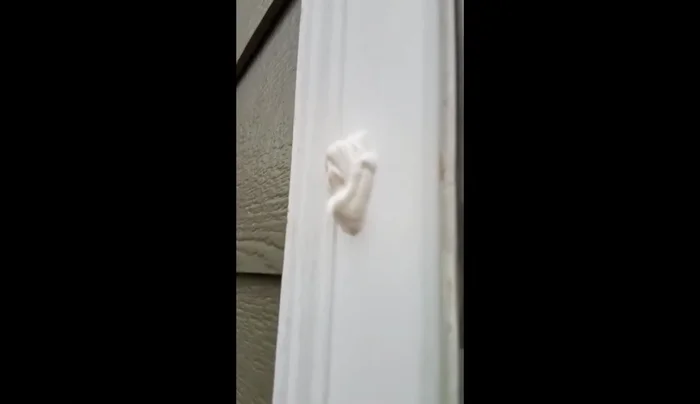
Install the Patch Apply and Finish Caulk
- Apply a bead of 100% silicone caulk around the patch, using the aluminum as a backer to prevent the caulk from going through the hole.
- Let the caulk set up completely.
- Trim excess caulk with a razor blade, making it flush with the window surface.
Apply and Finish Caulk
Read more: 3M Thinsulate Window Film Installation: A Step-by-Step Guide
Tips
- Use 100% silicone caulk that matches the color of your window for a seamless finish.
- The aluminum strip acts as a backer to keep the caulk from going through the hole.