A leaky washing machine water supply line is more than just an annoying drip; it's a potential source of significant water damage and wasted resources. Ignoring a persistent leak can lead to costly repairs, not to mention the inconvenience of a flooded laundry room. Beyond the immediate issues, a failing supply line poses a safety risk, potentially causing electrical hazards if water comes into contact with wiring. This is particularly crucial given the often-damp environment surrounding a washing machine. Fortunately, replacing these lines is a manageable DIY project for most homeowners with basic plumbing skills.
This guide provides a comprehensive, step-by-step process for safely replacing your washing machine's water supply lines, eliminating those troublesome leaks and ensuring peace of mind. We'll walk you through each stage, from turning off the water supply to properly connecting the new lines, ensuring you have everything you need to tackle this repair confidently. Let's get started!
Preparation and Safety Guidelines
- Channel-lock pliers
- Towel or washcloth
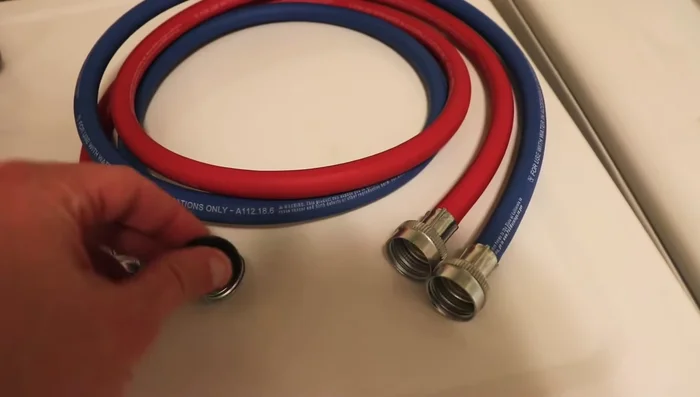
- New washing machine hoses (with washers)
- Possibly Isetta pliers
- Always turn off the water supply to the washing machine at the shut-off valves BEFORE starting any work. Failure to do so could result in flooding.
- Use only braided stainless steel supply lines rated for cold and hot water. Avoid using rubber or plastic hoses, as they are prone to cracking and leaking.
- If you are uncomfortable performing this repair yourself, contact a qualified plumber. Improper installation can lead to water damage and safety hazards.
Step-by-Step Instructions
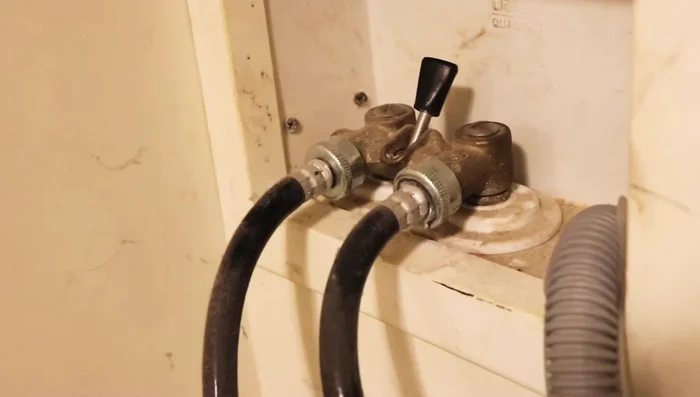
Turn Off Water Supply
- Shut off the water supply to the washing machine. If you don't have individual valves, shut off the main water supply to the house.

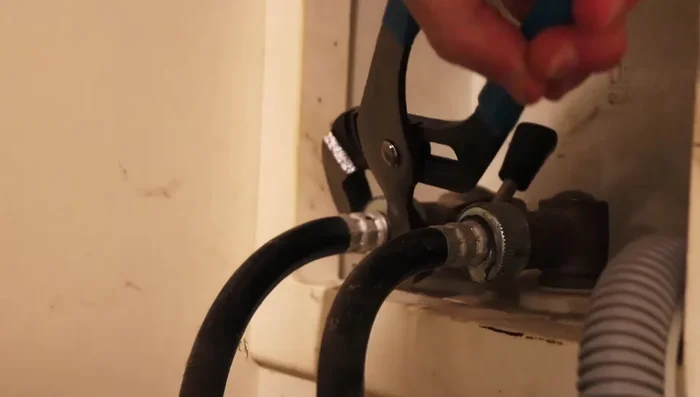
Turn Off Water Supply Disconnect Old Hoses
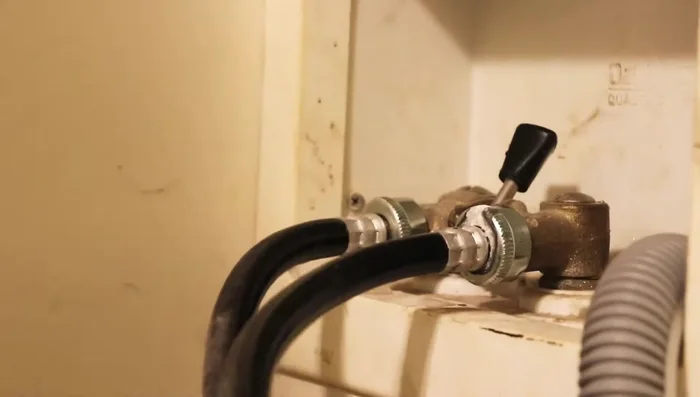
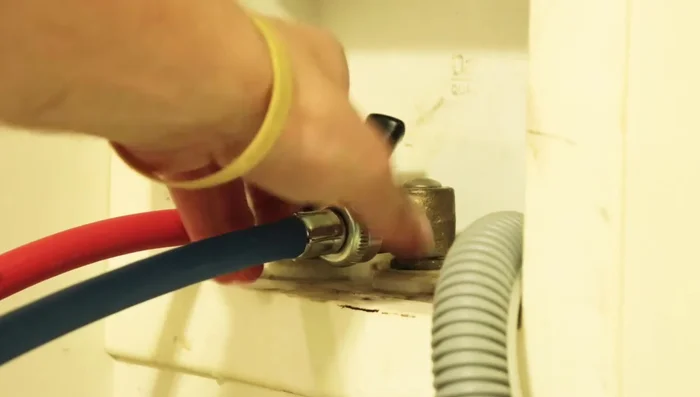
- Loosen the old hoses using channel-lock pliers if necessary. Turn counter-clockwise to loosen.
- Remove the old hoses from the back of the washing machine. Be prepared for some water leakage.
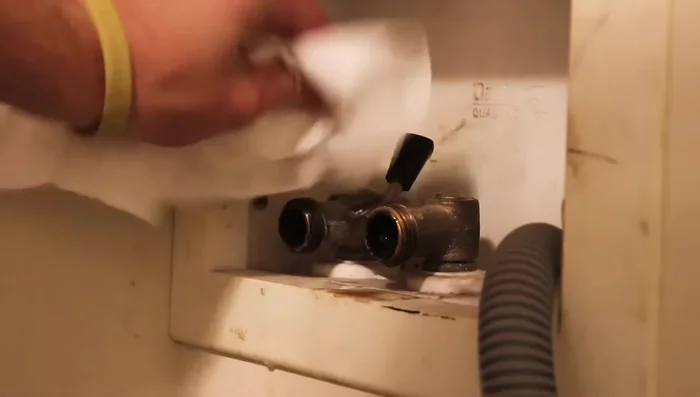
Disconnect Old Hoses Prepare for New Hoses
- Clean the surfaces of the fittings on the washing machine with a clean towel or washcloth.
- Install washers onto the ends of the new hoses.
Prepare for New Hoses Connect New Hoses
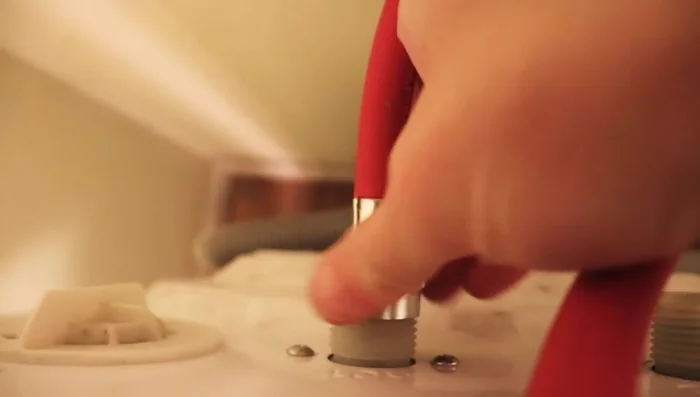
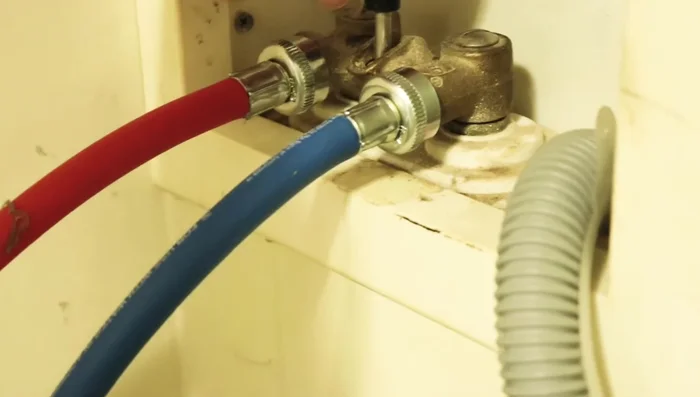
- Hand-tighten the new hoses onto the back of the washing machine and the fill valve.
- Tighten the hoses further using channel-lock pliers if necessary, ensuring they are snug (about a half-turn after snug).
Connect New Hoses Test for Leaks
- Turn the water back on and check for leaks. Tighten further if leaks persist.
- Run a wash cycle to double-check for leaks.
Test for Leaks
Read more: Fixing a Leaky Toilet Tank: A Step-by-Step Guide
Tips
- Identify hot and cold water hoses correctly; they are usually labeled on the back of the washing machine.
- Use a towel or washcloth to absorb any water that leaks out during hose removal and installation.
- Ensure the new hoses correspond to the hot and cold ports on the back of the washing machine.