A sudden chill in your shower can signal a frustrating problem: your water heater has stopped heating. While panic might be your first reaction, a methodical approach can often resolve the issue without the expense of a professional plumber. This isn't about a quick fix; it's about understanding the common culprits behind a malfunctioning water heater, allowing you to diagnose and repair the problem safely and effectively. This guide focuses on providing experienced homeowners and DIY enthusiasts with the knowledge and confidence to tackle this common household challenge.
This "pro's guide" will walk you through troubleshooting and repairing a variety of common water heater issues, from simple resets to more complex component replacements. Whether your tank is electric or gas-powered, we'll cover the essential steps to get your hot water flowing again. Let's dive into the step-by-step process to pinpoint the problem and get your water heater back in working order.
Preparation and Safety Guidelines
- Multimeter
- Needle-nose pliers
- Tune-up kit (heating elements, thermostats)
- Hose
- Wire nuts
- 30 amp wire
- Flathead screwdriver
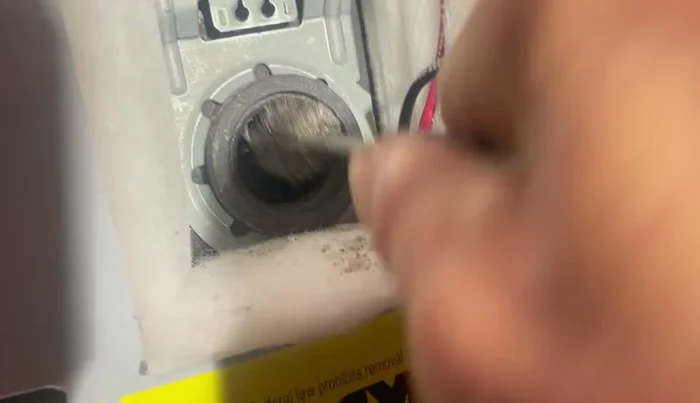
- 1 1/2" deep well 6-point socket
- Breaker bar
- 3/4" copper brush
- Rag
- Wrench
- Always turn off the power to the water heater (either the breaker or gas supply) before attempting any repairs. Electricity and hot water are dangerous combinations.
- Allow the water heater to cool completely before opening it or working on any internal components. Scalding water can cause serious injury.
- If you are not comfortable working with electricity or gas appliances, call a qualified plumber or technician. Attempting repairs without proper knowledge can be hazardous.
Step-by-Step Instructions
Prepare for Repair
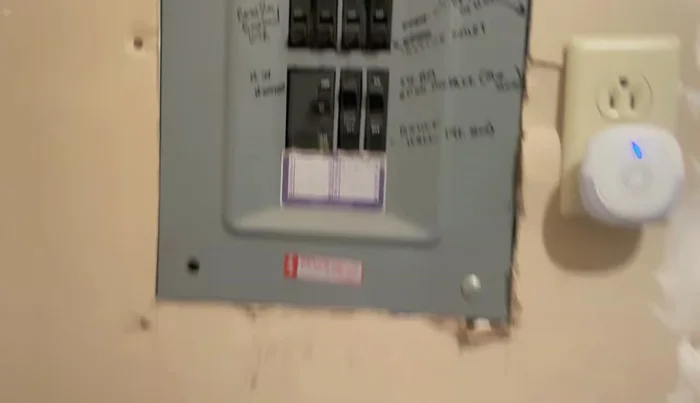
- Locate the water heater breaker and verify power supply (240V).
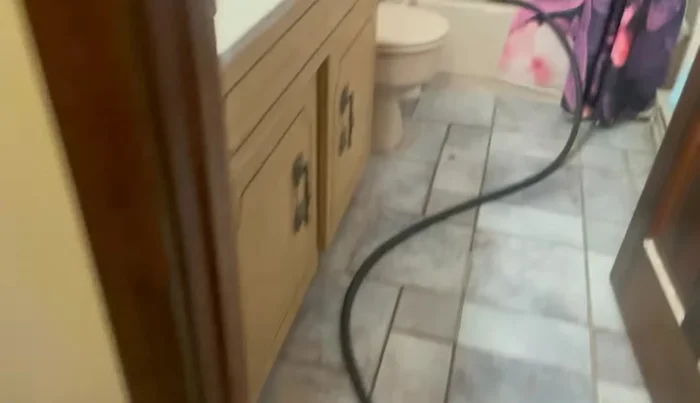
- Turn off the water supply to the heater and drain the tank using a hose.

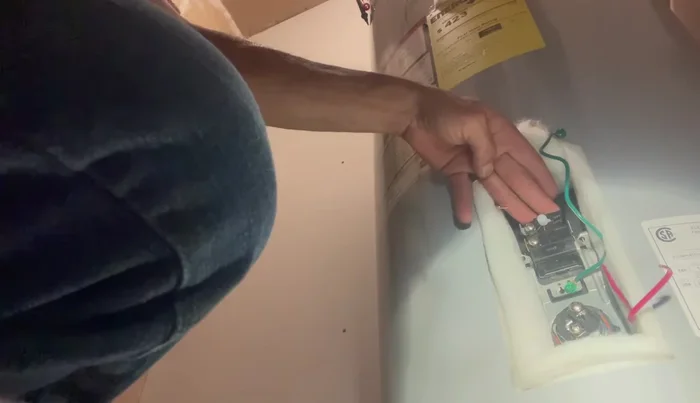
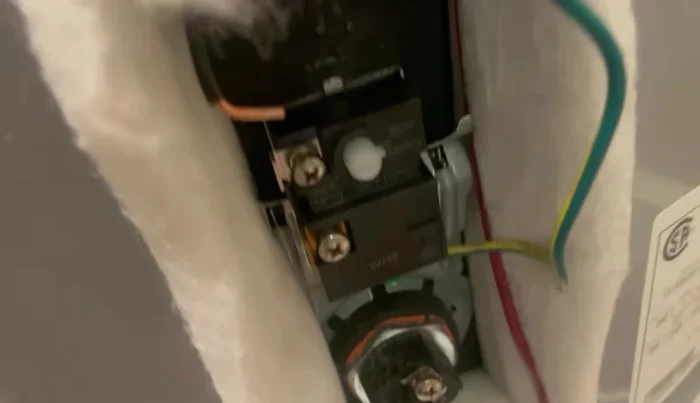
Prepare for Repair Access and Replace Upper Components
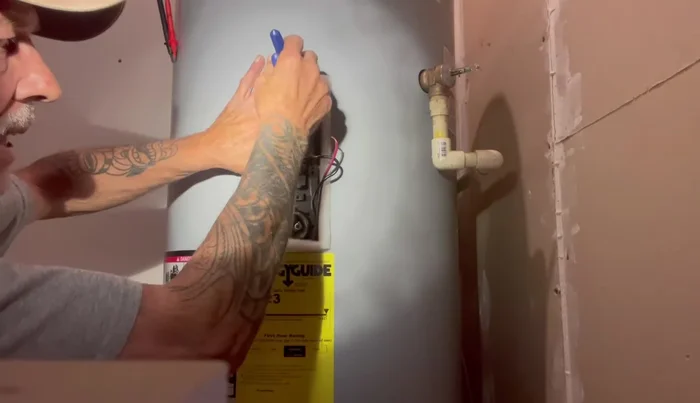
- Remove the top panel and access the upper thermostat and heating element.
- Carefully disconnect the wires from the upper thermostat, taking a picture for reference if needed.
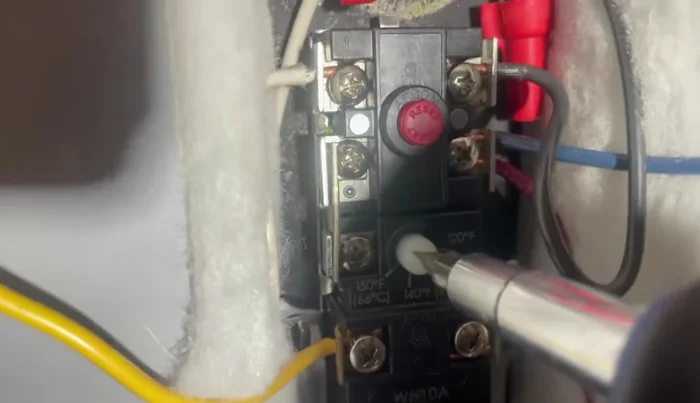
- Replace the upper thermostat.
- Set the temperature gauge on the thermostat to 120-125 degrees Fahrenheit.
Access and Replace Upper Components - Remove the upper heating element using a proper wrench (1 1/2" deep well 6-point socket with a breaker bar).
- Clean the threads of the heating element and reinstall the new one.
Access and Replace Upper Components Access and Replace Lower Components
- Remove and replace the lower thermostat.
- Remove and replace the lower heating element.
Access and Replace Lower Components Reconnect and Finalize
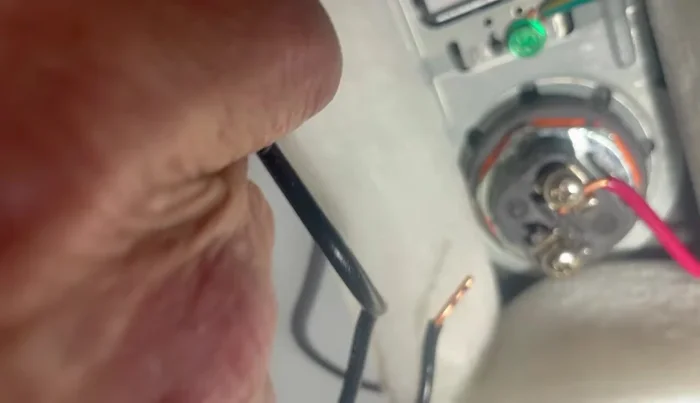
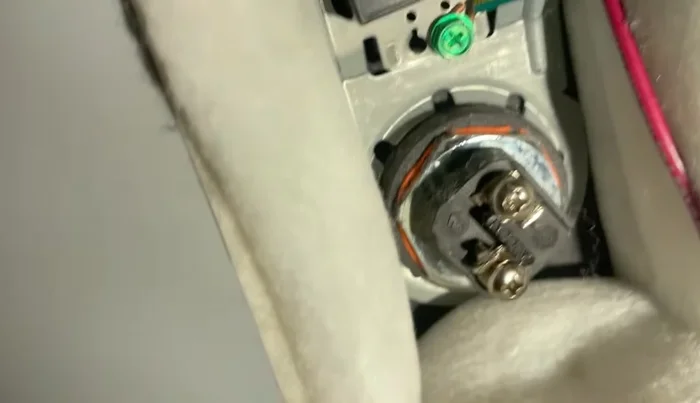
- Reconnect all wires, addressing any short wire issues by adding extensions.
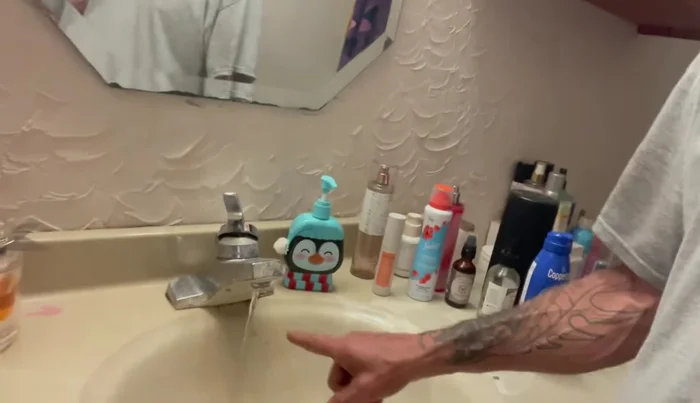
- Turn the hot water faucet on to bleed air from the system.
- Turn the breaker back on and check for heating.
Reconnect and Finalize


Read more: Fixing a Leaky Toilet Tank: A Step-by-Step Guide
Tips
- Always verify the voltage (240V) before working on the water heater.
- Always turn off the power completely and check it twice before working on any electrical components. Inform everyone in the house.
- Take pictures of wire connections before disconnecting to avoid confusion.
- Always drain the water heater completely before removing and replacing heating elements to prevent corrosion.
- Use a proper wrench (1 1/2" deep well 6-point socket and breaker bar) to remove and install heating elements easily and safely.