Are your windows sticking, dragging, or stubbornly refusing to stay open or closed? The culprit might be your window balance springs, those often-overlooked components that effortlessly control the raising and lowering of your window sashes. Over time, these springs can weaken, break, or simply lose their tension, leading to frustrating window malfunctions. Replacing them, however, doesn't require a professional; it's a surprisingly simple DIY project that can save you time and money. Forget expensive repair calls and the hassle of waiting for a technician.
This quick and easy DIY guide will walk you through the entire process of replacing your window balance springs, step-by-step, providing clear instructions and helpful tips for a successful repair. Whether you're a seasoned DIY enthusiast or a complete novice, you'll find this guide accessible and straightforward. Let's get started and restore your windows to their smooth, effortless operation!
Preparation and Safety Guidelines
- Needle-nose pliers
- Drill
- Screwdriver
- Replacement balance springs
- Always wear safety glasses to protect your eyes from broken springs or other debris.
- Before starting, lower the window completely to relieve tension on the springs. Failure to do so could result in injury from a suddenly released spring.
- If you are uncomfortable working at heights or with tools, it's best to call a professional window repair service.
Step-by-Step Instructions
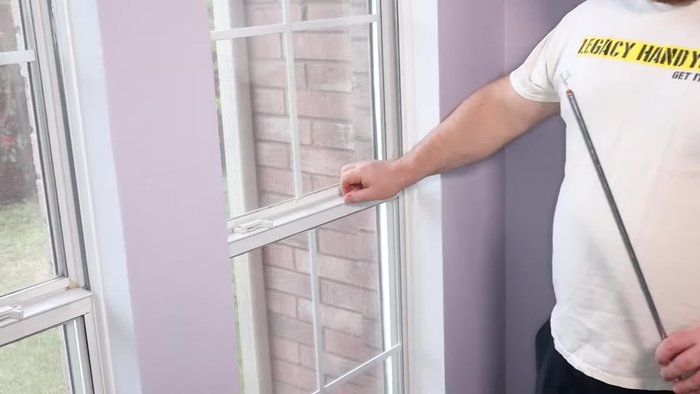
Identify the Problem
- Identify the faulty window. A correctly functioning window will stay open at any height.

Identify the Problem Access the Balance Spring
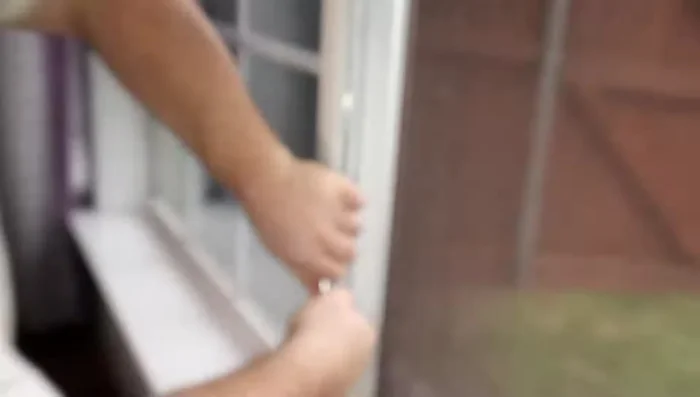
- Pry open the window to access the balance spring mechanism.
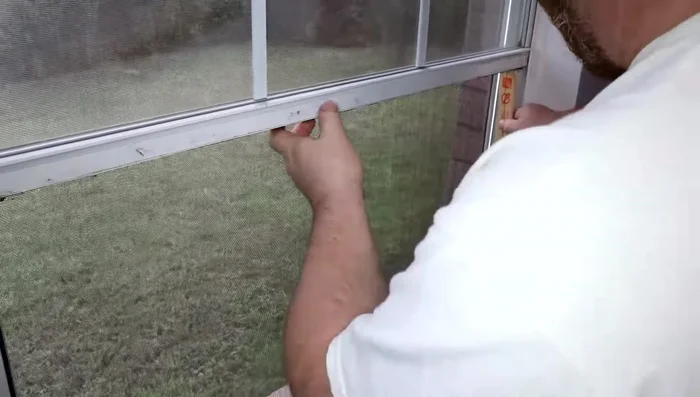
Access the Balance Spring Remove the Old Spring
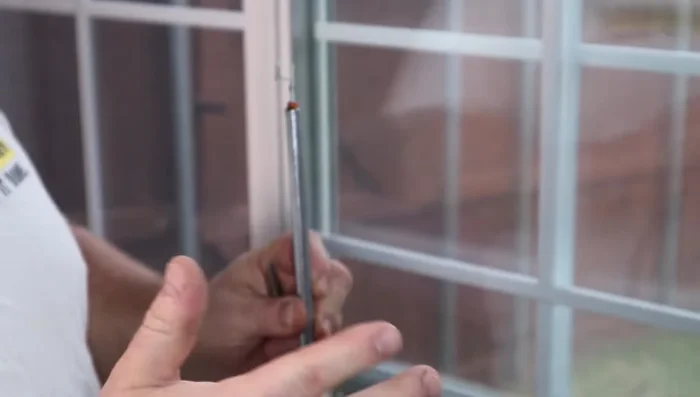
- Use pliers or a screwdriver to release the hook holding the balance spring.
- Remove the screw holding the balance spring in place using a drill.
- Remove the old, broken balance spring using needle-nose pliers.
Remove the Old Spring Measure and Select Replacement
- Measure the length and diameter of the old spring to determine the correct replacement size. If unsure, take the old spring with you to the store for matching.
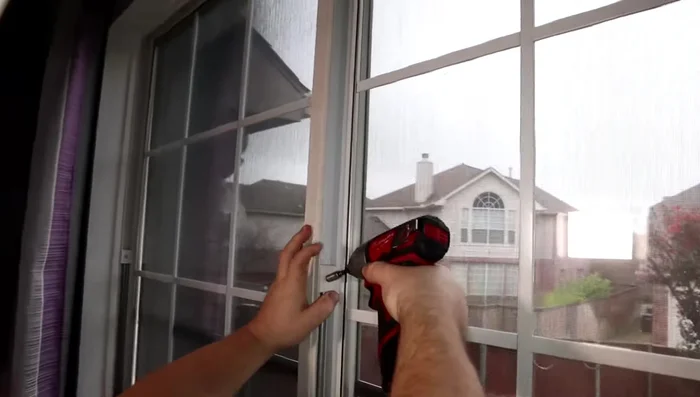
Measure and Select Replacement Install the New Spring (One Side)
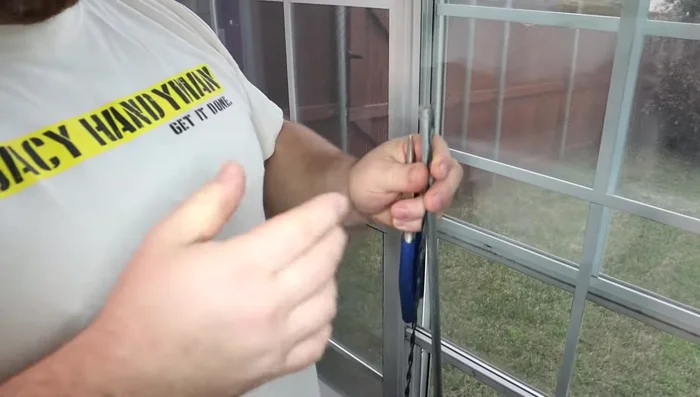
- Insert the new balance spring, noting that color-coded springs indicate different strengths (red is mid-range, black is for larger windows).
- Using the appropriate tool (as shown in the video), insert the new spring from the *outside* of the window frame and turn it clockwise about 10 times to secure it.
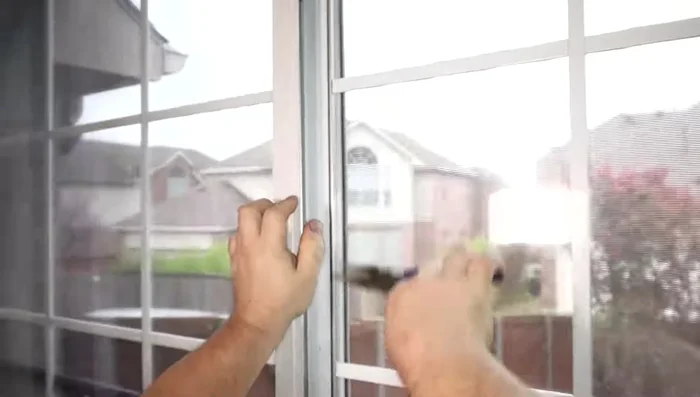
Install the New Spring (One Side) Install the New Spring (Other Side)
- Repeat steps 7 and 8 for the other side of the window.
Install the New Spring (Other Side) Test the Window
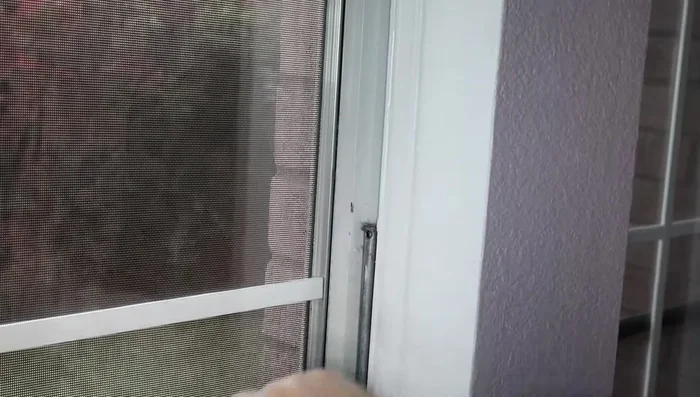
- Test the window to ensure it operates smoothly at all heights.

Read more: 3M Thinsulate Window Film Installation: A Step-by-Step Guide
Tips
- Always insert the new balance spring from the outside of the window frame to prevent the hook from getting stuck.
- Color-coded springs provide an easy way to match the correct strength to your window size.