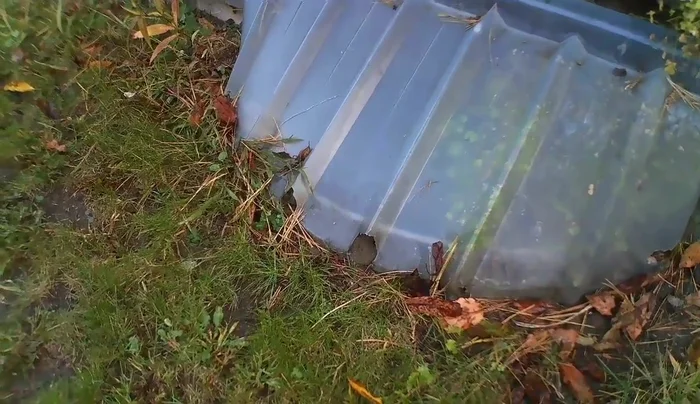
Window well covers are essential for protecting your basement from water damage, pests, and debris. However, these covers can become damaged over time due to harsh weather conditions, accidental impacts, or simply age. A cracked or broken window well cover not only compromises the safety and security of your home but also leaves your basement vulnerable to the elements. A compromised cover can lead to significant problems, from costly water damage repairs to unpleasant encounters with unwelcome creatures. Fortunately, repairing a damaged window well cover is often a manageable DIY project, saving you time and money compared to professional replacement.
This guide provides a comprehensive, step-by-step process for repairing common types of window well cover damage. Whether your cover is cracked, has a hole, or simply needs a little reinforcement, we'll walk you through the necessary materials, tools, and techniques to restore its functionality and protect your home. Let's get started!
Preparation and Safety Guidelines
- Drill
- Screws
- Cup Washers
- Bricks
- String Trimmer (for context)
- Measuring Tape
- Always prioritize safety. Wear sturdy gloves and safety glasses to protect yourself from sharp edges and debris.
- If the damage is extensive or you are uncomfortable working at heights, consult a professional. Attempting a repair beyond your skill level can be dangerous.
- Before starting any repairs, ensure the window well is completely clear of any loose debris or obstructions to prevent accidents.
Step-by-Step Instructions
Assessment and Preparation
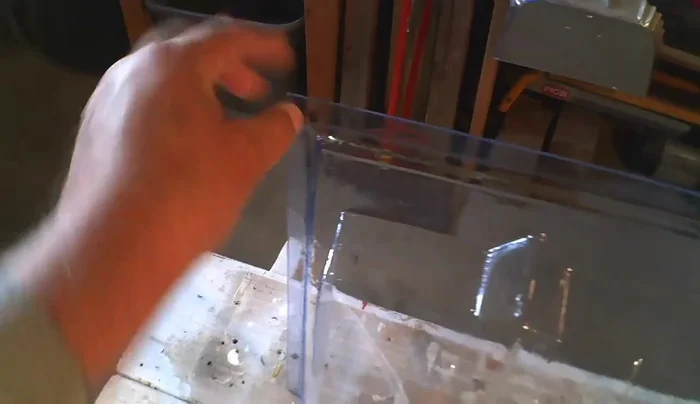
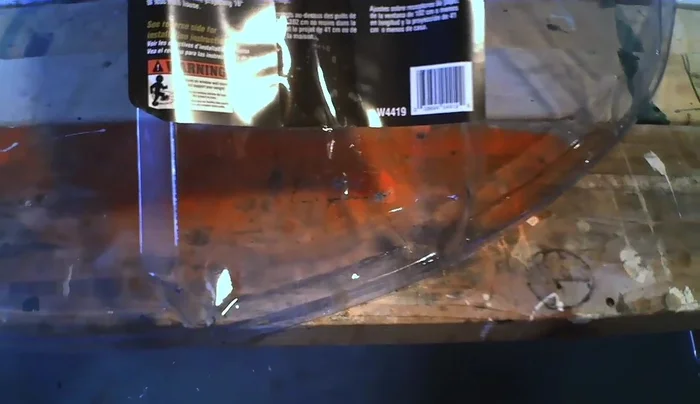
- Assess the damage to the old window well cover and determine the need for replacement.
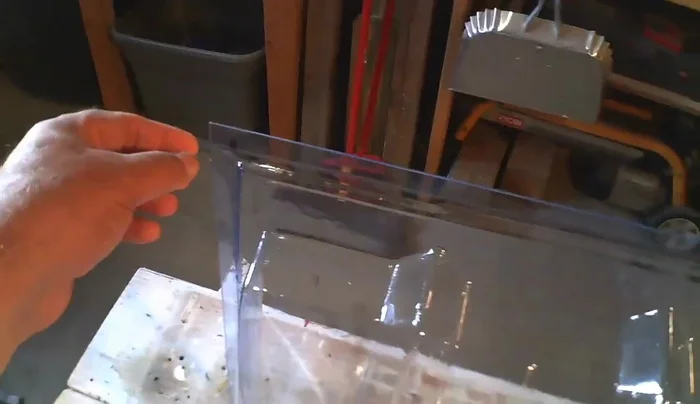
- Prepare the new window well cover. Mark the screw hole locations on the new cover.
- Select appropriately sized screws (longer than the originals to accommodate cup washers).

Assessment and Preparation Installation
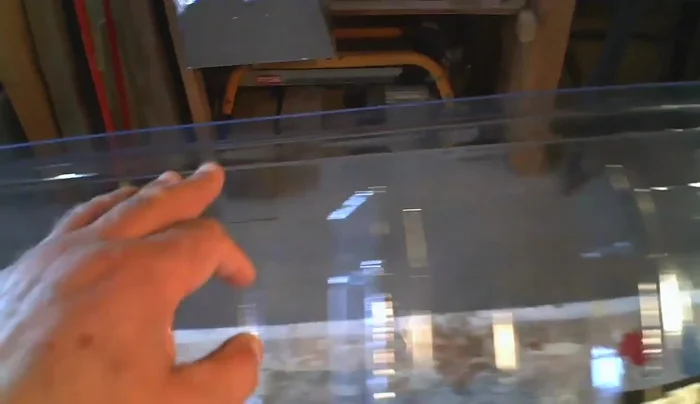
- Pre-drill holes in the new window well cover to prevent cracking when screwing it in place.
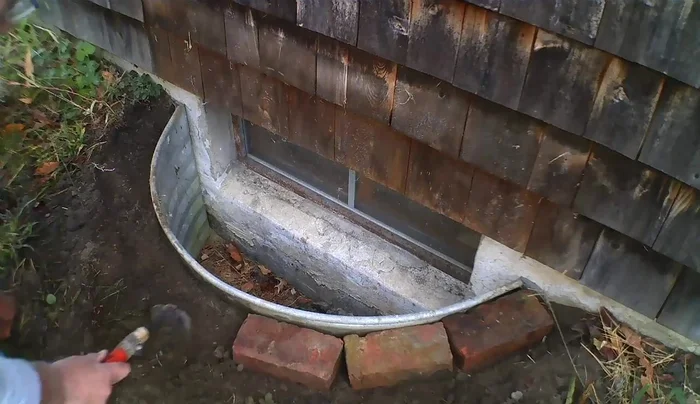
- Attach the new window well cover using screws and cup washers for enhanced security.
Installation Protection and Sealing
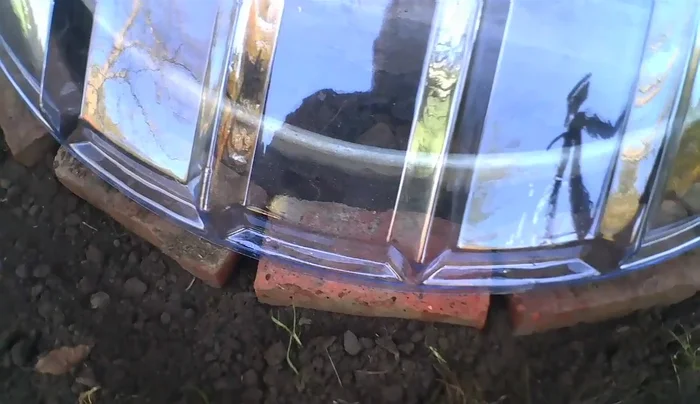
- Install bricks along the bottom edge of the window well cover to create a barrier against string trimmers and grass.
- Fill gaps with additional bricks, creating a complete seal.
Protection and Sealing
Read more: 3M Thinsulate Window Film Installation: A Step-by-Step Guide
Tips
- Always pre-drill holes in vinyl or plastic materials to prevent cracking during screw installation.
- Use cup washers to distribute the pressure of the screws, increasing their holding power and lifespan.
- Consider using bricks or other materials to protect the bottom edge from string trimmers and other impacts.
- Regularly inspect window well covers for damage, addressing issues before they worsen.