In a world increasingly focused on sustainability and mindful consumption, the art of patchwork offers a beautiful and practical solution to textile waste. Wojagi, the traditional Korean patchwork technique, transforms humble fabric scraps into vibrant and unique creations, breathing new life into discarded materials. This ancient craft isn't just about recycling; it's about creating stunning, one-of-a-kind pieces that tell a story, imbued with the history and personality of the fabrics themselves. Imagine transforming those leftover pieces from your sewing projects into exquisite gift wrap or elegant table linens.
This article explores the fascinating world of Wojagi patchwork, guiding you through the process of creating your own beautiful and functional items from repurposed fabrics. We'll delve into the essential techniques, from selecting and preparing your fabrics to assembling and finishing your chosen project, demonstrating how easy it is to create stunning gift wrap and table linens. Ready to learn how to turn your fabric scraps into treasured pieces? Let's begin with a step-by-step guide.
Preparation and Safety Guidelines
- Ironing mat or ironing board
- Iron
- Quilting rulers
- Rotary cutter
- Cutting mat
- Pins
- Thread (30 weight cotton recommended)
- Always use sharp, clean scissors or rotary cutter to prevent injury and ensure clean cuts. Blunt tools can lead to slips and uneven patchwork.
- Handle your needles and pins carefully. Keep them in a designated pincushion or container when not in use to avoid accidental pricks.
- If using an iron, ensure the fabric is appropriate for ironing at the selected temperature setting to prevent scorching or damage.
Step-by-Step Instructions
Prepare Materials
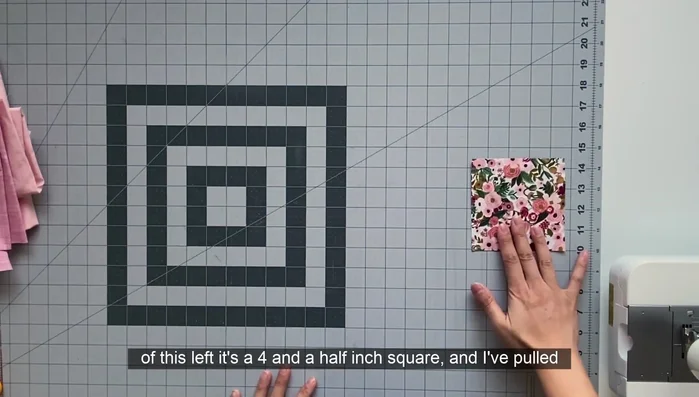
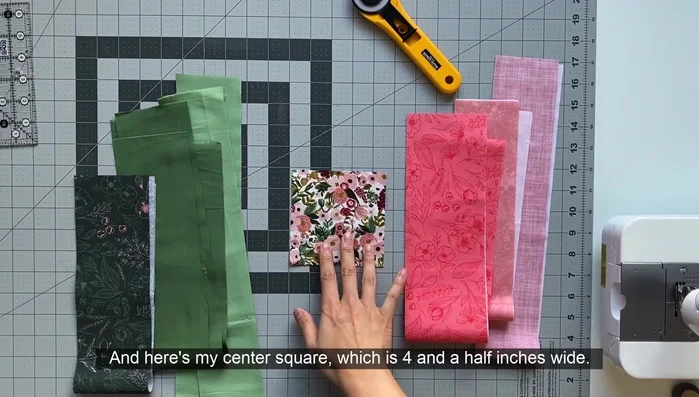
- Choose a central square (4.5 inches recommended) and select coordinating fabrics.
- Cut fabric strips ranging from 3 to 3.5 inches wide.

Prepare Materials Create the First Strip
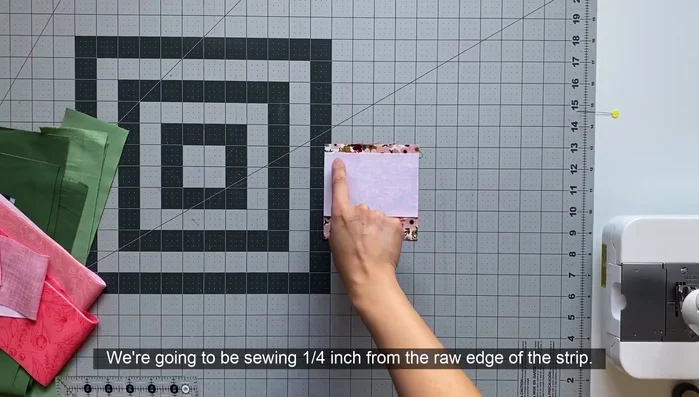
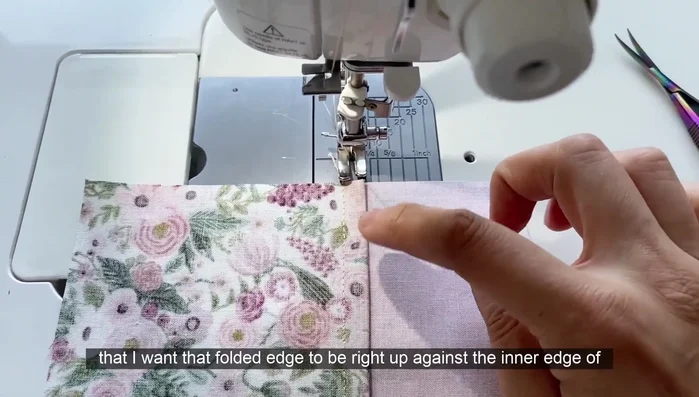
- Align the first strip with the center square, offsetting raw edges by 3/8 of an inch. Sew a quarter inch from the raw edge of the strip.
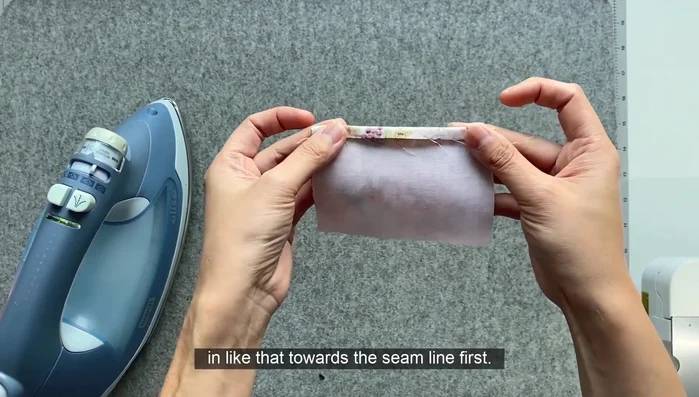
- Press the offset seam allowance towards the center square, then flip the strip outwards and press.
- Edge stitch along the folded edge to secure the seam.
Create the First Strip Assemble the Log Cabin Block
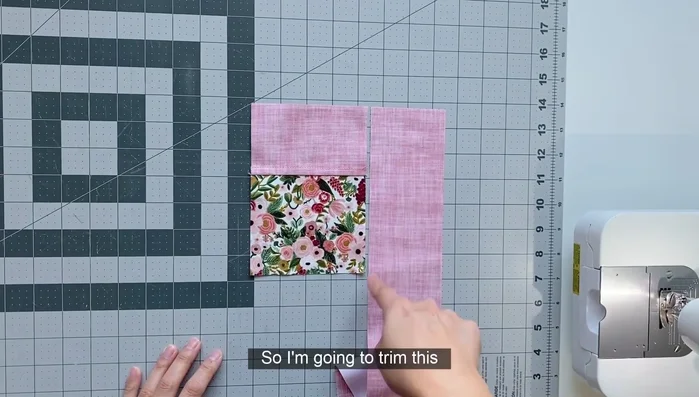
- Repeat steps 3-5, adding strips in a concentric fashion to create a log cabin block. Use pins to help manage longer strips.
- Continue adding strips until the desired size is reached. Piece together strips if needed.
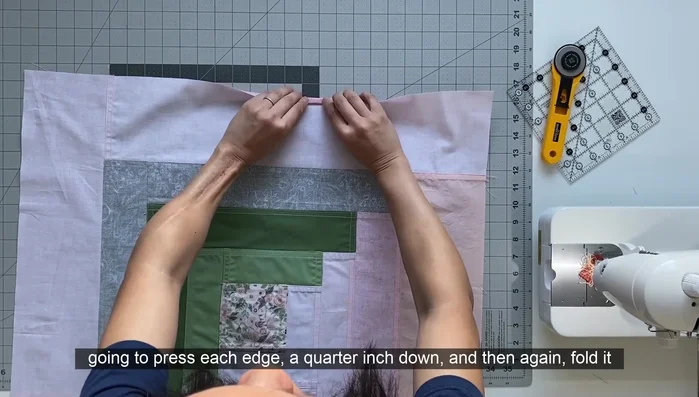
Assemble the Log Cabin Block Finish the Edges
- Finish the edges by pressing a quarter-inch hem, folding again, and pressing. Edge stitch the hem in place.
Finish the Edges

Read more: DIY Vibrant Car Organizer: A Step-by-Step Quilting Tutorial
Tips
- Using solid fabrics creates a truly double-sided product.
- A heavier cotton thread (30 weight) makes stitch lines more prominent.
- You can be more random with color placement if you prefer.
- Use steam and a clapper to flatten seams.
- Piecing together longer strips adds visual interest.