Wooden doors, with their inherent beauty and warmth, often bear the brunt of daily life, accumulating scratches and gouges over time. These blemishes, while seemingly minor, can significantly detract from a door's aesthetic appeal and even compromise its structural integrity if left unaddressed. Whether it's a deep gash from a moving object or a network of fine scratches from everyday wear and tear, restoring your wooden door to its former glory is achievable with the right techniques and materials. Don't let damaged doors diminish your home's charm; reclaiming their pristine condition is easier than you might think.
This comprehensive guide provides a step-by-step process to effectively repair scratched and gouged wooden doors, regardless of the severity of the damage. From minor surface scratches to deep gouges, we'll explore various repair methods, covering everything from simple touch-ups to more involved wood filler applications and finishing techniques. Let's delve into the practical solutions that will transform your damaged door into a beautiful focal point once more.
Preparation and Safety Guidelines
- Wood filler (red oak or matching wood type)
- Screwdriver
- Orbital sander
- Hand sandpaper
- Steel wool
- Paper towel
- Always wear appropriate safety gear, including eye protection and a dust mask, when sanding or using any power tools.
- Test any wood filler, stain, or finish in an inconspicuous area first to ensure color matching and compatibility with your door's existing finish.
- If the damage is extensive or beyond your skill level, consult a professional carpenter or woodworker for repair.
Step-by-Step Instructions
Preparation and Filling Scratches
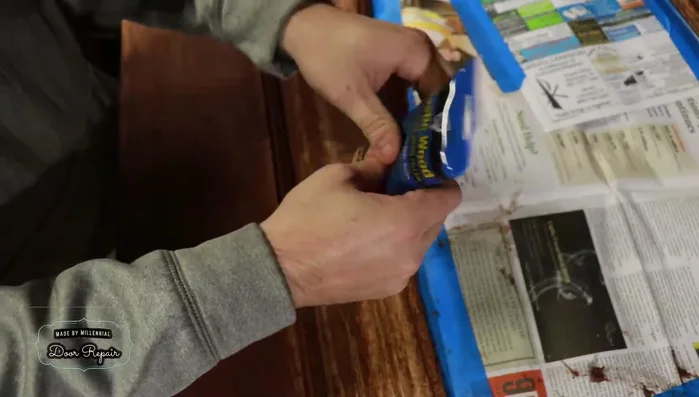
- Fill scratches with wood filler or a mixture of sawdust and wood glue. Apply liberally and push into scratches.

Preparation and Filling Scratches Cleaning and Filling Gouges
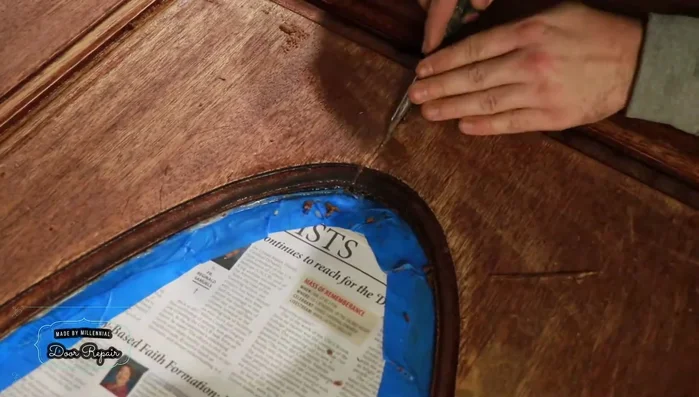
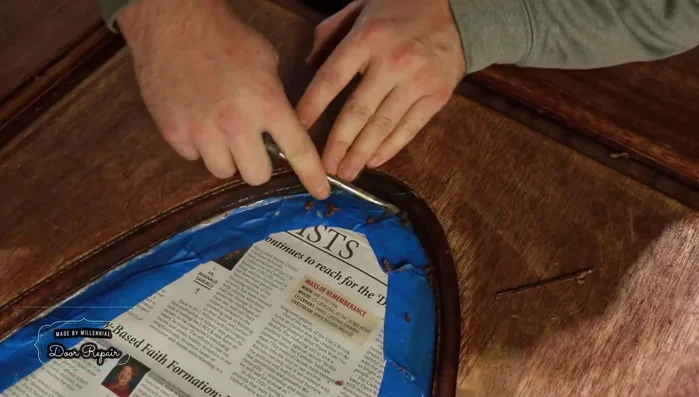
- Clean excess debris from gouges using a screwdriver.
- Fill gouges with wood filler, ensuring it's pushed deep into the gouge for a strong bond.
Cleaning and Filling Gouges Drying the Filler
- Let the wood filler dry completely.
Sanding and Smoothing
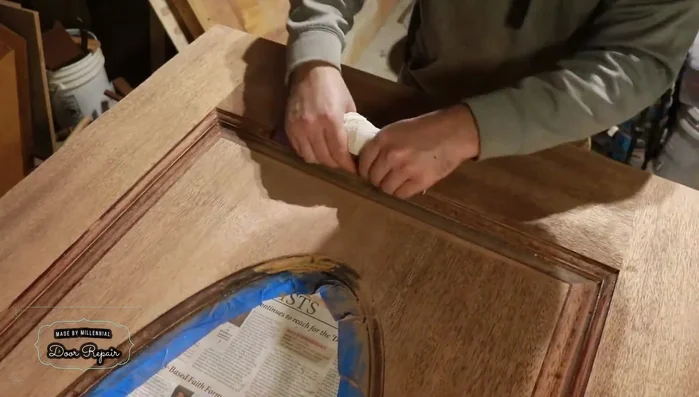
- Sand the filled areas using an orbital sander, followed by hand sanding in crevices to achieve a smooth finish.
Final Cleaning
- Clean up sanding marks. Using a paper towel to better conform sandpaper to details or steel wool is recommended for a finer finish.
Final Cleaning
Read more: 3M Thinsulate Window Film Installation: A Step-by-Step Guide
Tips
- Don't worry about excess wood filler; you can always sand it down.
- For sun-damaged areas, repeat the stripping, sanding, and finishing process.
- Using a paper towel or steel wool helps conform the sandpaper to details while sanding.