A dripping hose bib is more than just an annoying sound; it's a significant waste of water and can lead to costly damage over time. If you're dealing with a leaky Woodford Model 19, you're not alone. This common outdoor faucet is known for its durability but, like any mechanical device, it can eventually develop leaks. The good news is that fixing a dripping Woodford 19 is often a straightforward DIY project that can save you money on expensive plumber's fees and conserve precious water resources. This guide focuses specifically on repairing this popular model, providing clear instructions and helpful tips for a successful repair.
This complete guide will walk you through the entire process, from gathering the necessary tools to reassembling your fully functional hose bib. We'll cover everything from identifying the source of the leak to replacing worn-out parts, ensuring your Woodford Model 19 is once again drip-free and ready for the next watering season. Ready to get started? Let's dive into the step-by-step instructions below.
Preparation and Safety Guidelines
- Channel locks
- Flat screwdriver
- Phillips screwdriver
- Small flat screwdriver (optional)
- Hose bib repair kit
- Always turn off the water supply to the hose bib at the main shutoff valve before beginning any repairs. Failure to do so could result in a significant water leak and potential damage.
- Use caution when handling tools. Wear safety glasses to protect your eyes from debris and sharp objects.
- If you are uncomfortable performing this repair yourself, contact a qualified plumber. Attempting a repair beyond your skill level could worsen the problem.
Step-by-Step Instructions
Prepare for Repair
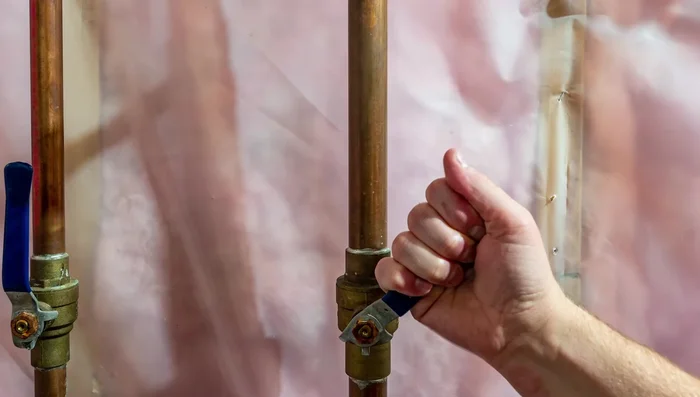
- Turn off the water supply.

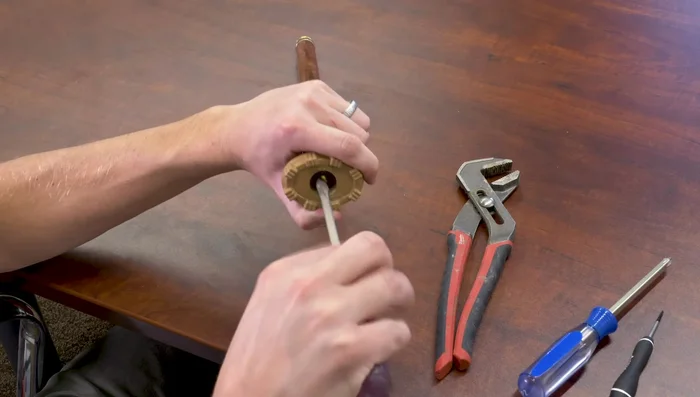
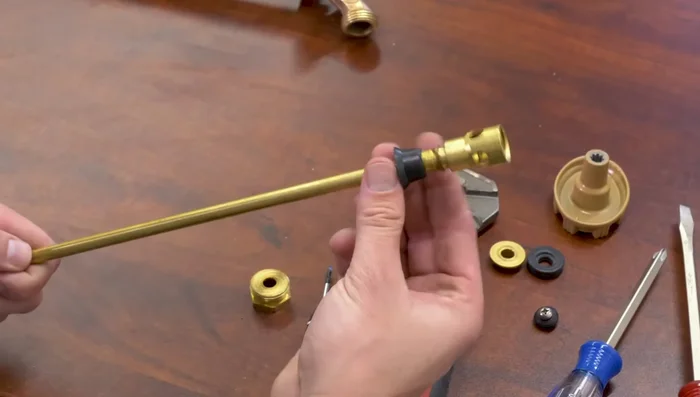
Prepare for Repair Remove Handle and Stem Assembly
- Remove the handle using a flat-head screwdriver (counter-clockwise).
- Remove the packing nut using pliers.
- Remove the packing nut and washer. Put the handle back on to help unscrew the valve stem.
- Remove the packing rubber and washer. Remove the valve stem (there will be resistance).
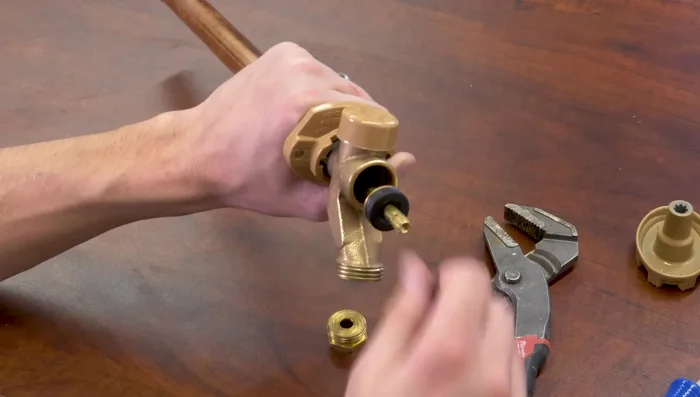
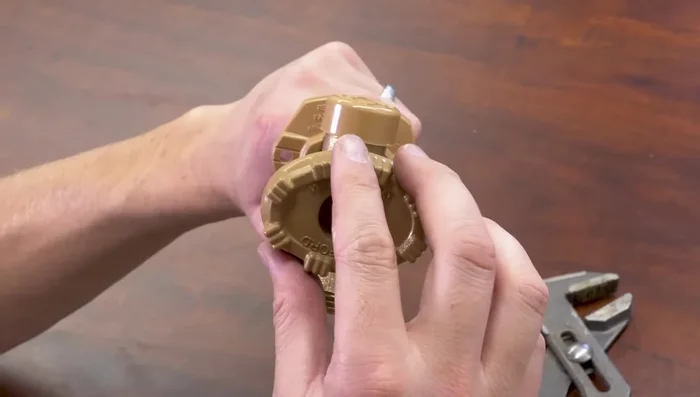
Remove Handle and Stem Assembly Remove Internal Components
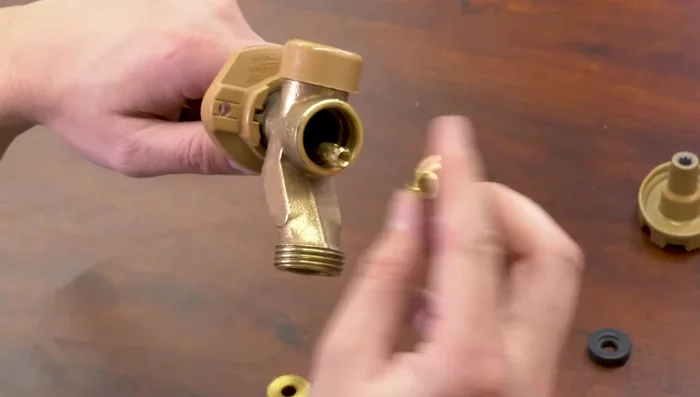
- Remove the retainer screw (Phillips head).
- Remove the valve seat rubber and check valve rubber.
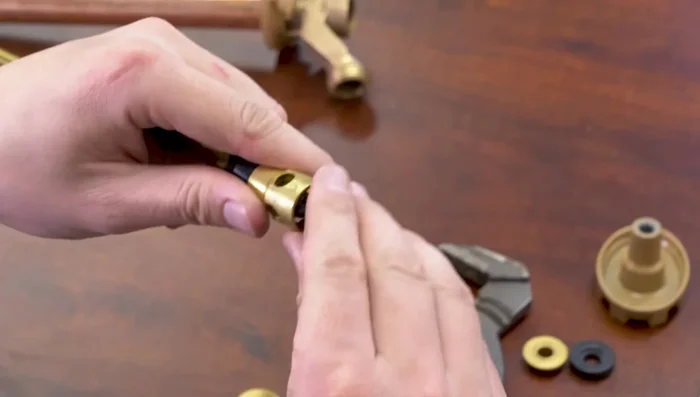
Remove Internal Components Install New Parts
- Install the new rubber check valve from your repair kit.
- Reinstall the valve seat (flat side against the base). Re-tighten the screw.
Install New Parts Reassemble the Valve
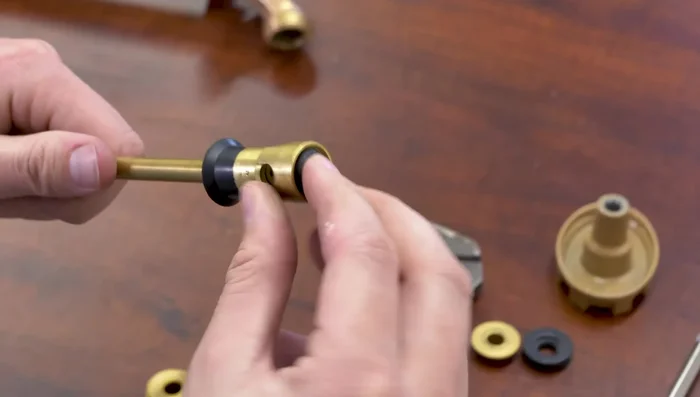
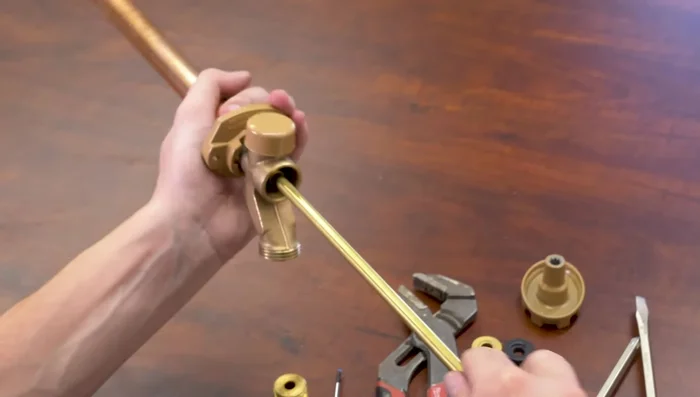
- Insert the rod assembly back into the hose bib.
- Reinstall the packing washer (flat side facing you).
- Reinstall the black rubber packing and packing nut. Lightly tighten.
- Reinstall the handle and tighten the screw.
Reassemble the Valve Test and Finalize
- Turn the water back on and test thoroughly.

Read more: Fixing a Leaky Toilet Tank: A Step-by-Step Guide
Tips
- Be careful when removing older retainer screws; they can be stuck.
- Use the correct size screwdriver to avoid stripping screws.
- The check valve rubber can be difficult to remove; work it out carefully.
- Before replacing parts, try tightening the packing nut – this might solve the leak.
- Some older models have reverse threads on the packing nut.