Tired of flimsy, unattractive towel holders that constantly fall apart? Ready to elevate your bathroom's aesthetic with a piece of handcrafted elegance? Then prepare to be amazed by the beauty and durability of a towel holder built using precision case miter joints. This woodworking tutorial will guide you through creating a stunning, functional addition to your home, a testament to your craftsmanship and a source of daily pride. We’ll explore the intricacies of this joinery technique, revealing the secrets to achieving perfectly aligned corners and a finish that will impress even the most discerning eye.
This project is ideal for woodworkers of intermediate skill levels, offering a satisfying challenge and a rewarding outcome. From selecting the perfect wood to the final sanding and finishing touches, we'll cover every step in detail. Let's dive into the step-by-step instructions and build your magnificent towel holder together!
Preparation and Safety Guidelines
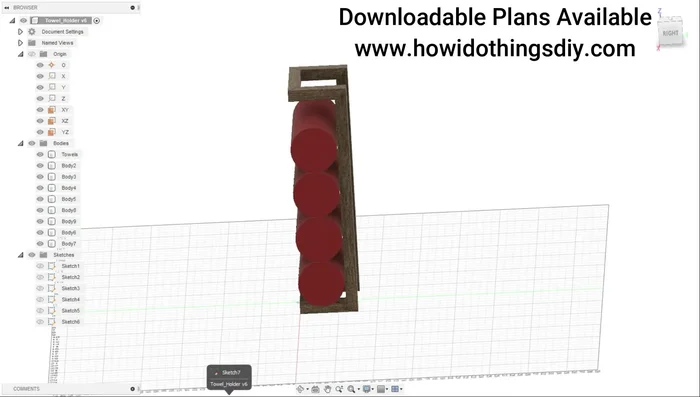
- Fusion 360 (for modeling)
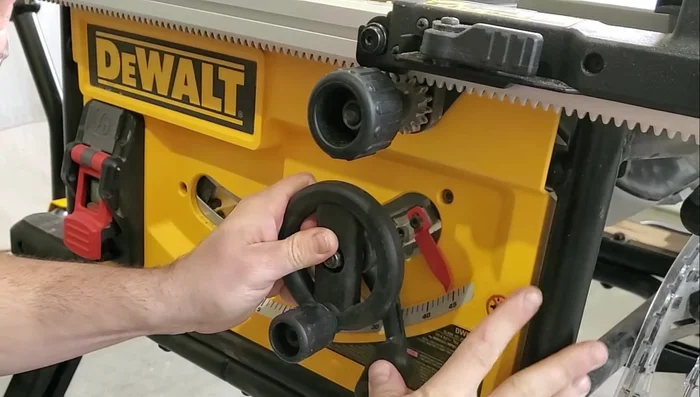
- Table Saw
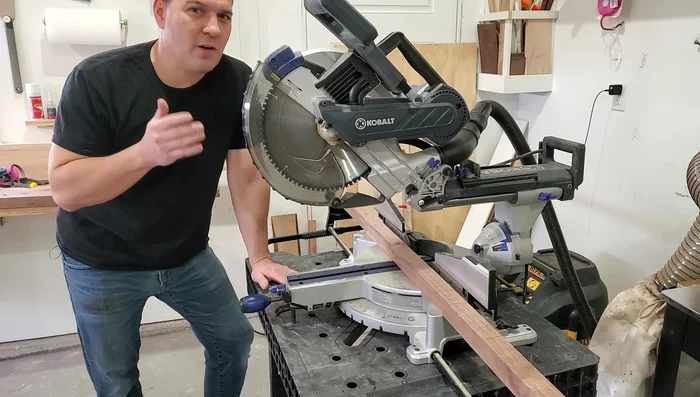
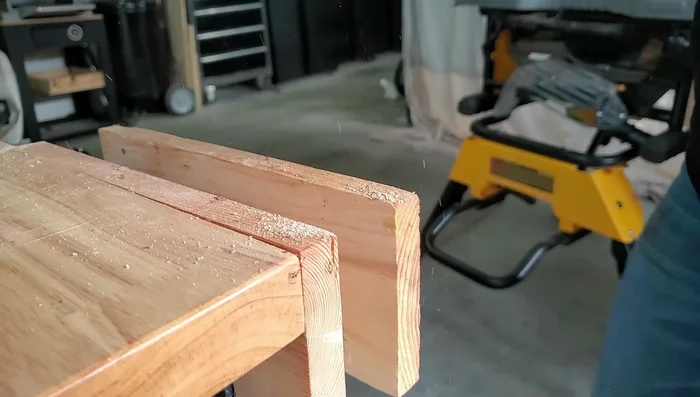
- Miter Saw
- Sandpaper (120 grit, 220 grit)
- CA Glue
- Wood Glue
- Forstner bit
- Clamps
- Painter's Tape
- Mr. Cornwall's Super Duper Everlasting Oil
- Always wear safety glasses when using power tools. Wood dust and flying debris can cause serious eye injuries.
- Use clamps to secure your workpiece throughout the entire process, especially when using hand tools or during gluing. This prevents shifting and ensures accurate joints.
- Ensure your blades are sharp. Dull blades require more force, increasing the risk of kickback and inaccurate cuts. Regularly inspect and sharpen or replace blades as needed.
Step-by-Step Instructions
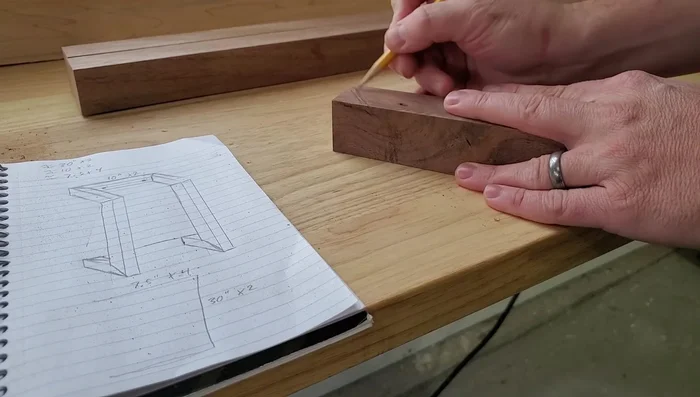
Design and Planning
- Design and Modeling in Fusion 360
- Create Cut List from Model

Design and Planning Prepare the Wood
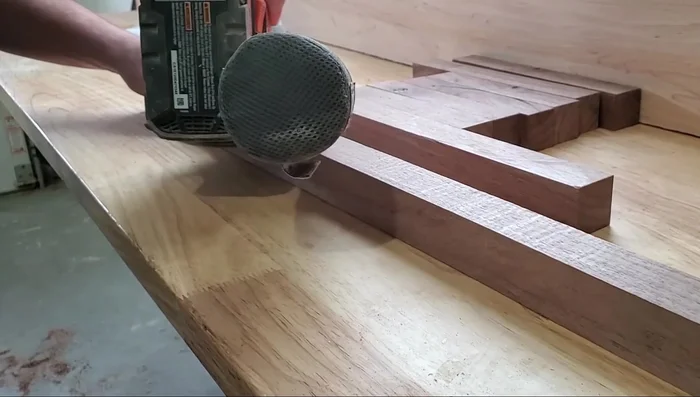
- Rip Walnut to Strips
- Cut to Rough Length (add 1/4 inch)
- Fill Knots and Holes with CA Glue
- Sand CA Glue and Square Profiles on Table Saw
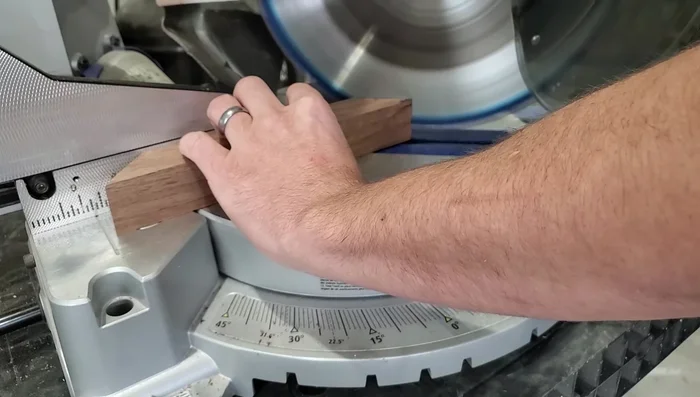
Prepare the Wood Cut Miter Joints
- Rough Mark Miter Joints
- Cut Miter Joints
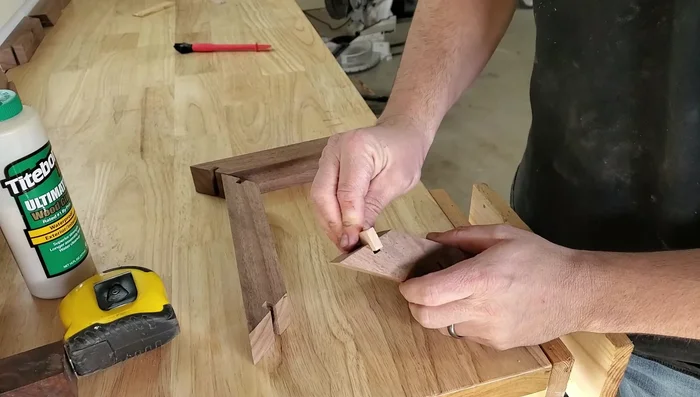
Cut Miter Joints Create and Install Case Miter Joints
- Create and Install Case Miter Joints (Maple Spline)
- Cut spline pieces
- Cut slots for splines
- Glue and Clamp
Create and Install Case Miter Joints - Flush Cut Spline
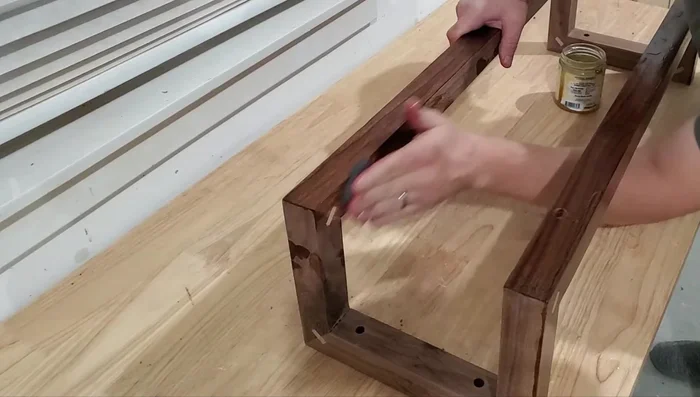
Create and Install Case Miter Joints Sanding
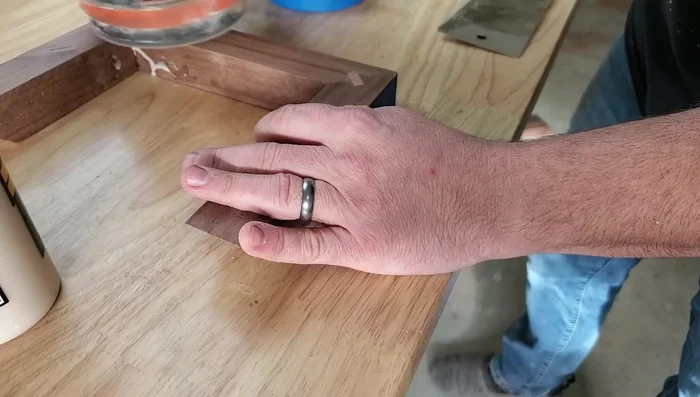
- Sanding (before and after final assembly)
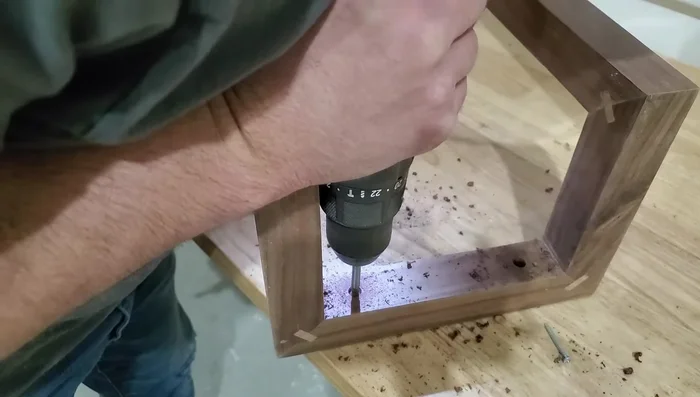
Sanding Prepare for Installation
- Drill Countersunk Holes
Prepare for Installation Finishing
- Apply Finish (Mr. Cornwall's oil)
Finishing

Read more: DIY Mason Jar Soap Dispensers: A Step-by-Step Guide with Two Stunning Designs
Tips
- Model miter joints to determine direction
- Add 1/4 inch to each piece for rough cut
- Use accelerator with CA glue for quick drying
- Reality check miter cuts
- Dry fit splines before gluing