Working with mains electricity can be dangerous, and replacing a 240V wall socket is no exception. A seemingly simple task, improper handling can lead to serious injury or even death. This is why understanding the correct procedures is paramount before undertaking any electrical work in your home. Many homeowners are tempted to tackle such projects themselves to save money, but it's crucial to prioritize safety above all else. Improperly installed sockets present significant fire and shock hazards, potentially damaging appliances and posing a risk to your family. This guide will equip you with the necessary knowledge to approach this task confidently and safely.
This comprehensive step-by-step guide will walk you through the process of safely replacing a 240V wall socket, ensuring you complete the job correctly and without risk. Following these instructions carefully will minimize the chance of accidents, allowing you to confidently replace your faulty socket and restore power to your home.
Preparation and Safety Guidelines
- Screwdrivers (appropriate size)
- New wall socket
- Test pen
- Wire strippers (if needed)
- Always turn off the power at the breaker box before beginning any work. Double-check that the power is off using a non-contact voltage tester.
- Never work with wet hands or in damp conditions. Electricity and water are a deadly combination.
- If you are unsure about any part of this process, consult a qualified electrician. Improper wiring can lead to fire or electrocution.
Step-by-Step Instructions
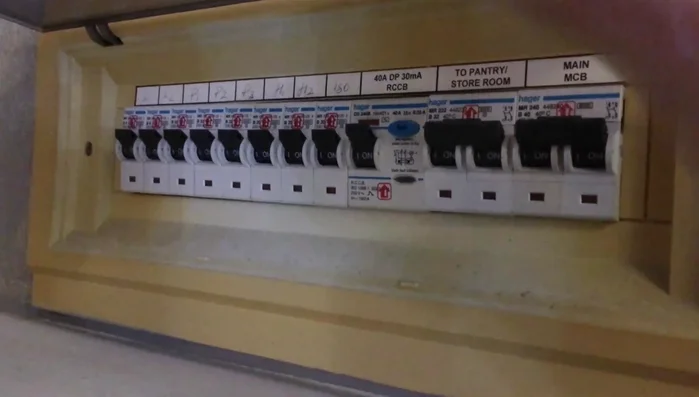
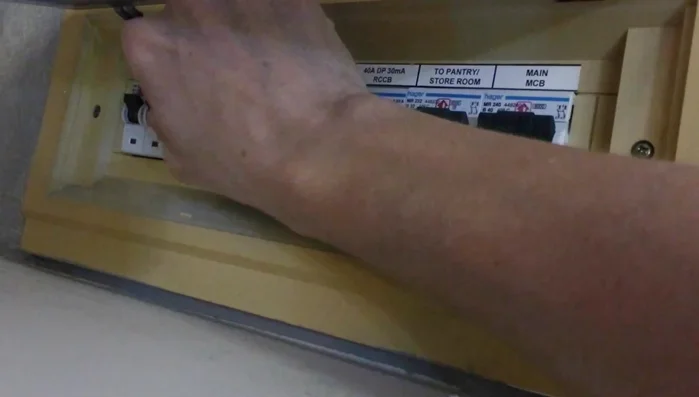
Power Isolation
- Switch off the circuit breaker corresponding to the faulty socket.
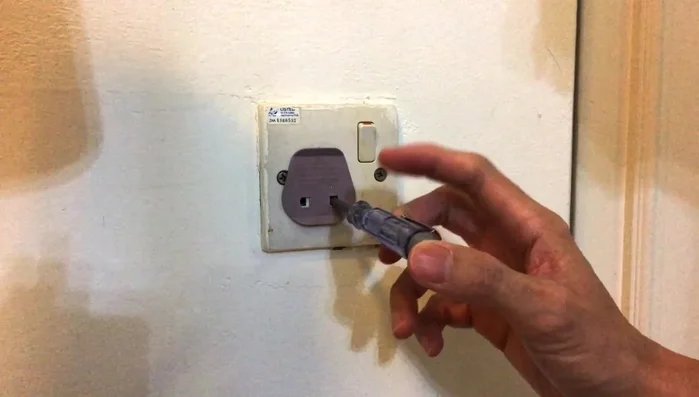
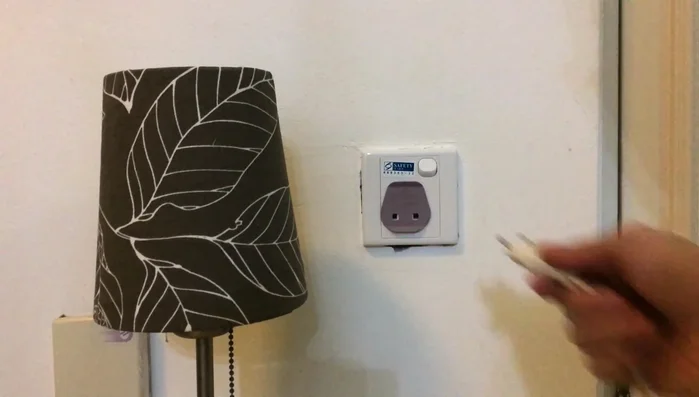
- Verify power is off using a test pen on the socket's live terminal.
- Alternatively, plug in a lamp; it should not light if the power is off.
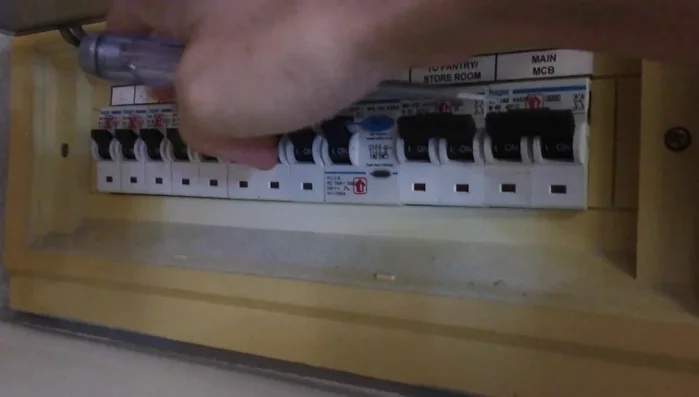
- Locate the circuit breaker panel and identify the correct breaker (indicated by a light or by testing each breaker).

Power Isolation - Turn off the identified circuit breaker.
- Retest the socket's live terminal with the test pen to confirm power is off.
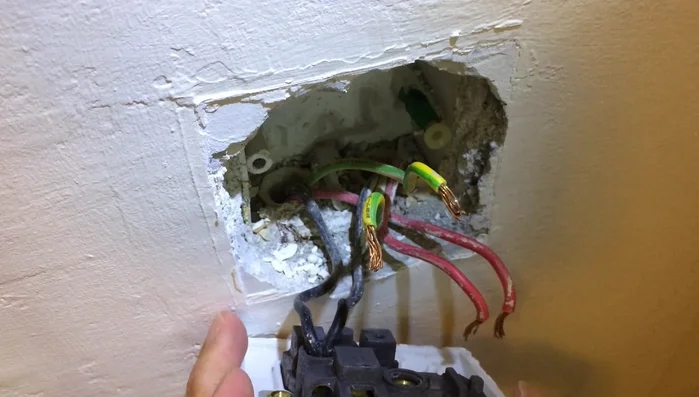
Power Isolation Removing the Old Socket
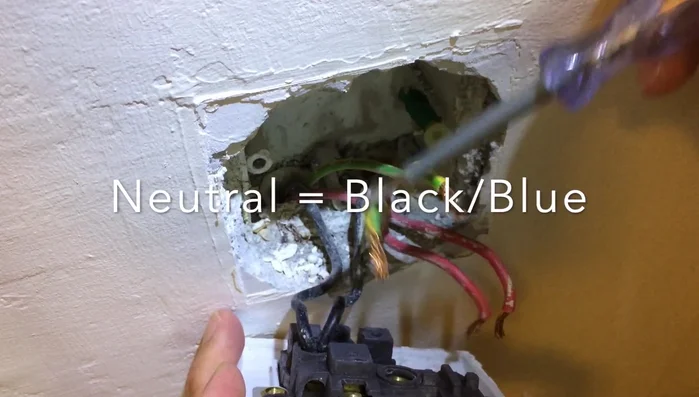
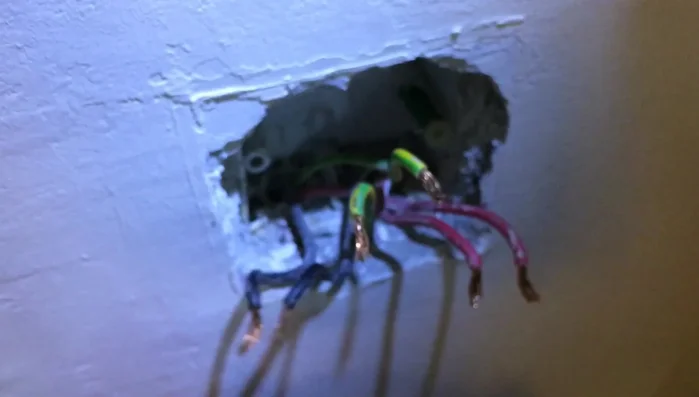
- Carefully remove the old wall socket, noting the wire connections.
Removing the Old Socket Installing the New Socket
- Connect the wires to the new wall socket, ensuring correct placement (live, neutral, earth). Avoid contact between neutral and earth wires.
- Securely install the new wall socket.
Installing the New Socket Testing and Restoration
- Turn the circuit breaker back on.
- Test the new socket by plugging in a lamp and checking for consistent power.
Testing and Restoration
Read more: Installing an Outdoor GFCI Receptacle: A Step-by-Step Guide
Tips
- Always prioritize safety. Double-check power is off before working on electrical components.
- Never allow the neutral and earth cables to touch; this will trip the earth leakage circuit breaker.