Roofing projects often require a robust and reliable adhesive for a long-lasting, watertight seal. Modified bitumen adhesives, like the widely used 66 Modified Bitumen, provide a superior bonding solution compared to traditional asphalt-based options. Their increased flexibility and resistance to temperature fluctuations make them ideal for a variety of roofing materials and climates, ensuring a durable and weather-resistant roof. Understanding the proper application technique is crucial for maximizing the adhesive's performance and achieving a successful roofing installation.
This guide will walk you through a comprehensive, step-by-step process for applying 66 Modified Bitumen adhesive to your roof, ensuring a professional-looking and long-lasting result. From surface preparation to final sealing, we will cover all the essential stages, equipping you with the knowledge and confidence to tackle your roofing project successfully.
Preparation and Safety Guidelines
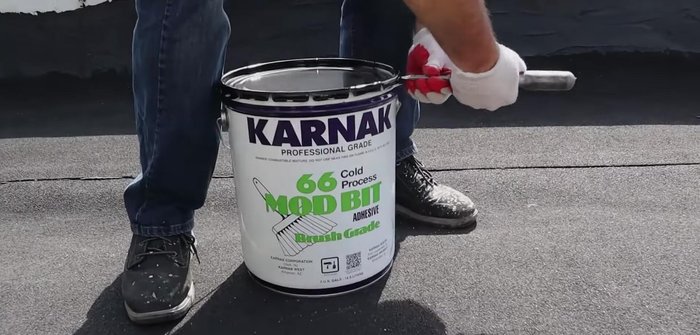
- 66 modified bitumen adhesive brush grade
- Serrated squeegee on a pole
- Membrane
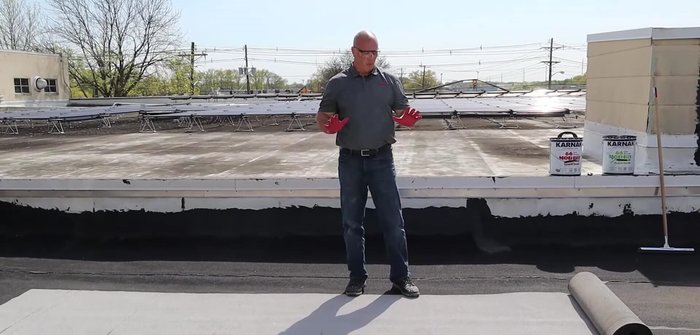
- Always wear appropriate personal protective equipment (PPE), including gloves, eye protection, and a respirator, to prevent skin and respiratory irritation from fumes and contact with the adhesive.
- Ensure adequate ventilation during application and drying to prevent the build-up of harmful fumes. Work in a well-ventilated area or use appropriate respiratory protection.
- Modified bitumen adhesive is highly flammable. Keep away from open flames, sparks, and other ignition sources. Store in a cool, dry place away from heat and direct sunlight.
Step-by-Step Instructions
Prepare the Roofing Membrane
- Position and roll out the membrane on the roof, allowing it to relax.

Prepare the Roofing Membrane Prepare the Adhesive
- Roll the membrane back up.
- Open the can of adhesive and mix it thoroughly to ensure homogeneity.
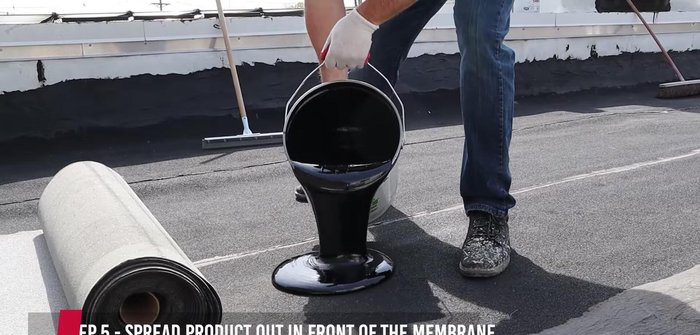
Prepare the Adhesive Apply the Adhesive
- Apply the adhesive to the roof surface.
- Spread the adhesive using the serrated squeegee.
Apply the Adhesive Secure the Membrane
- Re-roll the membrane into the adhesive to secure it.
Secure the Membrane

Read more: DIY Roof, Shingle, Fence, and Flashing Repair with Henry Wet Patch 208
Tips
- Ensure the adhesive is fully mixed and homogeneous before application to avoid separation.
- In cold process applications, make sure there is a bleed-out on all side and end laps for full adhesion. This indicates complete membrane bonding with the adhesive.