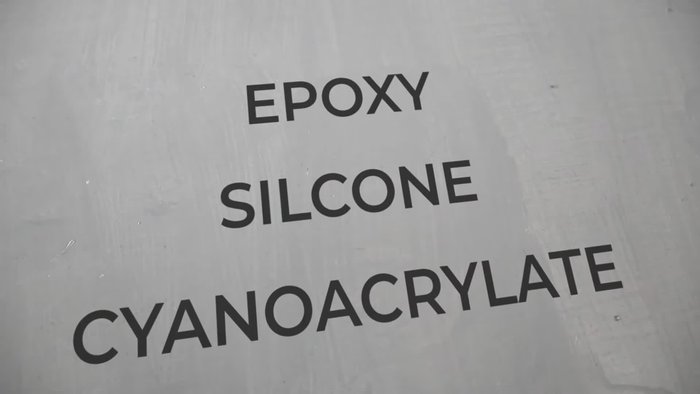
Acrylic sheets, prized for their clarity and durability, offer a versatile material for countless applications. However, achieving strong, invisible bonds between these sheets can be challenging. While various methods exist, solvent welding stands out as a preferred technique for achieving seamless joints with exceptional strength and optical clarity. This superior bonding method relies on the chemical interaction of specialized solvents with the acrylic surface, dissolving a thin layer to create a fused bond upon evaporation. Unlike adhesives which may yellow or degrade over time, solvent welding creates a nearly invisible join that retains the inherent strength of the acrylic itself.
This article delves into the intricacies of solvent welding acrylic sheets, comparing different techniques and providing a comprehensive guide to achieving professional-quality results. We'll explore the best practices, essential tools, and safety precautions necessary for successful bonding, taking you through a step-by-step process to ensure a perfect weld every time.
Preparation and Safety Guidelines
- Acrylic sheets
- Commercial acrylic cement (for comparison)
- Xylene
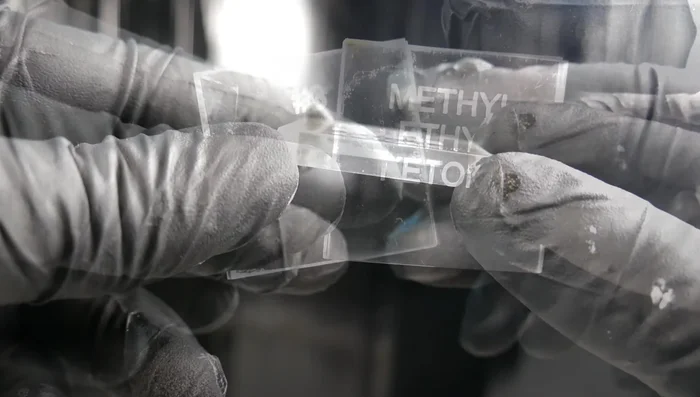
- Methyl Ethyl Ketone (MEK)
- PVC priming fluid
- Lacquer thinner
- Acetone
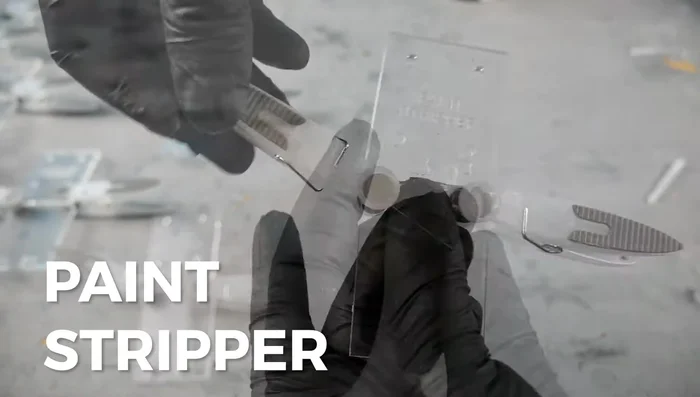
- Paint stripper
- Medical syringes
- 25 gauge needles
- Laser cutter (optional)
- Plywood
- Clamps
- Screws
- Luggage scale
- Sandpaper
- Polishing compound
- Always work in a well-ventilated area. Acrylic solvents are volatile and inhaling them can be harmful.
- Wear appropriate personal protective equipment (PPE), including gloves, eye protection, and a respirator. Skin contact with solvents can cause irritation, and fumes can be irritating to the eyes and respiratory system.
- Use caution when handling solvents and avoid open flames or sparks. Acrylic solvents are flammable.
Step-by-Step Instructions
Preparation
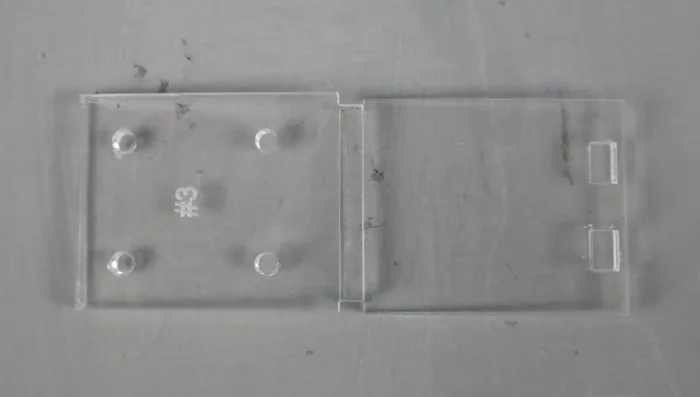
- Prepare acrylic sheets, various solvents (xylenes, MEK, PVC primer, lacquer thinner, acetone, paint stripper), syringes, needles, and testing equipment.
- Use a laser cutter or hand tools to create consistent test pieces for bonding strength and clarity tests.

Preparation Solvent Application
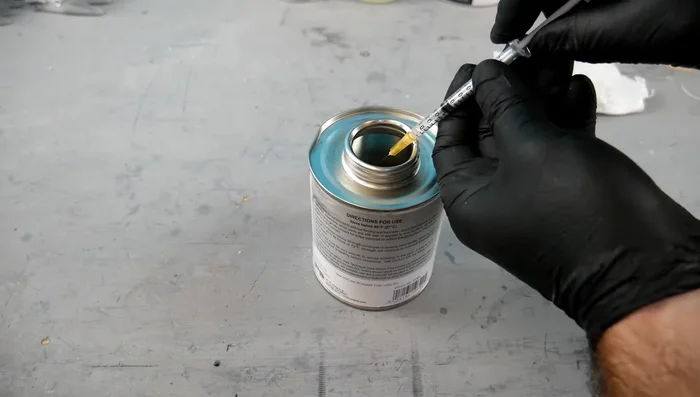
- Using syringes and needles, apply a thin layer of each solvent to one surface of each pair of acrylic sheets.
Solvent Application Curing
- Let the bonded pieces cure for 24 hours to allow the solvents to fully bond the acrylic.
Curing Strength Testing
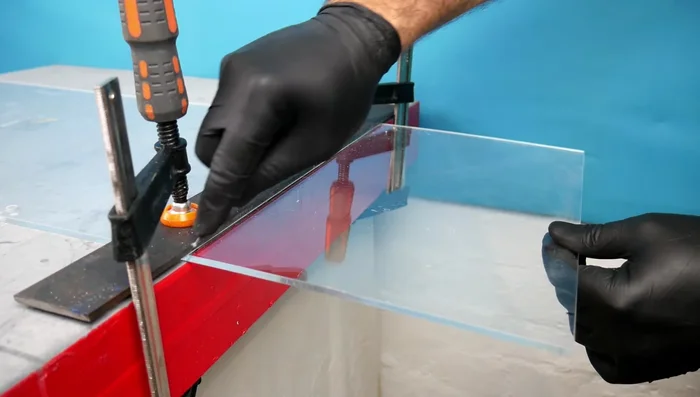
- Secure one piece to a sturdy surface and attach the other to a hook connected to a luggage scale. Gradually increase the force until the bond breaks, recording the breaking point in Newtons.
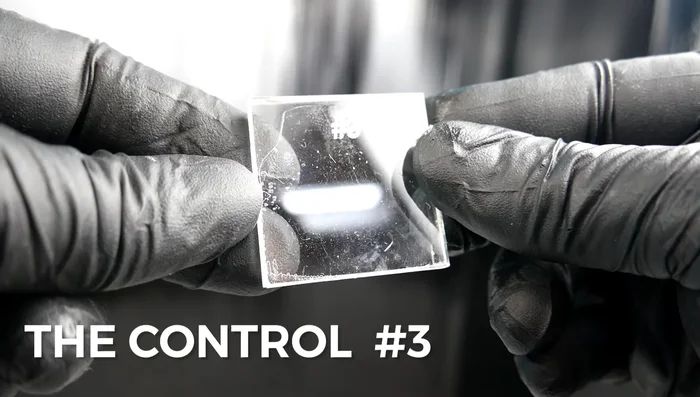
Strength Testing Clarity Assessment
- Visually inspect each bond for clarity and any defects like fractures or haze.
Clarity Assessment Finishing (Optional)
- (Optional) Sand and polish one of the bonded edges to assess the final appearance.
Finishing (Optional)
Read more: Silence that Squeaky Bed: A Complete Fix-It Guide
Tips
- Safety first: Handle all chemicals with care and refer to the Safety Data Sheet (SDS) for each product before use.
- Consider cost and availability: Commercial acrylic cement is the ideal option, but alternatives can be explored if budget or access is limited.
- Test thoroughly: Conduct both strength and clarity tests to determine the overall effectiveness of each solvent.