Leaky roofs are a homeowner's nightmare, leading to costly repairs and potential structural damage. One common culprit is the vulnerable area where plumbing pipes penetrate the roof. Improperly sealed pipe boots can allow water to seep in, causing significant problems. Fortunately, a DIY solution exists, offering a cost-effective and reliable method to secure your roof against leaks. Using readily available aluminum flashing and a few basic tools, you can install a durable and long-lasting pipe boot that will protect your home for years to come.
This step-by-step guide will walk you through the entire process of installing a leak-proof aluminum pipe boot, ensuring a watertight seal around your roof penetrations. From selecting the right materials to properly securing the flashing, we'll cover every detail necessary for a successful installation. Let’s get started!
Preparation and Safety Guidelines
- Sealer
- Flat bar
- Hammer or Mag Hatchet
- Knives (hook blade, straight blade)
- Gloves
- Always wear appropriate safety gear, including safety glasses, gloves, and sturdy work boots. Working at heights involves significant risk of falls.
- Use caution when working with sharp metal. Aluminum pipe can have sharp edges. Wear gloves and handle carefully to prevent cuts.
- Ensure the roof is structurally sound and able to support your weight and the added weight of the materials before starting the installation. If unsure, consult a qualified roofer.
Step-by-Step Instructions
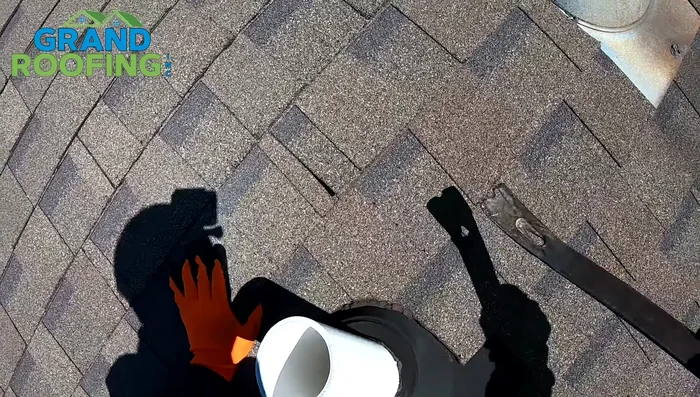
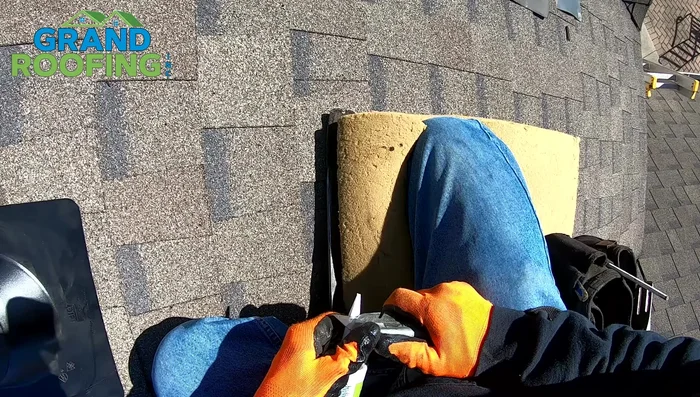
Prepare the Roof Area
- Remove two shingles around the pipe. If shingles are brittle, carefully remove them to avoid breaking.
- Use a flat bar to carefully remove the seal strip. Work under the double thickness side to split the shingles.
- Remove nails from the old pipe boot, ensuring no nails are left in the drip groove.
- If necessary, cut the old shingles to remove the pipe boot completely. Avoid cutting into the drip groove.

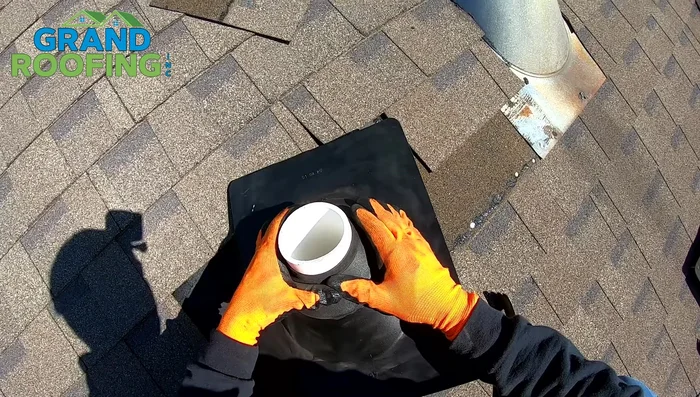
Prepare the Roof Area Prepare the New Boot
- Prepare the new aluminum pipe boot. If using a larger boot than necessary, trim it to fit.
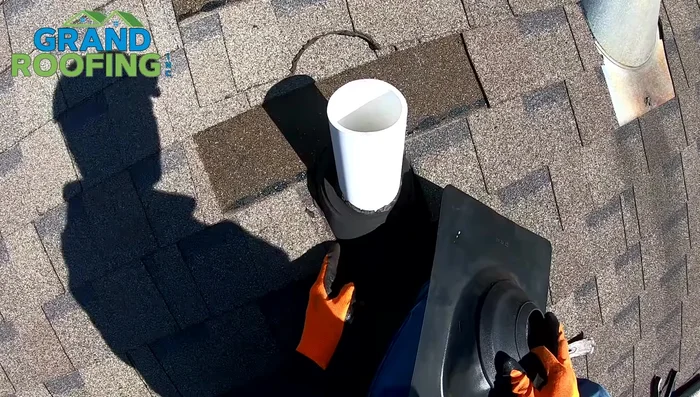
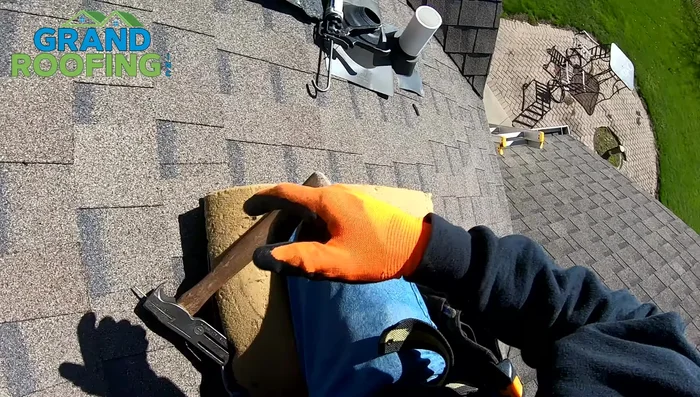
Prepare the New Boot Install the New Boot
- Carefully install the new pipe boot, ensuring it's properly aligned and covers all nail holes.
- Apply a bead of sealant under the flange around the nail holes to ensure a watertight seal.
Install the New Boot Finish and Seal
- Replace the shingles, carefully aligning them and nailing them back in place. Avoid placing nails on the bottom outer edge.
- Apply additional sealant to any exposed nail holes or areas where the seal was broken.
Finish and Seal


Read more: DIY Roof, Shingle, Fence, and Flashing Repair with Henry Wet Patch 208
Tips
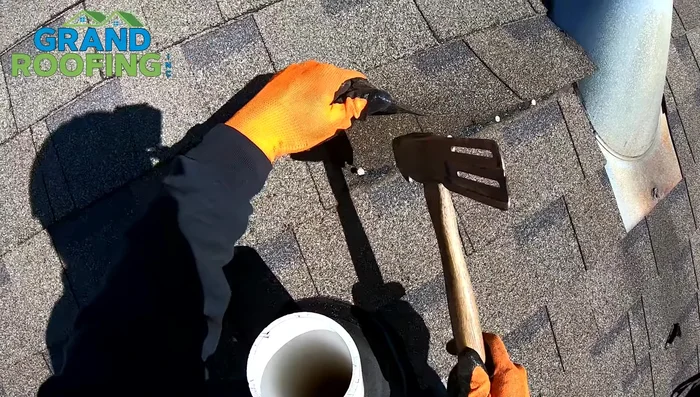
- Use a mag hatchet to hold shingles while nailing, protecting your fingers.
- Shingles won't reseal if compromised, so reseal them properly after removal.
- Don't drive nails into the drip groove; this will cause leaks.
- For 4-inch pipes, cut the ring on the pipe boot before installation. Ensure the boot is installed correctly (not upside down).
- Use a hook blade to cut shingles from the top to avoid damaging underlying shingles.