Antique furniture holds a unique charm, whispering tales of bygone eras. But time, unfortunately, often leaves its mark, and cherished pieces can suffer damage from woodworm and age. A worm-eaten antique chair, once a symbol of elegance, might seem destined for the scrap heap, but with careful restoration, its former glory can be reclaimed. The delicate balance between preserving history and ensuring structural integrity demands patience and precision. This isn't a task for the faint of heart, but the reward – a beautifully restored heirloom – is immeasurable.
This guide provides a comprehensive, step-by-step process for restoring a worm-eaten antique chair, transforming a damaged piece into a cherished family treasure. From initial assessment and pest control to the meticulous process of repair and refinishing, we'll cover every stage in detail, equipping you with the knowledge and confidence to undertake this rewarding project.
Preparation and Safety Guidelines
- Sandblaster with built-in vacuum
- Compressor
- Wood hardener
- Expanding glue
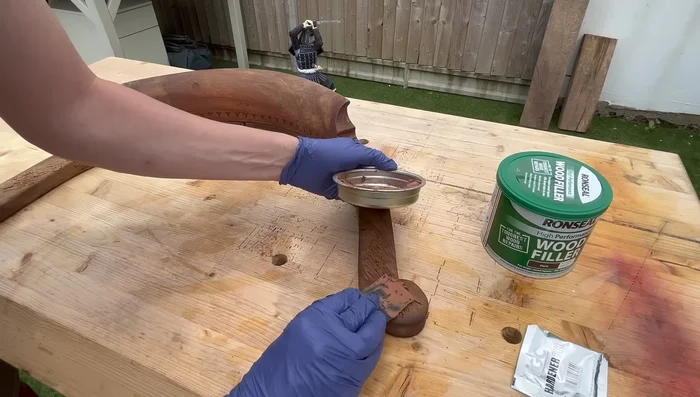
- Wood filler with hardener
- Mineral spirits
- Sandpaper
- Wood lathe
- Chisel
- Air tools
- Light walnut stain
- Spirit-based stain
- Lacquer toner
- Wax
- Clamps
- Always wear appropriate safety gear, including a respirator mask to avoid inhaling wood dust and chemicals, safety glasses to protect your eyes, and gloves to protect your skin.
- Work in a well-ventilated area. Fumes from wood fillers, glues, and finishes can be harmful.
- Test any wood treatment or finish on an inconspicuous area first to ensure it doesn't damage or discolor the antique finish.
Step-by-Step Instructions
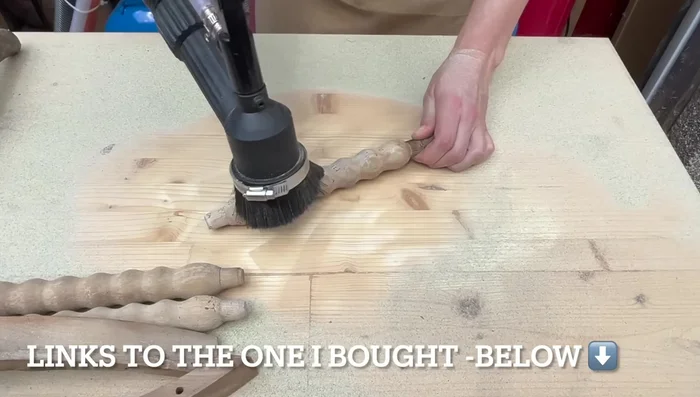
Surface Preparation
- Sandblasting to remove old varnish and paint
- Removing tacky residue from wood filler with mineral spirits

Surface Preparation Structural Repairs
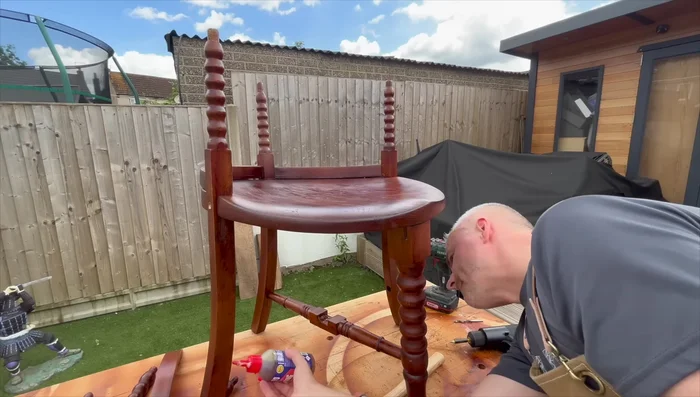
- Using expanding glue to repair a broken piece
- Applying wood hardener to strengthen the wood
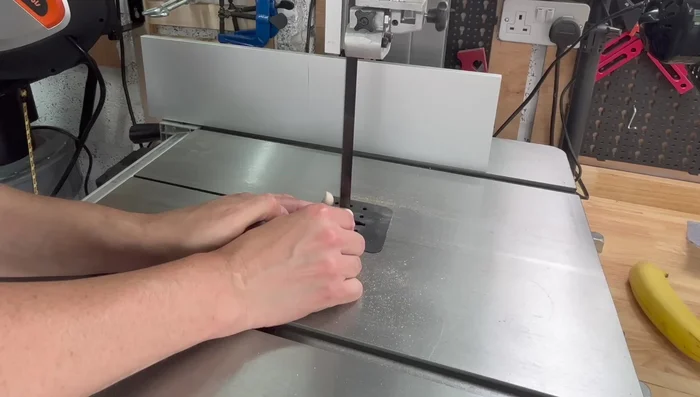
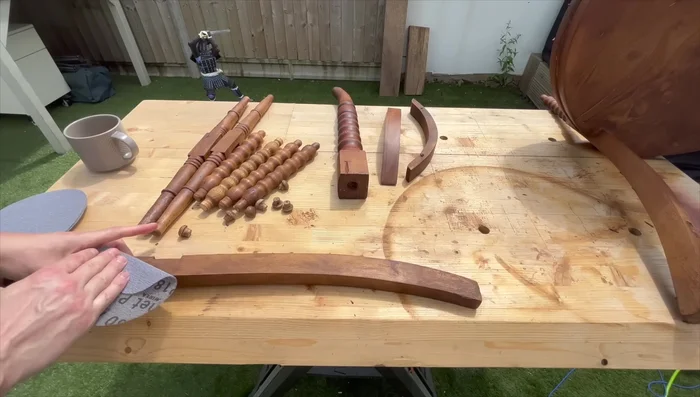
- Creating a replacement spindle using a wood lathe
- Creating plugs to cover screw holes
Structural Repairs Wood Filling and Finishing
- Filling woodworm holes with wood filler and hardener
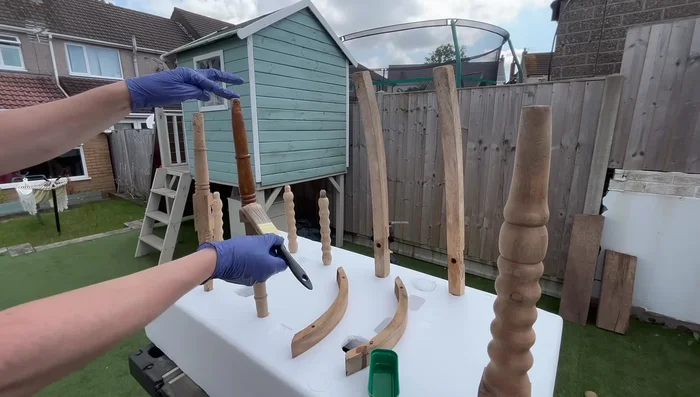
- Applying light walnut stain
- Applying lacquer toner to even out the color
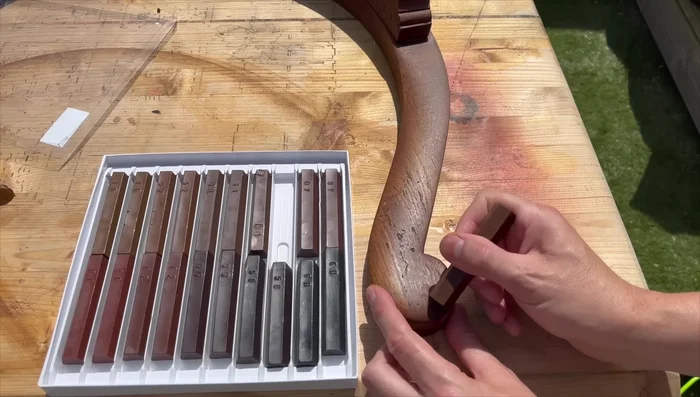
- Repairing the cracks using wax
Wood Filling and Finishing Assembly and Final Touches
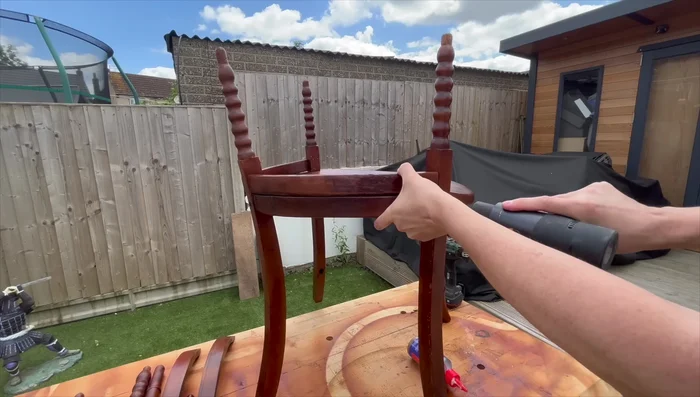
- Reassembling the chair
- Leveling the legs by sanding
Assembly and Final Touches


Read more: Silence that Squeaky Bed: A Complete Fix-It Guide
Tips
- A large compressor is necessary for efficient sandblasting.
- Wood hardener significantly improves the strength of severely damaged wood.
- The chosen wood filler wasn't ideal, leaving a sticky residue.
- Using a foam sanding pad is gentler on curved surfaces.
- Lacquer toner is effective in blending repairs and color variations.