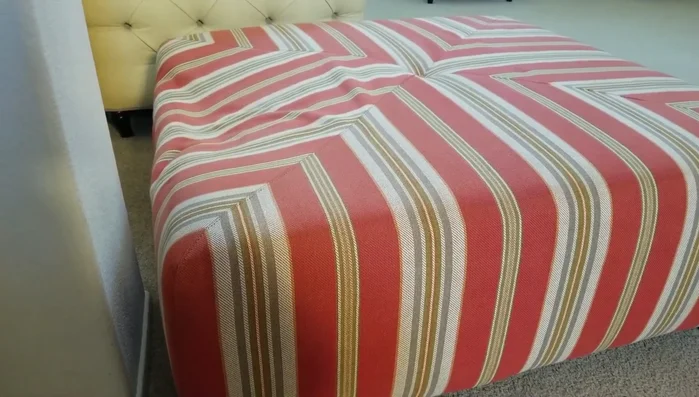
Got a cracked basketball backboard? Don't despair and don't immediately shell out for a replacement! A damaged backboard, whether it's suffering from a nasty crack, peeling paint, or general wear and tear, doesn't automatically mean the end of your home court. With a little elbow grease and the right materials, you can restore your beloved backboard to its former glory, saving yourself money and enjoying the satisfaction of a successful DIY project. This isn't just about patching things up – we're talking about reinforcement and complete restoration, giving your backboard renewed strength and a fresh, vibrant look.
This comprehensive guide will walk you through a step-by-step process to reinforce and restore your basketball backboard. From identifying the type of damage and selecting the appropriate materials, to the actual repair and finishing touches, we'll cover it all. Get ready to transform your battered backboard into a durable, game-ready surface, ready to withstand countless shots for years to come!
Preparation and Safety Guidelines
- Drill
- Flathead screwdriver
- Plywood or 2x4s
- L-brackets
- Screws
- Staple gun (implied)
- Always wear safety glasses and gloves to protect yourself from flying debris and sharp edges.
- Ensure the backboard is securely supported before starting any repairs to prevent it from falling and causing injury.
- Use appropriate tools for the job and be cautious when handling power tools. If unsure, consult a professional.
Step-by-Step Instructions
Assessment and Preparation
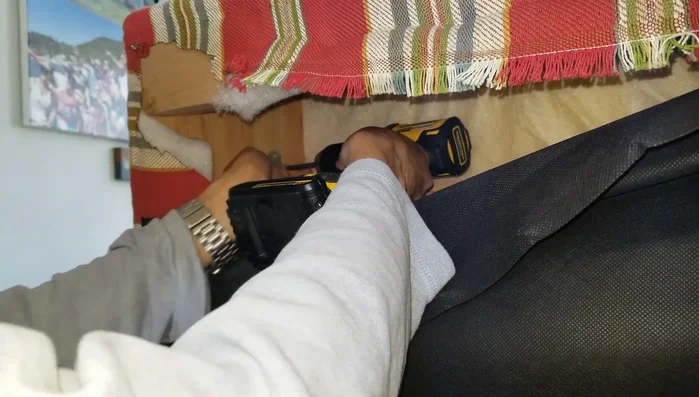
- Inspect the damage and assess the extent of the crack.
- Flip the backboard upside down for easier access to the underside.
- Identify the broken support beam.

Assessment and Preparation Reinforcement and Support
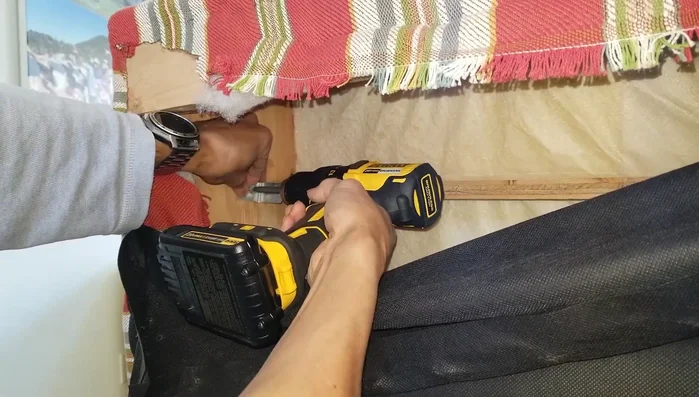
- Reinforce the broken beam with additional plywood or 2x4s.
- Use L-brackets to further secure the reinforcement pieces to the backboard.
- Drill screws to attach the L-brackets securely.
Reinforcement and Support Opposite Side Reinforcement
- Repeat the reinforcement process on the other side of the backboard.
Opposite Side Reinforcement Finishing Touches
- Staple the damaged wood back into place (implied).
Finishing Touches

Read more: Silence that Squeaky Bed: A Complete Fix-It Guide
Tips
- Add reinforcement (plywood or 2x4s) to prevent future damage.
- Use long screws for better support, especially if drilling at an angle.