A flickering bathroom light can be more than just an annoying inconvenience; it can be a sign of a deeper electrical issue. That unsettling strobe effect not only disrupts your morning routine but also raises concerns about potential safety hazards. Is it a loose bulb, a faulty switch, or something more serious lurking within the wiring? This frustrating problem doesn't necessarily require an expensive electrician call – in many cases, you can tackle the troubleshooting and repair yourself.
This DIY guide provides a comprehensive, step-by-step approach to diagnosing and fixing a flickering bathroom light fixture. We'll walk you through the common culprits, from simple bulb replacements to more complex wiring issues, equipping you with the knowledge and confidence to tackle the problem head-on. Let's get started with the first step in our troubleshooting process!
Preparation and Safety Guidelines
- Ladder
- Screwdriver
- New light switch (optional)
- New light fixture (optional)
- Always turn off the power at the breaker box before working on any electrical fixture. Failure to do so could result in serious injury or death.
- If you are not comfortable working with electricity, contact a qualified electrician. Improper wiring can cause fires and other hazards.
- Never touch any exposed wires while the power is on. Even low voltage can cause a shock.
Step-by-Step Instructions
Identify the Problem
- The light fixture flickers and then stops working after being turned on and off.

Identify the Problem Safety First: Power Off
- Turn off the circuit breaker to the light fixture before making any repairs.
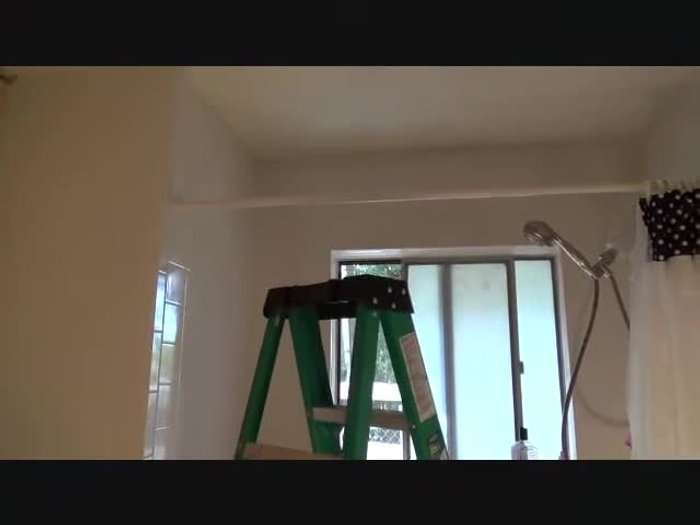
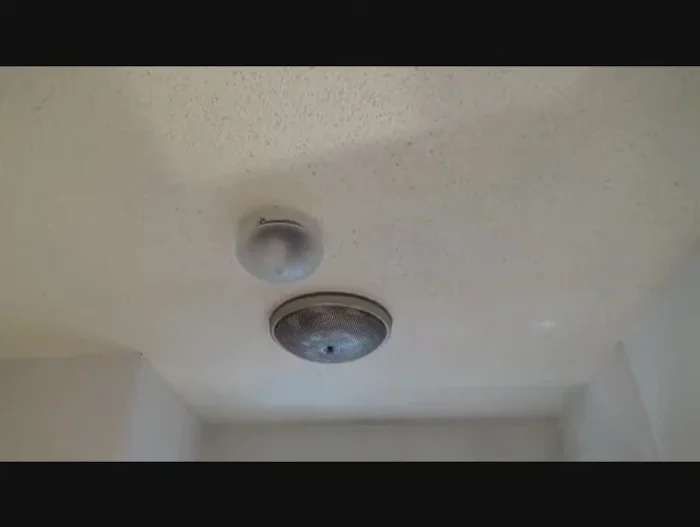
Safety First: Power Off Access the Fixture
- Use a ladder to reach the fixture.
Access the Fixture Inspect the Light Switch (Preliminary Check)
- Check if the light switch is the problem, although it was previously replaced and confirmed working.
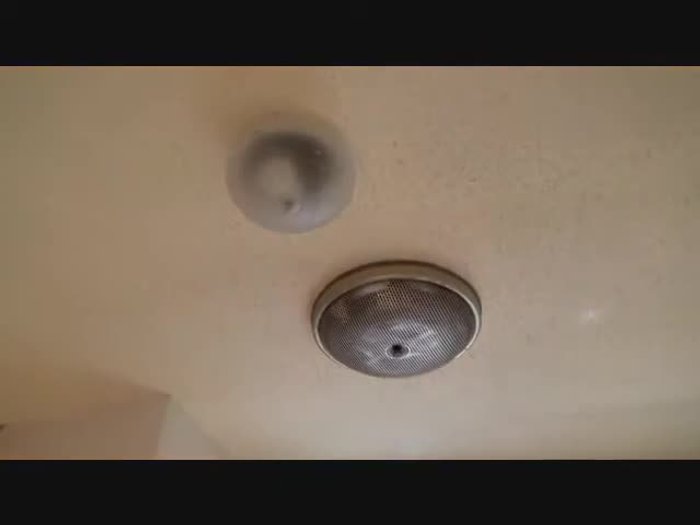
Inspect the Light Switch (Preliminary Check) Inspect Wiring and Connections
- Check the wiring within the fixture and its connections to the power source for loose wires, rust, or other damage due to moisture.
- Examine the wiring carefully. The video suggests that problems might lie in the fixture itself (due to age and moisture) rather than the junction box.
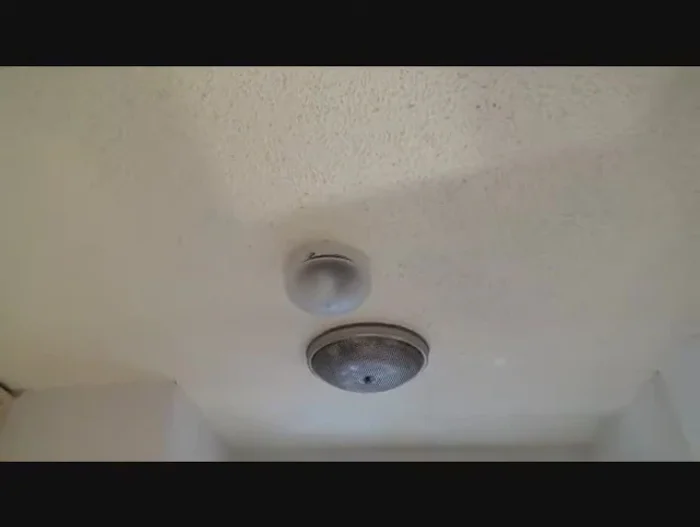
Inspect Wiring and Connections Replace the Fixture (If Necessary)
- If troubleshooting doesn't resolve the issue, replacing the entire fixture is the most effective solution. The speaker mentions the cost of a new fixture being under $20.
Replace the Fixture (If Necessary)


Read more: Installing an Outdoor GFCI Receptacle: A Step-by-Step Guide
Tips
- Replacing a single-pole light switch is easy and inexpensive.
- Consider the age and location of the fixture (bathroom's moisture) when troubleshooting.
- Always turn off power at the breaker before working on electrical components.
- Replacing a light fixture is often a more straightforward solution than extensive wiring repairs, especially in older fixtures in moisture-prone areas.