A chipped or cracked bathroom mirror can instantly detract from the overall aesthetic of your bathroom, leaving you with a frustrating eyesore. Fortunately, a costly replacement isn't always necessary. Many minor mirror damages, especially those involving small chips or cracks along the edges, can be easily and inexpensively repaired using readily available materials, such as plastic trim. This simple DIY solution not only saves you money but also prevents further damage and maintains the integrity of your mirror. Forget about expensive professional repairs and embrace the satisfaction of fixing it yourself!
This quick and easy guide will demonstrate how to seamlessly repair a damaged bathroom mirror using common plastic trim, effectively concealing imperfections and restoring its pristine appearance. We'll walk you through each step of the process, from gathering necessary materials to the final application and finishing touches, leaving you with a beautifully repaired mirror. Let's get started with the step-by-step instructions below.
Preparation and Safety Guidelines
- Hyper Tough oscillating tool
- super fine blade
- sandpaper
- Cold Fiber Fix Extreme glue
- alcohol
- duct tape
- razor blade
- Always disconnect the power to the bathroom light fixture before starting any repair work near electrical components. Failure to do so could result in serious injury or death.
- Use caution when handling sharp objects like utility knives or razor blades. Wear appropriate safety gloves to prevent cuts.
- Ensure the area is well-ventilated if using adhesives or solvents. Read and follow all manufacturer's instructions on safety and usage.
Step-by-Step Instructions
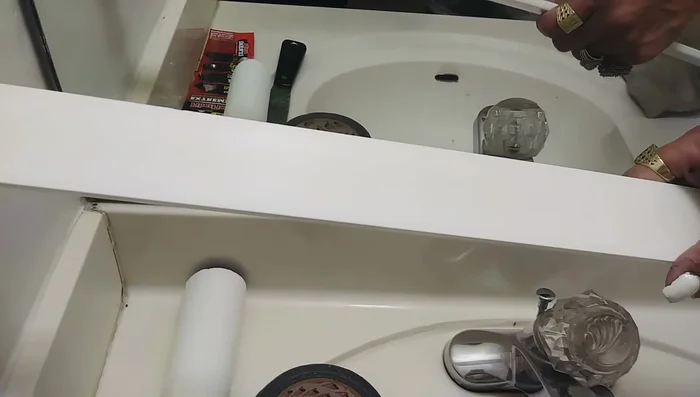
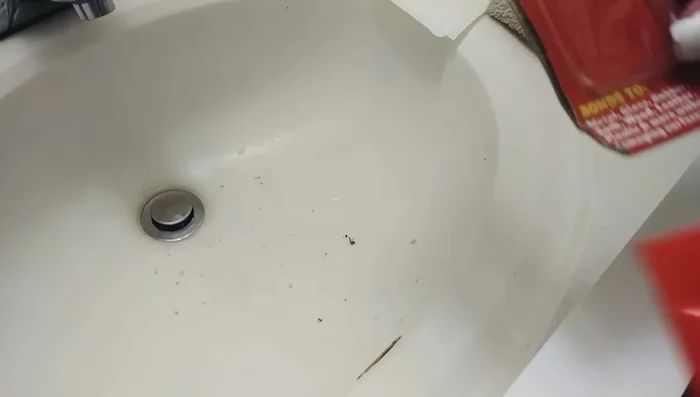
Assess and Prepare
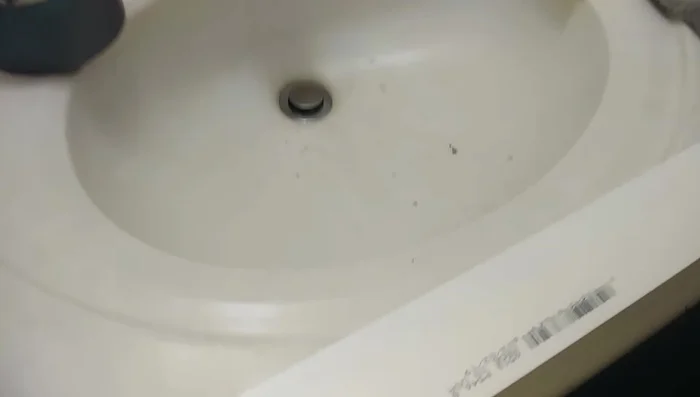
- Assess the damage to the mirror's frame.
- Clean the area around the damaged frame with alcohol.

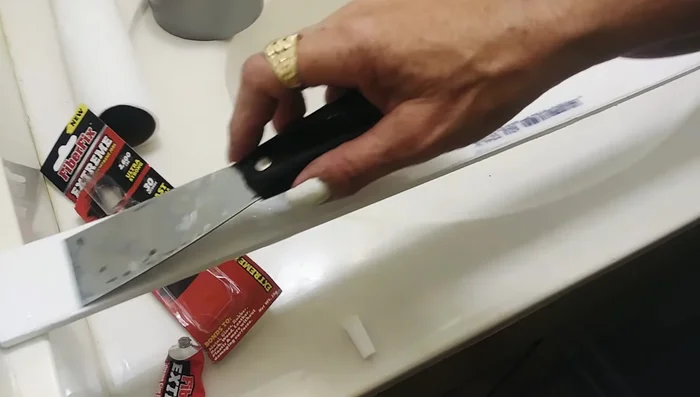
Assess and Prepare Cut and Finish Trim
- Cut a piece of plastic trim to size using the oscillating tool with a super fine blade. Sand the edges for a smooth finish.
Cut and Finish Trim Apply Adhesive
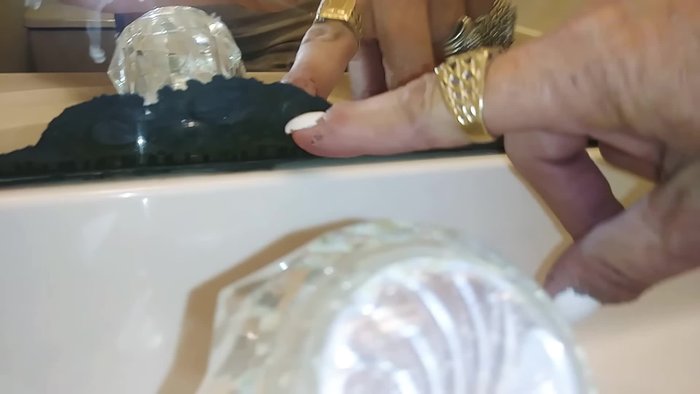
- Apply Cold Fiber Fix Extreme glue to the back of the plastic trim.
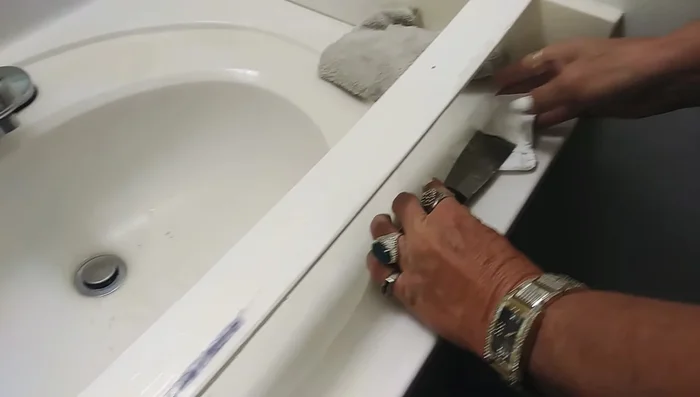
Apply Adhesive Attach and Secure Trim
- Press the plastic trim firmly onto the damaged area. The glue sets in about 30 seconds.
- Use duct tape to hold the trim in place while the glue dries.
Attach and Secure Trim Clean Up
- Remove any excess glue with a razor blade.
Clean Up
Read more: Silence that Squeaky Bed: A Complete Fix-It Guide
Tips
- Use a super fine blade on your oscillating tool for precise cutting.
- Sand the edges of the plastic trim after cutting for a smoother, more professional finish.
- Clean the area before applying the glue to ensure proper adhesion.
- Cold Fiber Fix Extreme glue sets quickly, so work efficiently.