Wobbly chairs. Sagging stools. The telltale signs of damaged chair legs are frustratingly common, threatening the stability and aesthetic appeal of your cherished furniture. Whether it's a cherished antique or a beloved modern piece, a broken leg can render an otherwise perfectly functional chair unusable. Fortunately, you don't need to resort to costly replacements or cumbersome repairs involving specialist carpenters. With the right tools and a little patience, you can restore your furniture to its former glory, saving money and extending its lifespan significantly.
This comprehensive guide offers a practical, step-by-step approach to repairing and replacing chair legs, covering everything from assessing the damage and selecting the appropriate materials to the final finishing touches. Ready to tackle those wobbly legs and get your furniture looking and feeling its best again? Let's get started!
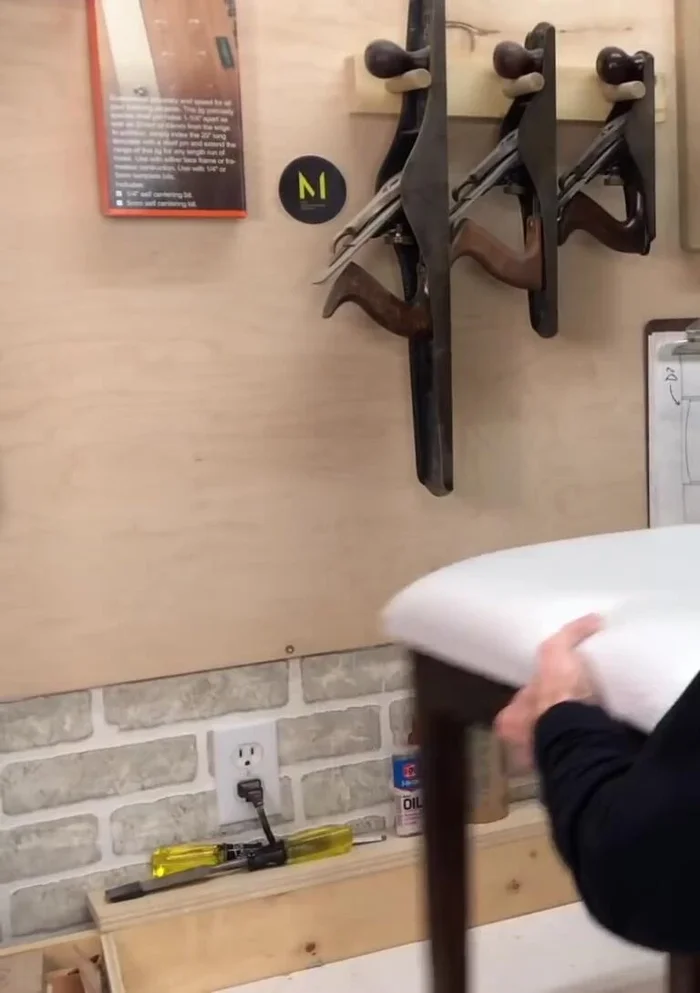
Preparation and Safety Guidelines
- Jointer
- Brad Nailer
- Paint Scraper
- Card Scraper
- Tape Measure
- Pencil
- Saw
- T-bevel
- Belt Sander
- Sandpaper (120 grit)
- Drill
- Dowels
- Bolts
- Epoxy Glue
- Wood Glue
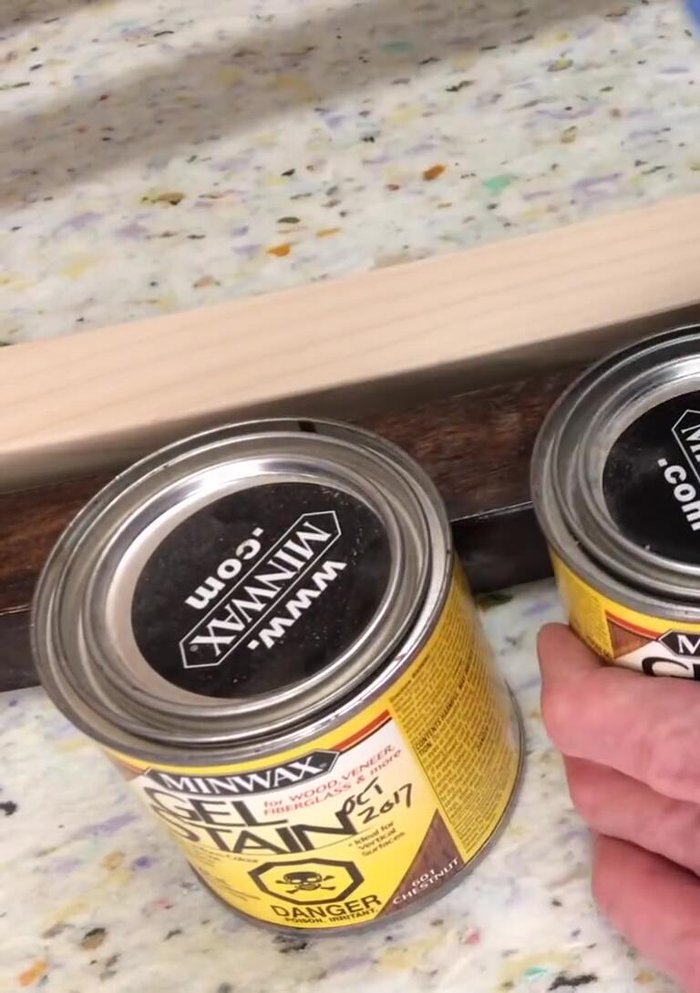
- Gel Stain (Aged Oak or Chestnut)
- Spray Can Clear Finish
- Respirator (P100 and Organic Vapor filters)
- Adjustable Wrench
- Chisel
- Always wear safety glasses to protect your eyes from splinters and flying debris.
- Use appropriate personal protective equipment (PPE) such as gloves to avoid injury from sharp objects or chemicals.
- Work in a well-ventilated area, especially when using wood finishes or adhesives, to avoid inhaling harmful fumes.
Step-by-Step Instructions
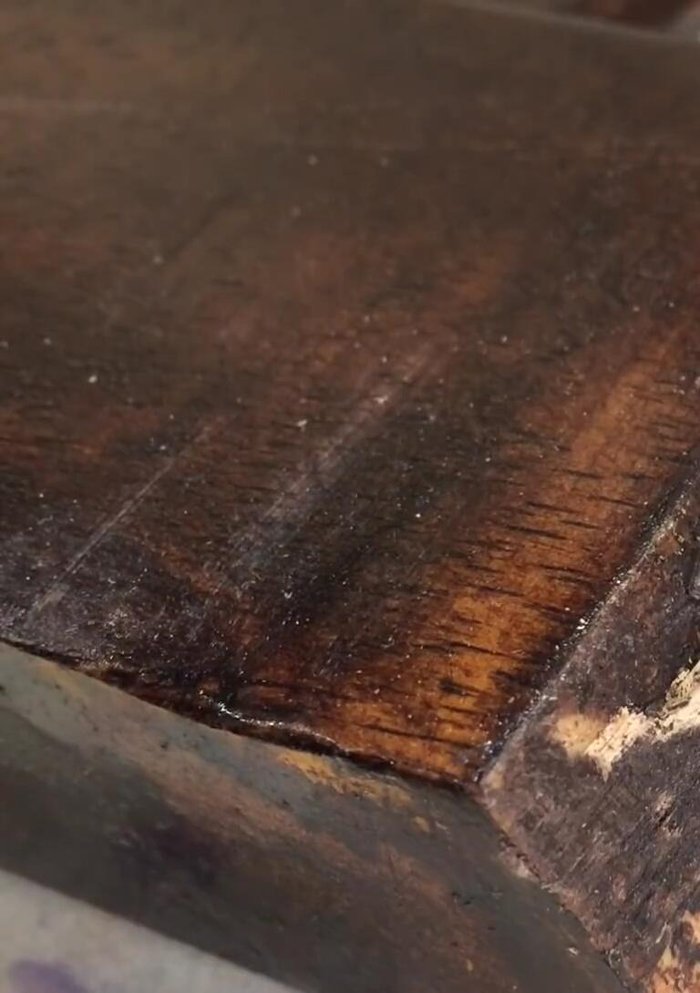
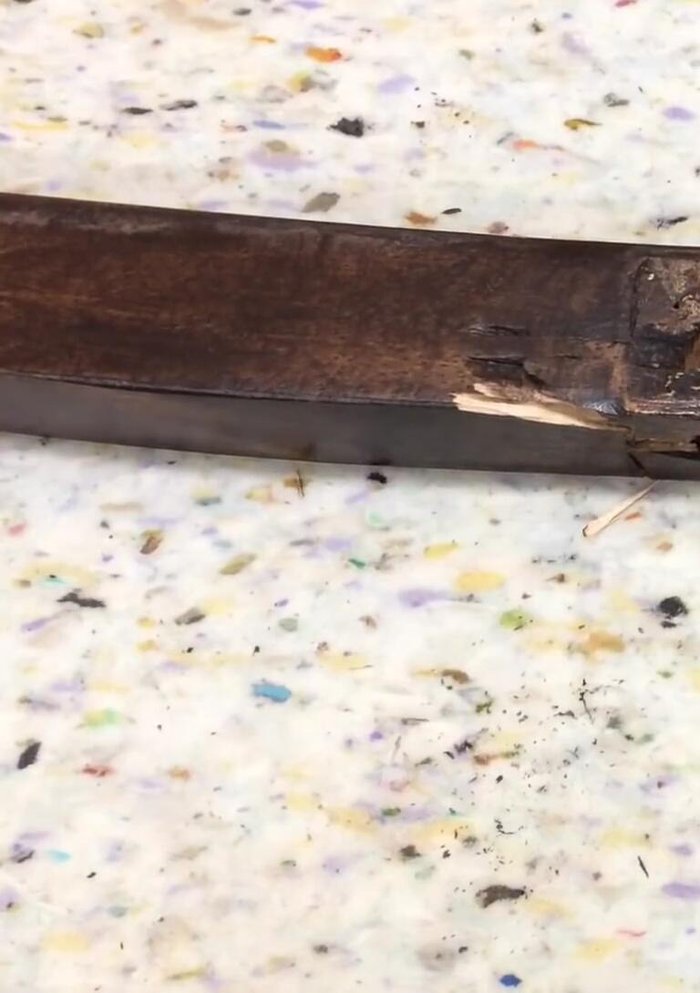
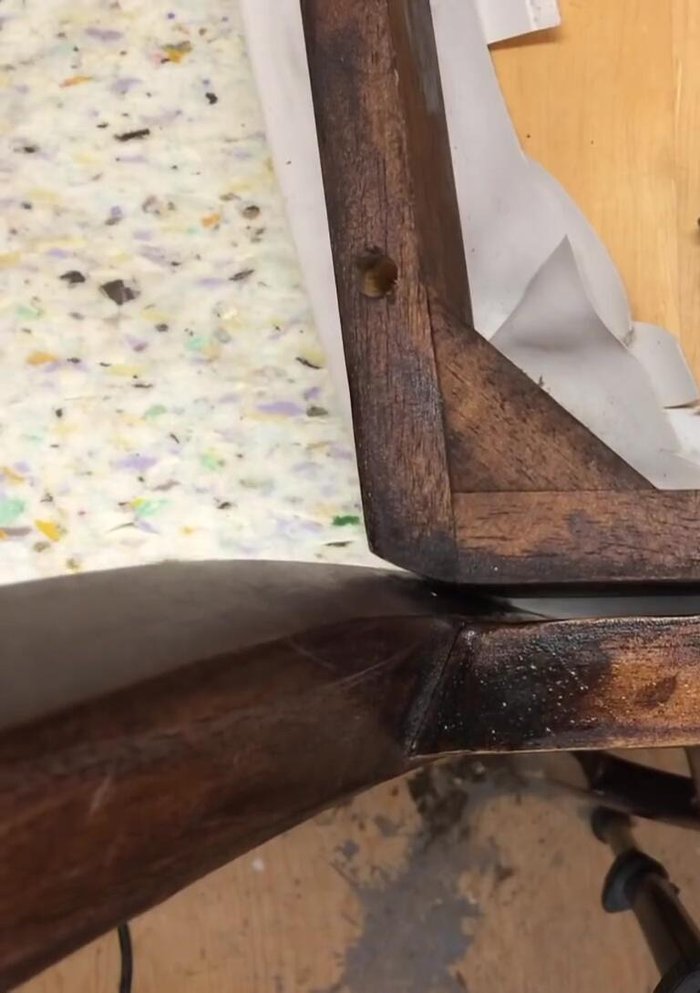
Disassembly and Preparation
- Disassemble the broken chair leg to isolate the damaged section.
- Clean the existing joint surfaces to remove any finish that would prevent proper bonding.
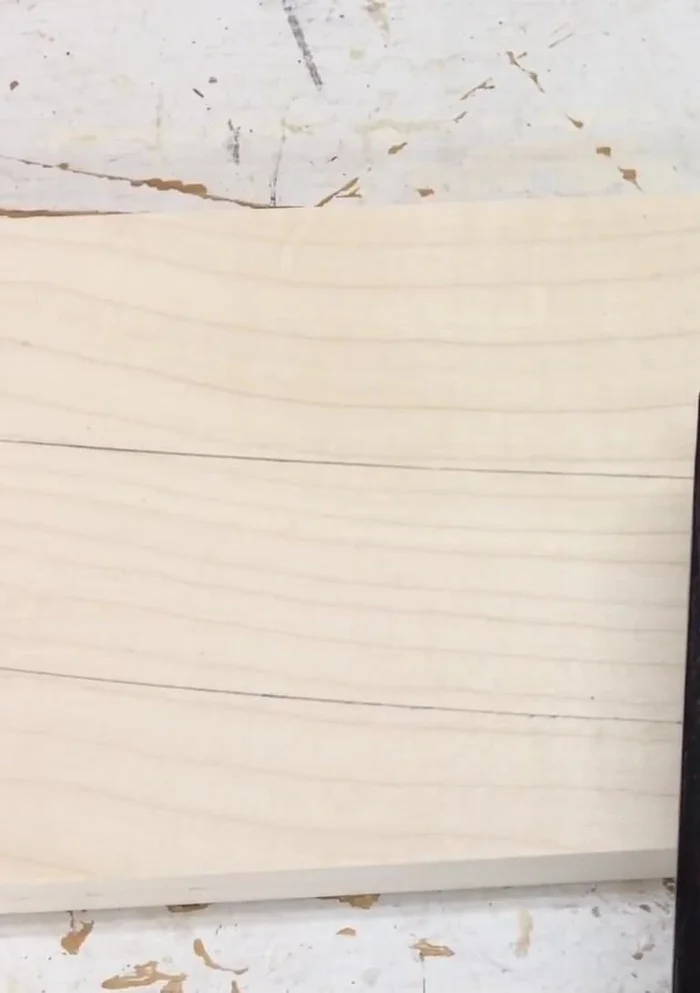
- Create a template of the broken leg section using tape to hold the pieces together.

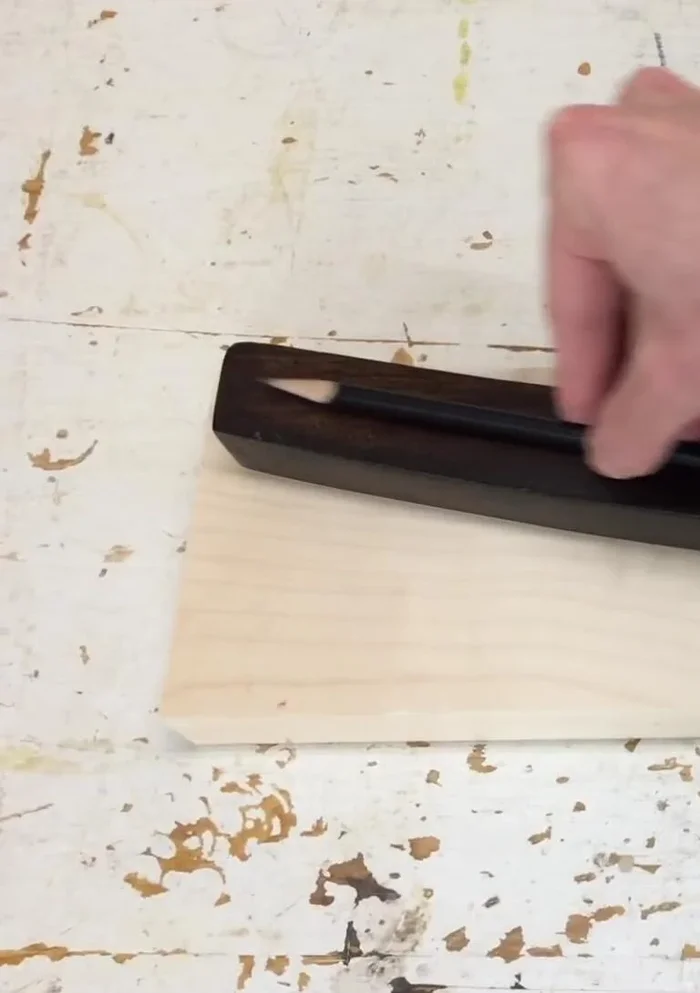
Disassembly and Preparation New Leg Construction
- Trace the template onto a suitable wood piece (maple recommended in this case) and cut out the new leg section.
- Mill holes for dowels in the new leg section to match the original, ensuring alignment and strength.
- Cut the angle of the top of the new leg section to match the existing angle.
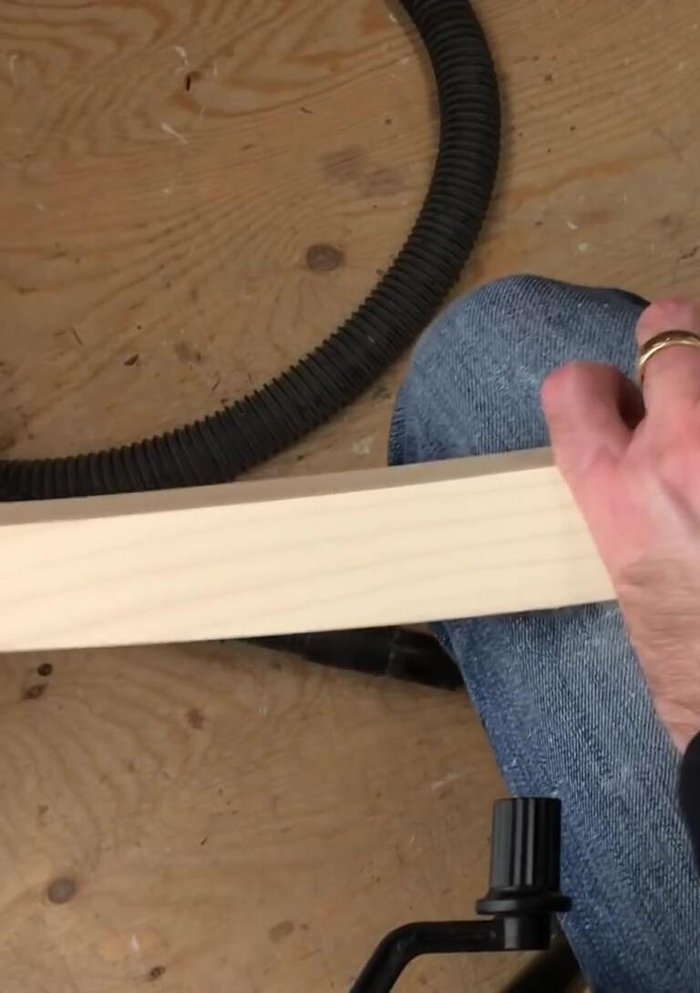
- Sand the new leg section to match the existing piece in both appearance and feel.
New Leg Construction Finishing the New Leg
- Apply stain to the new leg section to match the existing chair. Multiple coats may be needed.
- Apply a clear finish to protect the stained leg. Change respirator filters from wood dust to organic vapor.
Finishing the New Leg Glue-up and Installation
- Apply wood glue to the lower joint and epoxy glue to the upper joint. Insert the new leg section, ensuring proper alignment and glue penetration.
Insert Nut Installation
- Carefully install insert nuts in the chair back using an appropriate method to avoid splitting the wood.
Insert Nut Installation Final Assembly
- Assemble the chair, tightening bolts to ensure stability and levelness.
Final Assembly
Read more: Silence that Squeaky Bed: A Complete Fix-It Guide
Tips
- Don't let people lean back on wooden chairs; they're not designed for that stress.
- Use maple for repairs on mahogany due to its similar grain pattern and stainability.
- Ensure sufficient glue coverage on all joint surfaces for a strong bond.
- Use gel stain on maple for deeper, richer color.
- Change respirator filters to protect lungs from wood dust and chemical fumes during finishing.