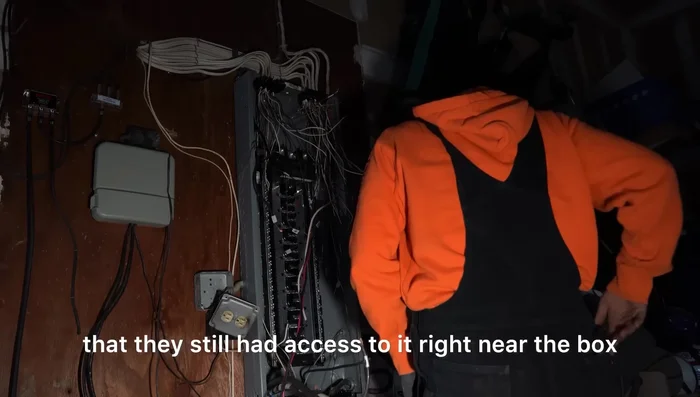
Outdated electrical panels, like the often-encountered Challenger panel, pose a significant safety risk and can limit the power available to your home. A Challenger panel, while functional in its time, may not meet modern safety standards or accommodate the increased energy demands of today's appliances and technology. Its age alone could lead to overheating, sparking, and even fire hazards, making an upgrade a crucial investment in both your home's safety and functionality. Failing to address these issues could result in costly repairs or worse.
This lack of capacity is often felt as insufficient power outlets or tripping breakers. This step-by-step guide will walk you through the process of safely and effectively replacing your outdated Challenger panel with a modern, code-compliant upgrade, ensuring your home's electrical system is safe, efficient, and ready for the future.
Preparation and Safety Guidelines
- Screwdrivers
- Allen keys
- Wire strippers
- Penetrox
- Electrical tape
- New Square D Panel
- Connectors
- Lock nuts
- **Always turn off the main power breaker before starting any work.** Failure to do so can result in serious injury or death from electric shock.
- **Never work on electrical panels alone.** Have a qualified electrician assist you or supervise your work if you lack experience. Electrical work is inherently dangerous.
- **Verify the power is off before touching any wires or components.** Use a non-contact voltage tester to confirm the power is completely disconnected at the panel and the service entrance.
Step-by-Step Instructions
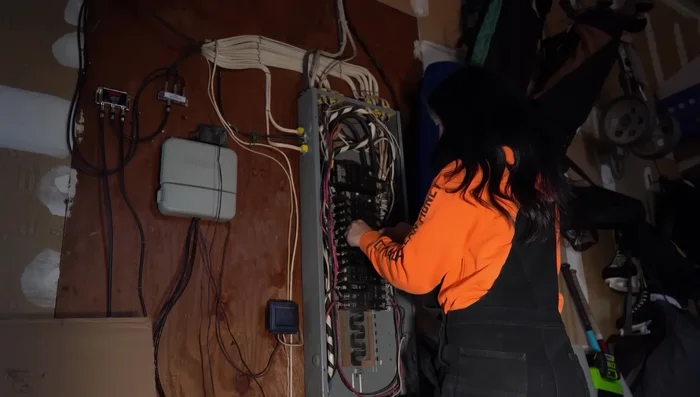
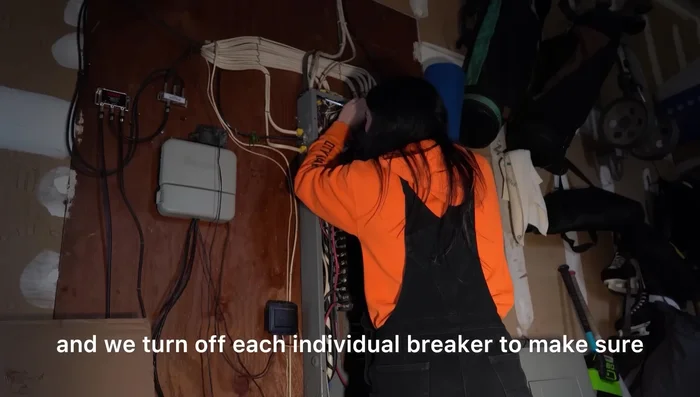
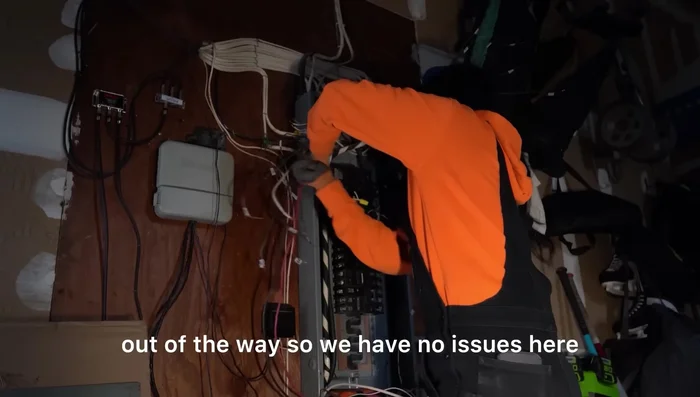
Preparation and Disconnection
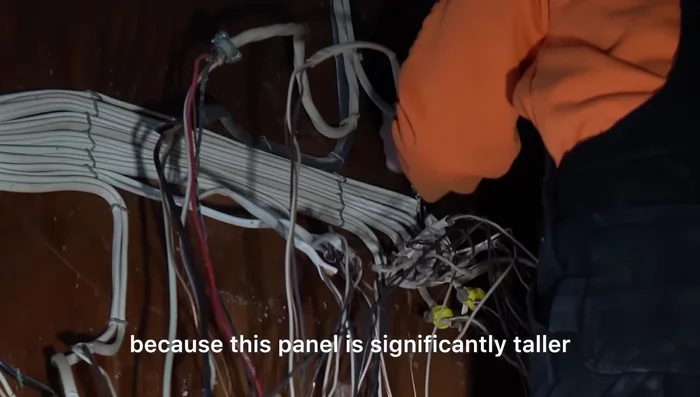
- Label every single wire.
- Turn off each individual breaker and the main breaker.
- Remove all hot wires, then neutrals and grounds, followed by lock nuts.
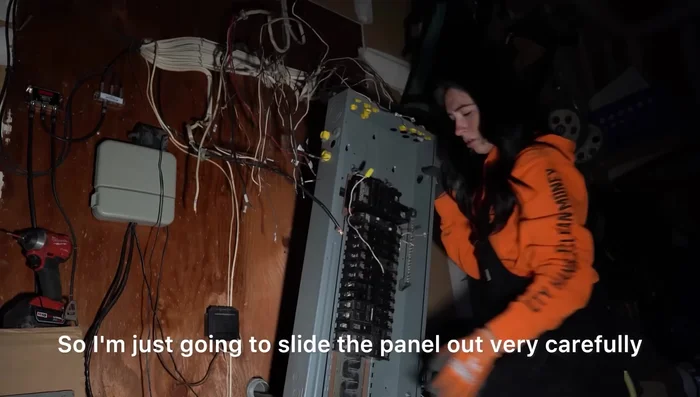
- Remove main feeders from the main breaker using Allen keys.

Preparation and Disconnection - Remove the panel from the enclosure.
Preparation and Disconnection Panel Installation
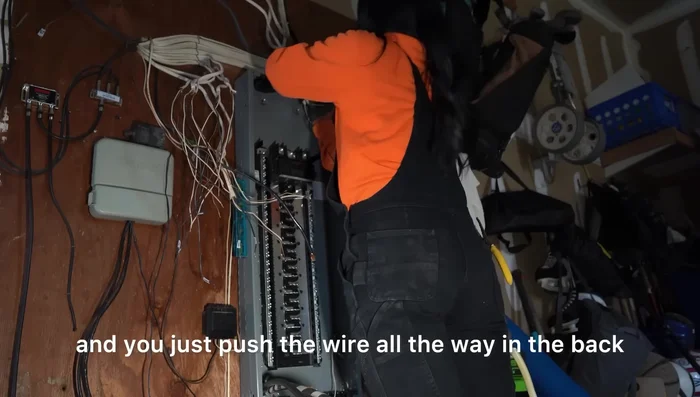
- Mount the new Square D panel.
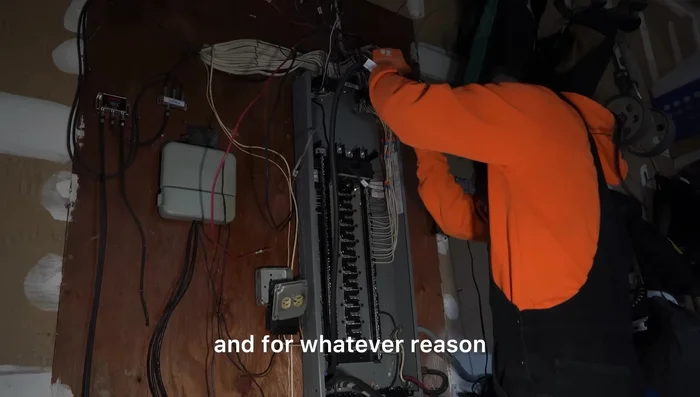
Panel Installation Wire Management and Connection
- Install wires using the quick lock system where applicable, and connectors/lock nuts for larger gauge wires.
- Separate and straighten all wires neatly.
- Extend wires if necessary to reach bus bars.
- Install main service feeders.
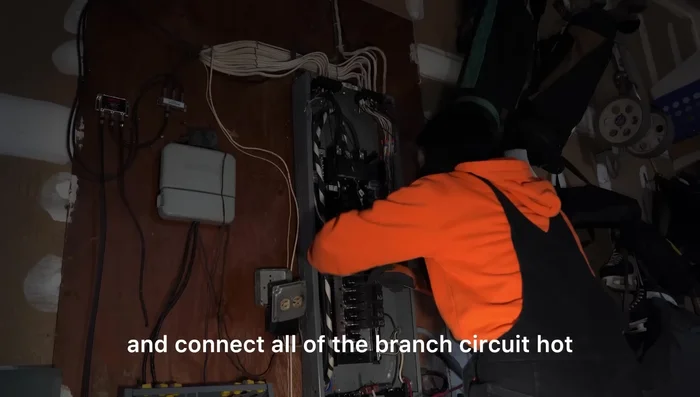
Wire Management and Connection - Install breakers and connect branch circuit conductors.
Wire Management and Connection Testing and Completion
- Reinstall service outlet(s).
- Test all circuits and ensure proper functionality.
Testing and Completion
Read more: Installing an Outdoor GFCI Receptacle: A Step-by-Step Guide
Tips
- Use penetrox to make wire removal easier.
- Be careful with old wiring to avoid nicking or damaging it.
- Straighten wires as you remove them for easier reinstallation.
- Leave extra slack on service conductors for future maintenance.
- Use the quick lock system for efficient wire connection whenever possible.