A leaky chimney flashing on a flat roof is a homeowner's nightmare, leading to water damage, costly repairs, and potential structural issues. That persistent drip, drip, drip can quickly escalate into a major problem, but thankfully, it's a fixable one. Ignoring the issue only invites further damage and increased expenses down the line; acting promptly is crucial to protecting your home's integrity and your wallet. A properly sealed chimney flashing is essential to maintaining a watertight roof, and a failure here can compromise the entire roofing system. This is particularly true for flat roofs, where water has nowhere to easily run off.
This article provides a quick and permanent solution to address that annoying and damaging leak. We'll walk you through a step-by-step process that will enable even the moderately DIY-skilled homeowner to effectively seal their chimney flashing and restore their roof's integrity. Let's get started and banish that leaky chimney for good!
Preparation and Safety Guidelines
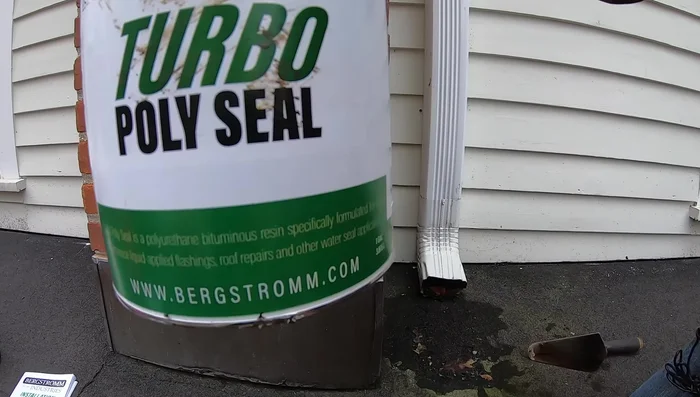
- Books Turbo Poly sealant
- Painter's tape (optional)
- Working at heights is dangerous. Use proper safety equipment like a harness and fall protection system, especially on flat roofs. If uncomfortable, hire a professional.
- Always turn off any gas appliances before working near the chimney. Gas leaks are serious and potentially fatal.
- Wear appropriate safety gear, including gloves, eye protection, and sturdy work boots to prevent injury from sharp materials or falling debris.
Step-by-Step Instructions
Locate the Leak Source
- Identify the leak source. Often, leaks appearing near skylights or lower on the roof actually originate from the chimney flashing above.
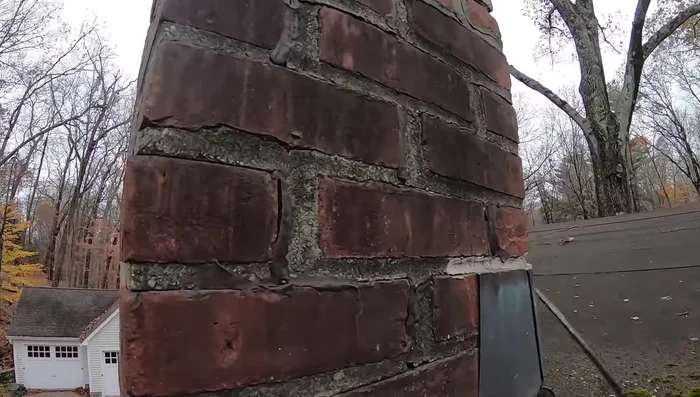
Inspect Chimney Condition
- Inspect the chimney for cracks or damaged areas. These are common entry points for water.

Inspect Chimney Condition Examine Chimney Caulking
- Check the caulking around the chimney base. Even if the flashing itself seems intact, loose or deteriorated caulking allows water to seep behind it.
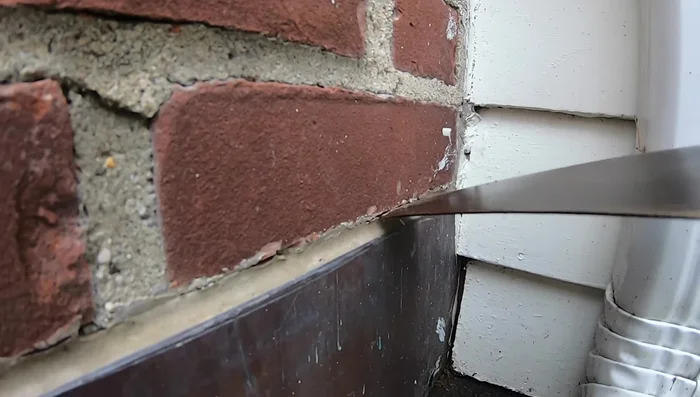
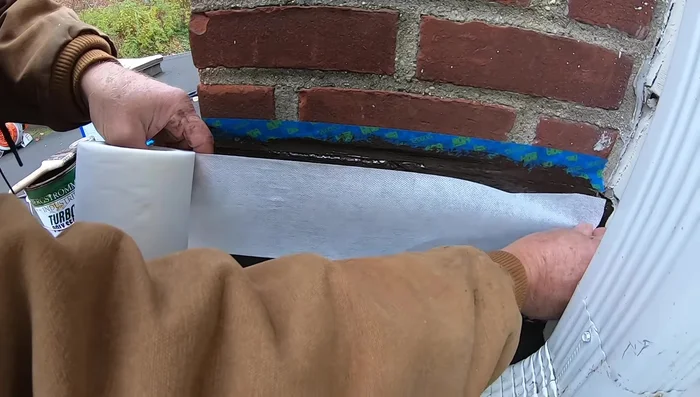
Examine Chimney Caulking Prepare for Repair
- Prepare the area. If desired, use painter's tape to mask off surrounding areas to keep the sealant neat.
Prepare for Repair Apply Sealant
- Apply Books Turbo Poly sealant to the problem areas. This is a superior alternative to caulking because it is more durable and lasting.
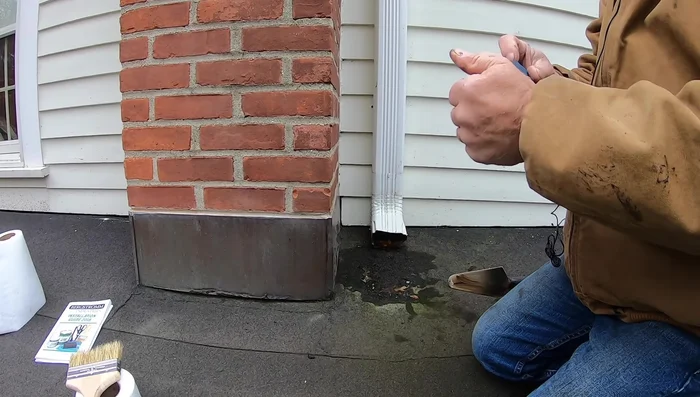
Apply Sealant Finish and Clean Up
- Remove the tape after the sealant has dried. This reveals a clean and professional-looking repair.
Finish and Clean Up
Read more: DIY Roof, Shingle, Fence, and Flashing Repair with Henry Wet Patch 208
Tips
- Don't rely solely on caulking to repair chimney flashing leaks; it's a temporary fix. Use a durable sealant like Books Turbo Poly for a long-lasting solution.
- Regularly inspect your chimney flashing for cracks and loose caulking to prevent leaks before they become major problems.