Accidents happen. A careless movement, a dropped object, and suddenly your beautiful coffee table boasts an unsightly chip or scratch on its pristine glass surface. Don't despair! While the damage might seem irreparable, restoring your coffee table to its former glory is often easier than you think. At our glass polish shop, we specialize in the professional repair of glass coffee tables, expertly addressing chips, scratches, and other imperfections with meticulous care and precision. We utilize advanced techniques and high-quality materials to ensure a flawless finish, leaving your table looking as good as new.
We understand the frustration of damaged furniture, and that's why we've compiled this comprehensive guide to professional coffee table repair. From initial assessment to the final polishing, this step-by-step process will walk you through the methods we employ to effectively remove chips and scratches, offering you the knowledge to either tackle the repair yourself or better understand the work involved in professional restoration. Let's get started and bring back the shine to your cherished coffee table.
Preparation and Safety Guidelines
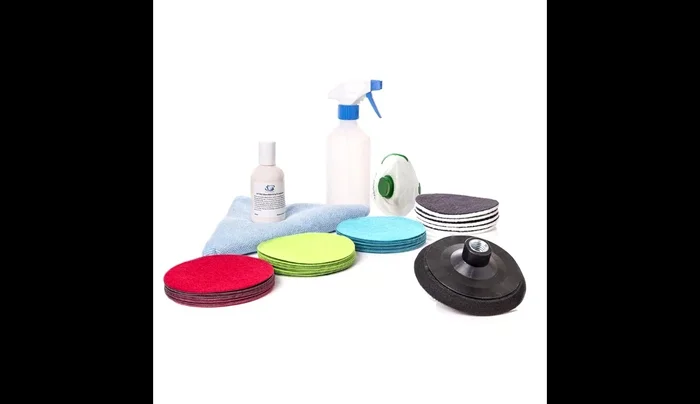
- Glass Polish diamond hand pads (red 200 grade)
- Glass Polish scratch repair kit
- GP with starter kit (4.5 inch sanding pads)
- Polishing machine
- GP 150 grit abrasive
- GP 100 grit abrasive
- GP 50 grit abrasive
- GP pro polishing compound
- Water
- Felt polishing pad (black)
- Always test any polish or cleaning solution on an inconspicuous area first to ensure it doesn't damage the glass further or leave discoloration.
- Use appropriate personal protective equipment (PPE) such as gloves and eye protection when handling glass polish and cleaning agents. Some products can be irritating or harmful.
- Avoid using abrasive cleaners or scouring pads on glass surfaces as these can cause further scratching and damage. Gentle polishing is key.
Step-by-Step Instructions
Chip Repair
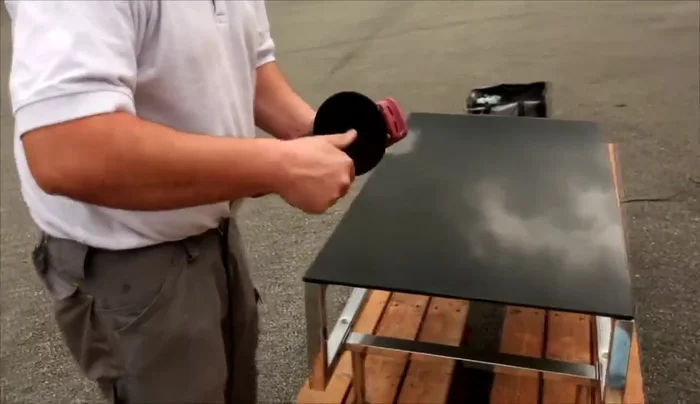
- Repairing the chip on the edge using the red 200 grade diamond hand pad. Sand the edge to reshape and blend it.
Initial Scratch Removal (Coarse)
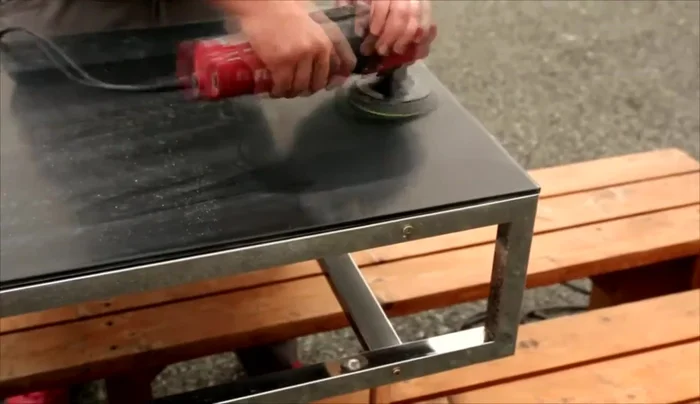
- Attach a 4.5 inch backing pad to the polishing machine and fit the red GP 150 grit abrasive. Turn the machine on and set the speed to 2200 rpms. Apply the pad to the glass from the center and move to the right, applying little pressure. Overlap until the whole surface is cloudy.
- Use the red GP 150 grit abrasive to remove scratches. Apply small amount of water, slowing down over scratches and speeding up over scratch-free areas.

Initial Scratch Removal (Coarse) Intermediate Scratch Removal (Medium)
- Clean the glass and switch to the green GP 100 abrasive. Repeat the process to remove abrasion marks from the red GP 150.
Intermediate Scratch Removal (Medium) Pre-Polishing (Fine)
- Switch to blue GP 50 abrasive for pre-polishing to remove marks from the green GP 100 and prepare for the final polishing stage. Pay attention to the edges.
Pre-Polishing (Fine) Final Polishing
- Attach the black felt polishing pad, add GP pro polishing compound, and polish the glass, moving rapidly then slowing down. Reactivate the compound with water if it dries out.
Inspection and Refinement
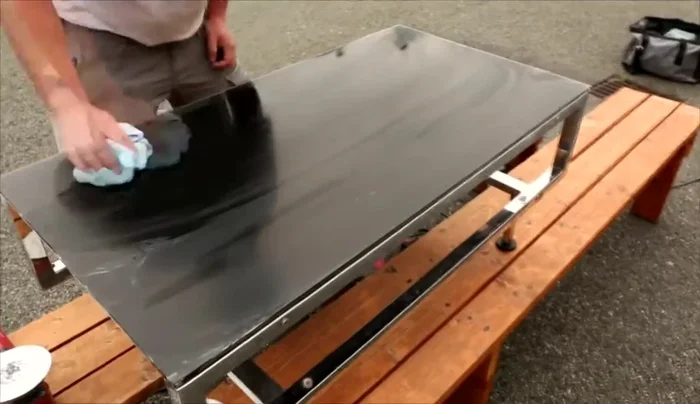
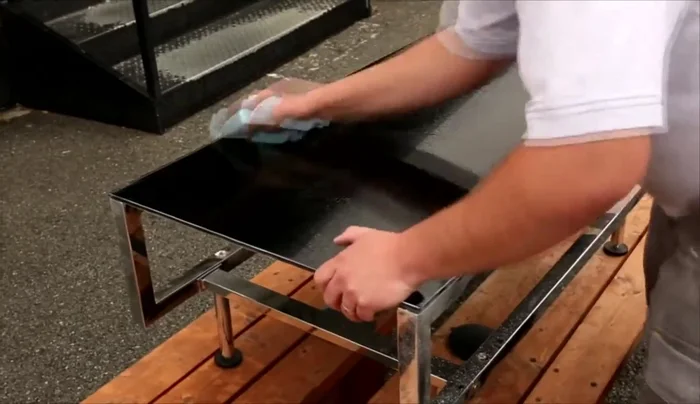
- Clean the surface and check for remaining scratches or haziness. Polish further if needed.
Inspection and Refinement Surface Cleaning
- Scratch removal from the glass surface using the GP with starter kit. Clean the treated area.
Surface Cleaning
Read more: Silence that Squeaky Bed: A Complete Fix-It Guide
Tips
- Be patient during the sanding process. It can take time to achieve the desired result.
- Don't apply too much pressure when using abrasives; let the abrasive do the work.
- Use the right-hand side of the pad to improve the coating process and reduce residue buildup.
- Remove excess glass dust regularly to improve the coating process.
- Pay close attention to the edges during the abrasive process, as they sustain more damage.