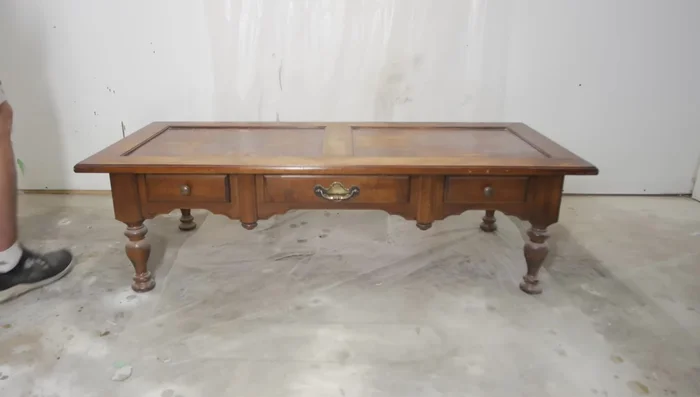
A tired, scratched coffee table can be more than just an eyesore; it's a missed opportunity to elevate your living room's aesthetic. That worn piece of furniture, bearing the marks of countless gatherings and spilled beverages, holds the potential for a stunning transformation. With a little time, effort, and the right approach, you can breathe new life into your coffee table, restoring its former glory or even giving it a completely refreshed look. Forget expensive replacements; unlocking the beauty hidden beneath the surface is surprisingly achievable.
This guide will walk you through a comprehensive, step-by-step process of coffee table refinishing, covering everything from preparation and cleaning to staining, sealing, and the final touches. From stripping away old finishes to applying a brand new coat, we'll equip you with the knowledge and confidence to achieve a remarkable result, turning your outdated coffee table into a show-stopping centerpiece.
Preparation and Safety Guidelines
- Mineral spirits
- Cloth
- Painters blocks
- 120 grit sandpaper
- Random orbital sander
- Sanding sponge
- Sandpaper (various grits)
- Primer (Rust-Oleum flat)
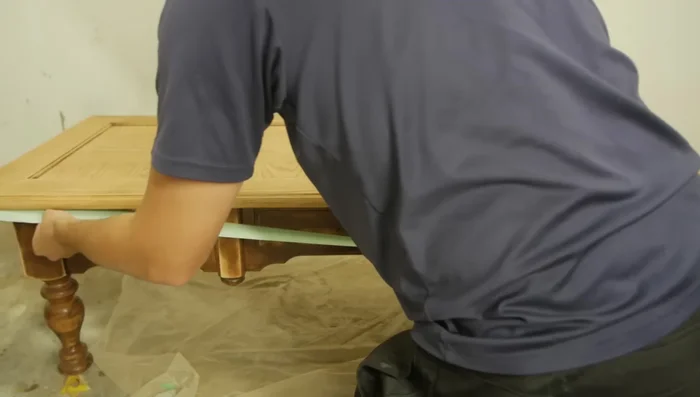
- Tape
- Paint (as used in nightstand video)
- Paint brush
- 220 grit sanding sponge
- Minwax Classic Gray stain
- Microfiber cloth
- Electric sander
- Hammered Rust-Oleum silver gray paint
- Clear coat spray
- Always work in a well-ventilated area. Many refinishing products release strong fumes.
- Wear appropriate safety gear: gloves, eye protection, and a respirator mask, especially when sanding and using chemicals.
- Protect your work surface and surrounding areas. Use drop cloths to prevent damage from spills and dust.
Step-by-Step Instructions
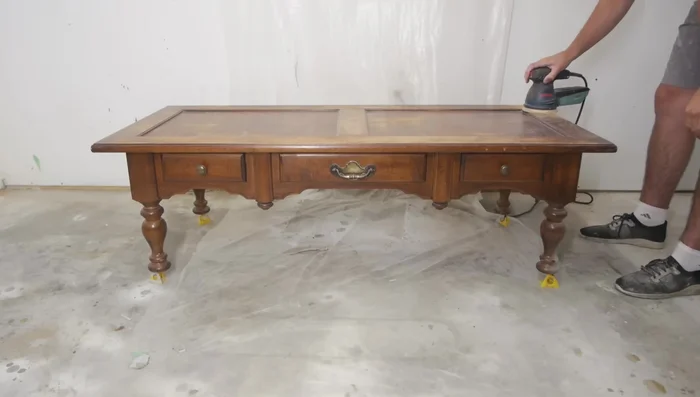
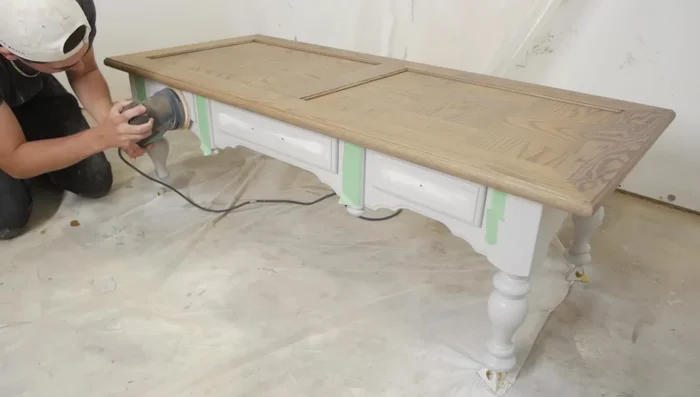
Surface Preparation
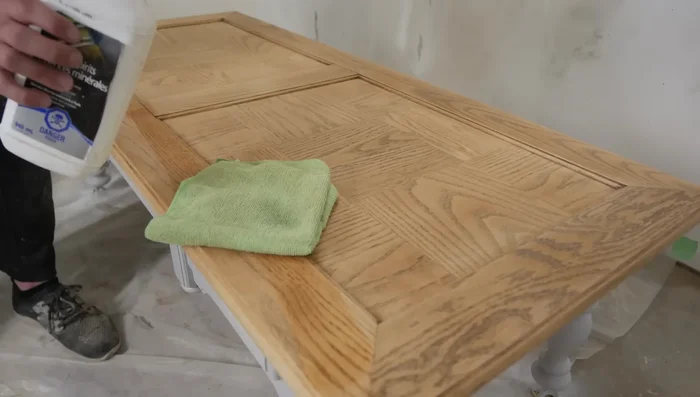
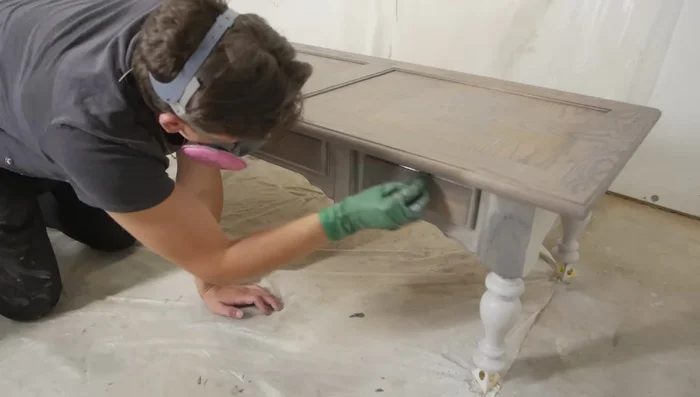
- Clean the coffee table with mineral spirits and a cloth.
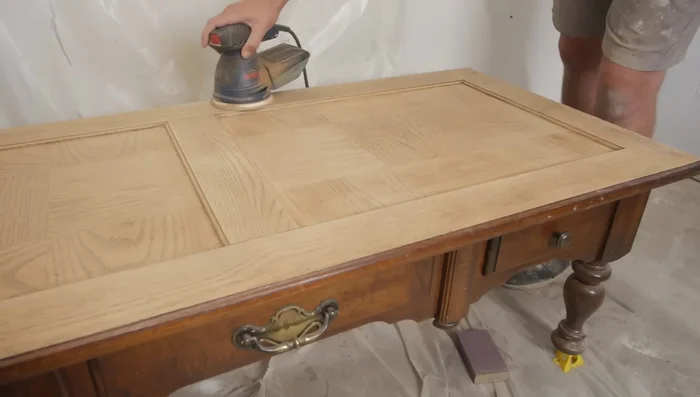
- Sand the top with 120 grit sandpaper using a random orbital sander, following the wood grain.
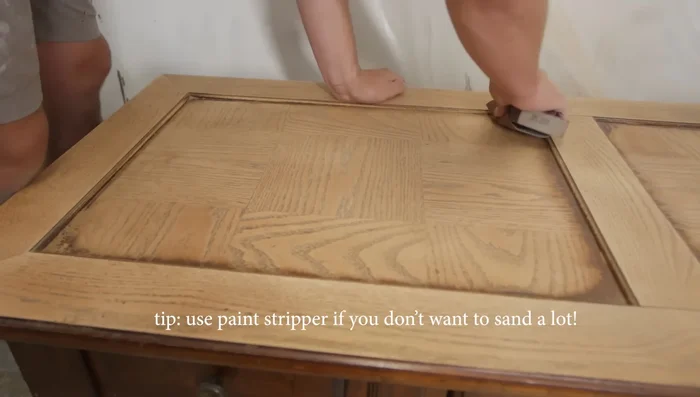
- Sand the corners and edges by hand using a sanding sponge and sandpaper.
- Do a light sanding with 220 grit sandpaper all around the table top.

Surface Preparation - Remove old hardware.
- Clean the surface with mineral spirits.
Surface Preparation Priming
- Apply two light coats of primer, sanding lightly with 320 grit sandpaper between coats. Wipe dust before each coat.
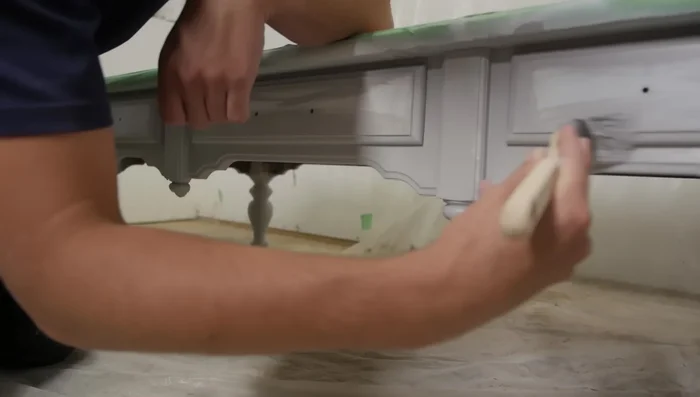
Priming Painting
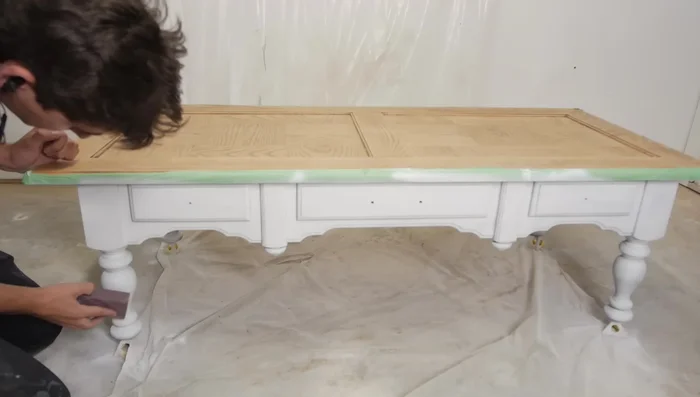
- Sand lightly with 220 grit sanding sponge before painting.
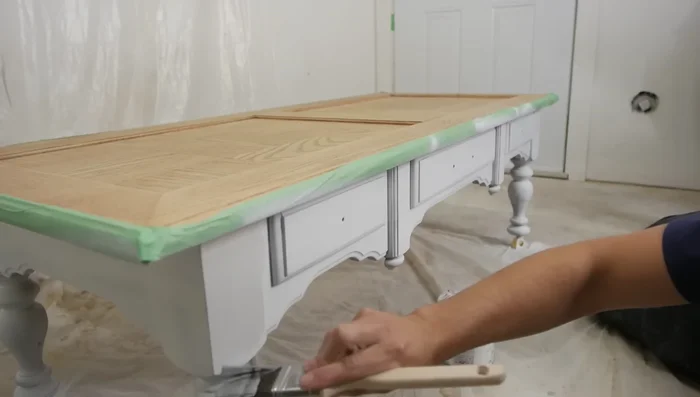
- Apply two coats of paint with a brush, sanding lightly between coats with 220 grit sanding sponge.
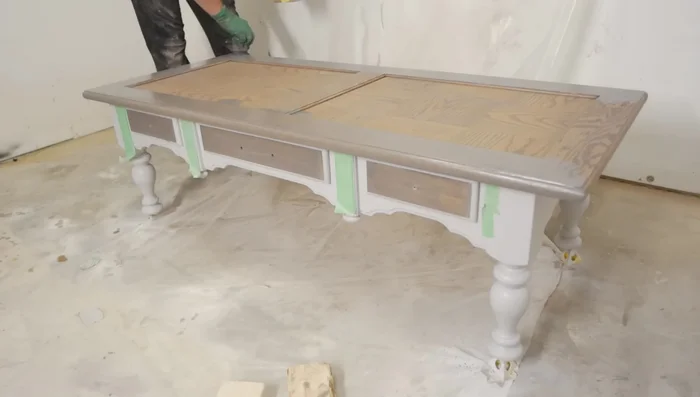
Painting Drawer Refinishing
- Sand down the front face of the drawers to the wood.
- Sand down the front face of the drawers, then apply stain.
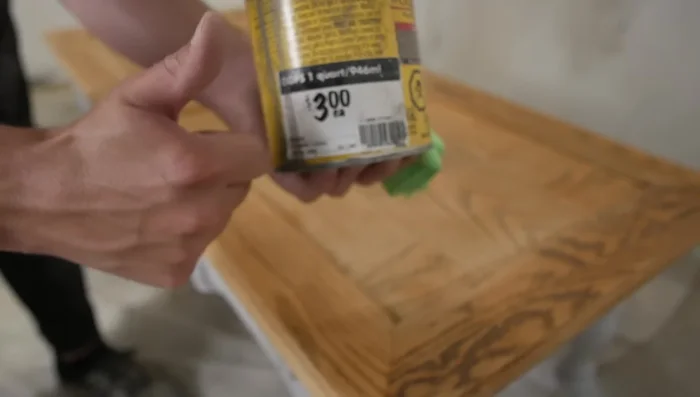
Drawer Refinishing Tabletop Staining
- Apply stain to the tabletop with a microfiber cloth, wiping off excess.
- Apply another coat of stain to the tabletop for a darker finish.
Tabletop Staining Finishing Touches
- Apply antique glazing technique to achieve desired color depth.
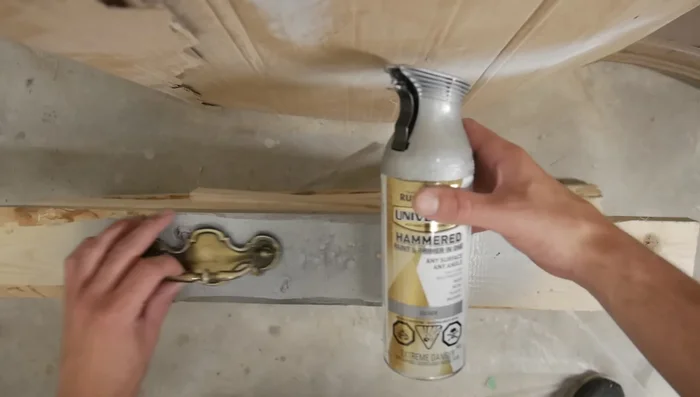
- Sand down the existing hardware and apply hammered silver gray paint.
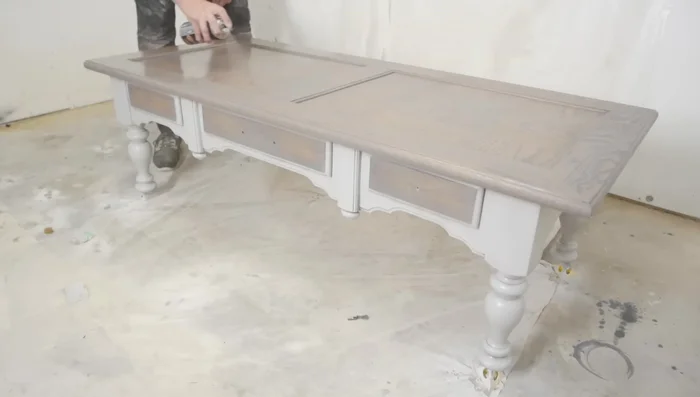
Finishing Touches Sealing and Protection
- Apply at least three coats of clear coat for protection.
Sealing and Protection

Read more: Silence that Squeaky Bed: A Complete Fix-It Guide
Tips
- Always clean your project before starting any refinishing work.
- Sand with the wood grain to minimize scratches.
- Use a sanding sponge to reach hard-to-reach areas.
- Light sanding between coats of primer and paint ensures a smooth finish.
- Wipe dust before applying each new coat.