Concrete is the backbone of countless structures, but even the strongest materials succumb to wear and tear. Cracks, spalling, and other damage can compromise structural integrity and aesthetics, leading to costly repairs and safety concerns. Finding a durable and reliable solution is paramount, and that's where Concrex Epoxy Repair Mortar steps in. This powerful, two-part epoxy system offers a superior alternative to traditional concrete patching, providing a permanent and incredibly strong bond that withstands even the harshest conditions. Its versatility makes it suitable for a wide array of repair projects, from minor cracks to significant structural damage.
This ultimate guide will delve into the intricacies of Concrex Epoxy Repair Mortar, exploring its composition, applications, and advantages over other repair methods. We'll cover everything from surface preparation and mixing techniques to proper application and curing procedures, equipping you with the knowledge to successfully tackle any concrete repair challenge. Ready to learn the step-by-step process for achieving flawless, long-lasting concrete repairs? Let's begin!
Preparation and Safety Guidelines
- Stiff brush
- Mixing tray or board
- Gloves
- Cloth
- White spirit
- WCO Bod Greaser (optional)
- WCO Tacco primer (optional)
- Trowel
- Always wear appropriate personal protective equipment (PPE), including gloves, eye protection, and a respirator, when handling Concrex Epoxy Repair Mortar and during the curing process. Epoxy fumes can be harmful.
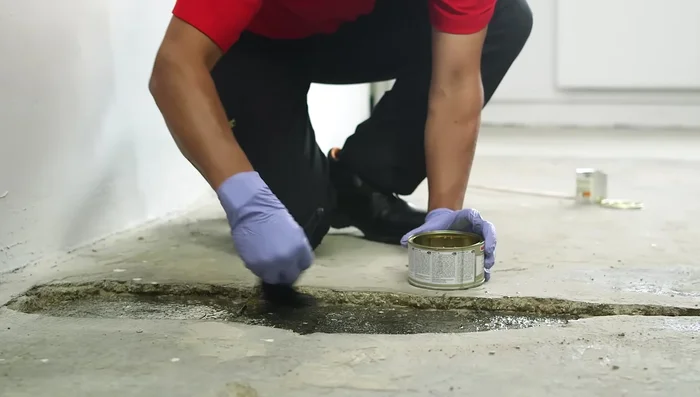
- Ensure the concrete surface is clean, dry, and free of dust, oil, or other contaminants before applying the mortar. Proper surface preparation is crucial for optimal adhesion and a lasting repair.
- Follow the manufacturer's instructions precisely regarding mixing ratios, application methods, and curing times. Incorrect application can compromise the strength and durability of the repair.
Step-by-Step Instructions
Surface Preparation
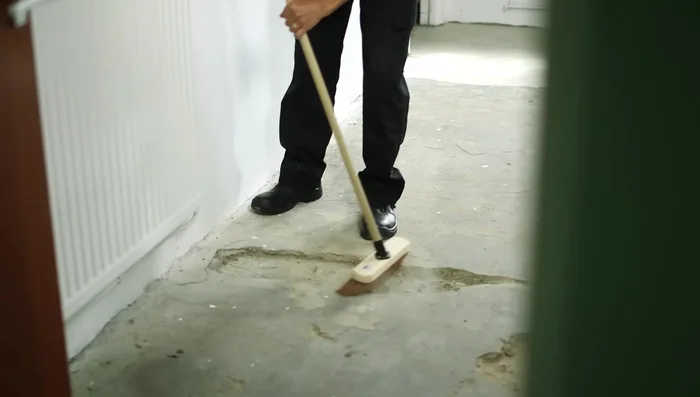
- Clean, dry, and sweep the area free of loose material. Use WCO Bod Greaser for oil or grease spots.

Surface Preparation Priming (If Necessary)
- For crack/patch repairs, a primer usually isn't needed. However, for thin screeds, intricate repairs, step nosings, broken edges, joints, and smooth non-porous surfaces, use WCO Tacco primer.
Priming (If Necessary) Mixing the Concrex Mortar
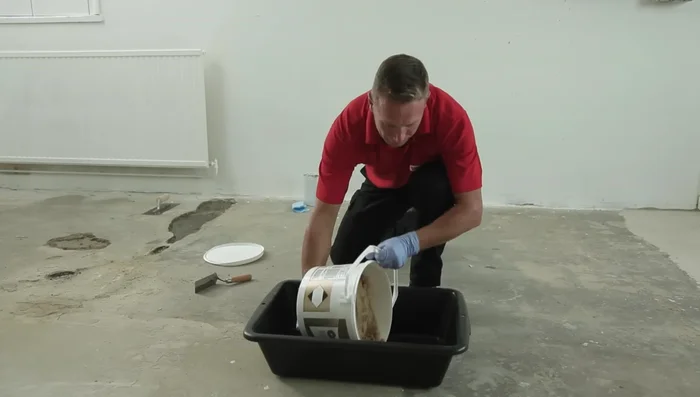
- Put the aggregate on the mixing tray, make a well, and add the hardener bottles. Mix thoroughly until smooth.
Mixing the Concrex Mortar Applying the Concrex Mortar
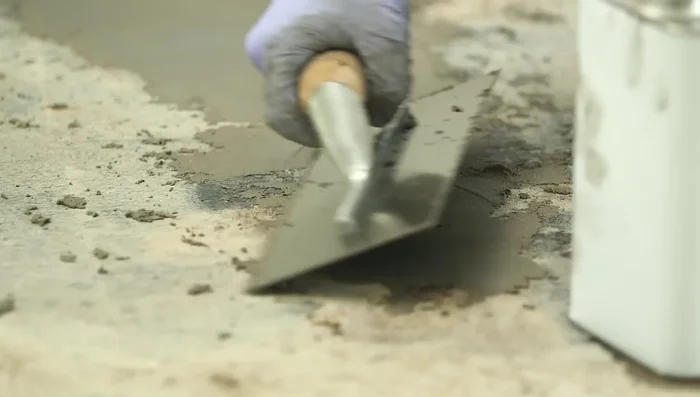
- Place the mixed mortar into the hole and smooth firmly with a trowel. It can be applied up to 50mm thick.
Trowel Maintenance
- If the mortar begins to stick to the trowel, wipe it with a cloth soaked in white spirit.
Finishing and Feathering
- Concrex is easily feathered to the edge of the hole, eliminating the need for cutting out concrete.
Finishing and Feathering
Read more: Fixing Drywall Nail Pops: A Quick and Easy DIY Guide
Tips
- Concrex is quick-drying, allowing for rapid return to use.
- Concrex offers permanent, granite-hard repairs, both indoors and outdoors, with great chemical resistance.
- Several versions of Concrex are available: Rapid set, colored, deep fill (for holes over 100mm deep), and Concrex Cold Set (for low temperatures).