Patching holes in uneven surfaces presents a unique challenge; the filler often shrinks, cracks, or simply fails to adhere properly, leaving the repair looking worse than the original damage. Whether you're tackling a pothole in your driveway, a damaged section of plaster, or a chipped piece of furniture, achieving a smooth, lasting repair requires a strategic approach. This is particularly true when dealing with surfaces that aren't perfectly flat, where traditional single-coat methods often prove insufficient.
This article outlines a reliable two-coat method designed to address this specific problem, resulting in a robust and aesthetically pleasing repair. This technique prioritizes adhesion and stability, ensuring the patched area seamlessly integrates with the surrounding surface. We'll walk you through each step of this process, from preparing the surface to achieving a professional-looking finish, so let's begin!
Preparation and Safety Guidelines
- Filler
- Filling blade
- Paintbrush
- Water
- Always wear appropriate safety glasses and a dust mask to protect your eyes and lungs from debris and dust generated during patching.
- Ensure the surface is clean and dry before applying any patching material. Remove loose particles, dirt, and oil to ensure proper adhesion.
- Allow adequate drying time between coats as specified by the patching material manufacturer. Applying the second coat too soon can lead to cracking or peeling.
Step-by-Step Instructions
First Coat Application
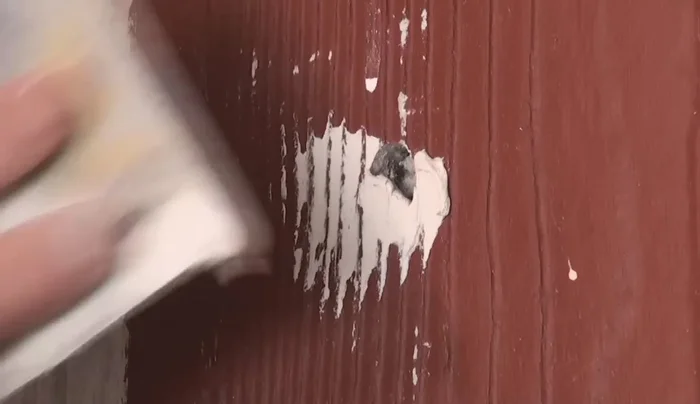
- Apply the first coat of filler, pushing it into the edges of the hole to ensure adhesion.
- Remove excess filler with a brush and water, cleaning the edges.
- Allow the first coat to dry completely.

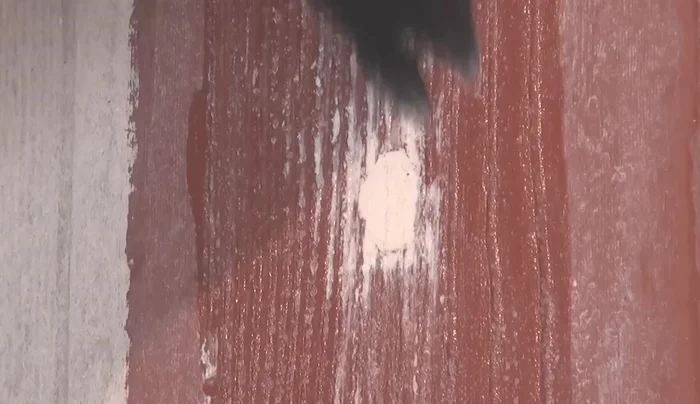
First Coat Application Second Coat Application
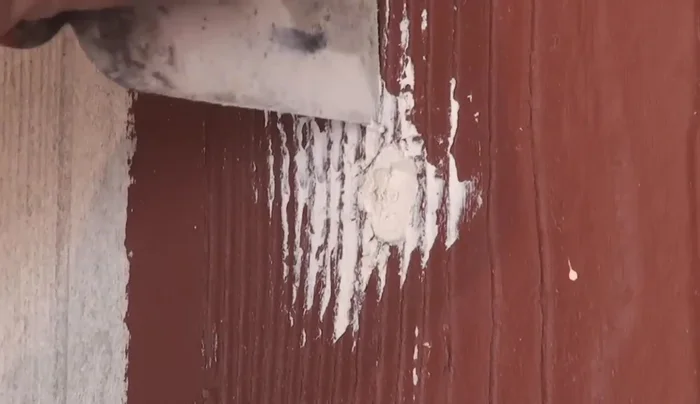
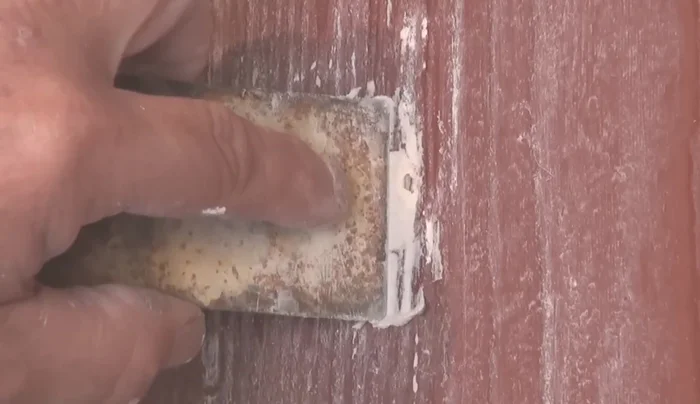
- Apply a second coat of filler using a smaller filling blade for a neater finish.
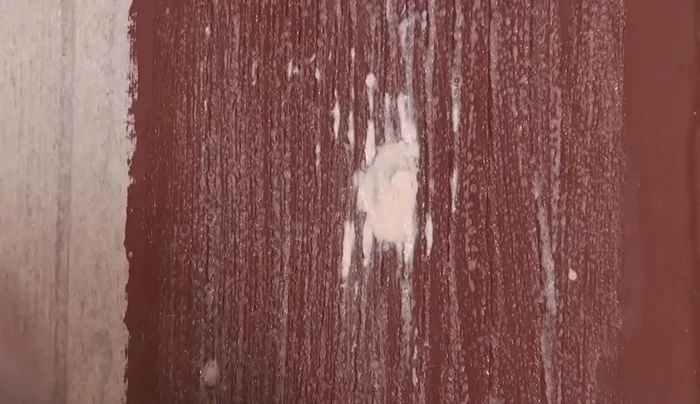
- Use the blade to carefully follow the existing surface contours. This minimizes the visibility of the patch.
- Clean off any excess filler.
Second Coat Application

Read more: Fixing Drywall Nail Pops: A Quick and Easy DIY Guide
Tips
- Push the filler firmly into the edges of the hole on the first coat to ensure a strong bond.
- Using a smaller filling blade for the second coat minimizes excess filler and improves the overall finish
- Try to match the texture and pattern of the existing surface for a less noticeable repair.