Laminate flooring, while durable, isn't impervious to damage. Humidity fluctuations, accidental spills, or even uneven subflooring can lead to warped boards, marring the aesthetic appeal of your otherwise pristine floor. These unsightly bulges and ripples can seem like a major headache, requiring costly professional intervention. But fear not, because many minor warping issues can be tackled with simple DIY solutions, saving you both time and money. A little patience and the right tools can restore your laminate floor to its former glory.
This often-overlooked repair is surprisingly achievable for even the most novice DIY enthusiast. Warped laminate boards often respond well to simple techniques that re-establish their flatness. This article will provide a straightforward, step-by-step guide to effectively repair warped laminate flooring, providing you with a quick and effective fix. Let's get started!
Preparation and Safety Guidelines
- Pry tool
- Painter's masking tape
- Notepad
- Pen
- Carpenters glue
- Wet cloth
- Tapping block
- Suction cup
- Hammer
- Always wear appropriate safety gear, including eye protection and a dust mask, when working with laminate flooring and tools.
- Ensure the area is well-ventilated to avoid inhaling fumes from adhesives or cleaning products.
- Use caution when using sharp tools like utility knives or pry bars to avoid injury. If unsure about any step, consult a professional.
Step-by-Step Instructions
Preparation
- Remove appliances (stove, fridge) and baseboards obstructing the damaged boards.
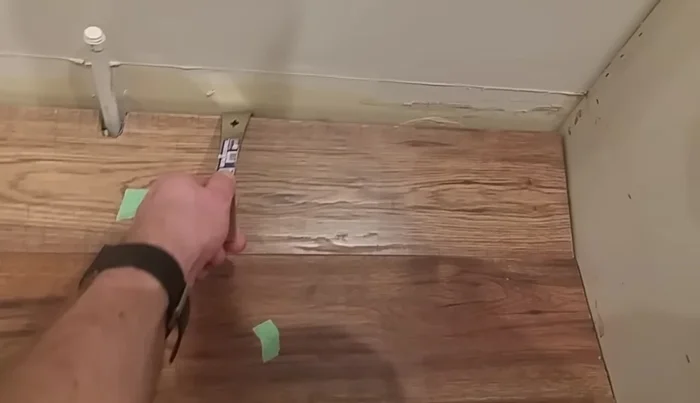
- Carefully pry off the trim and kickboards using a pry tool.

Preparation Documentation and Removal
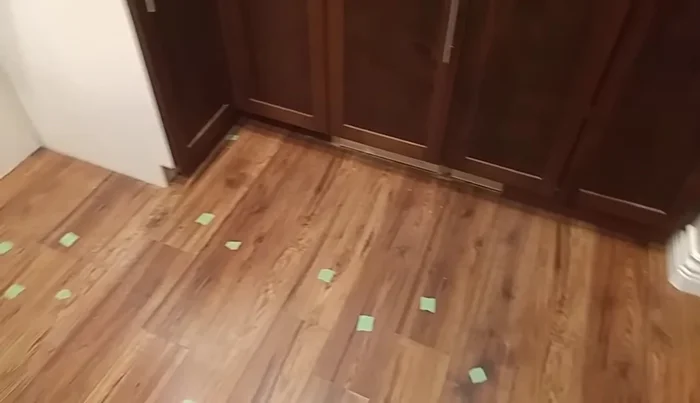
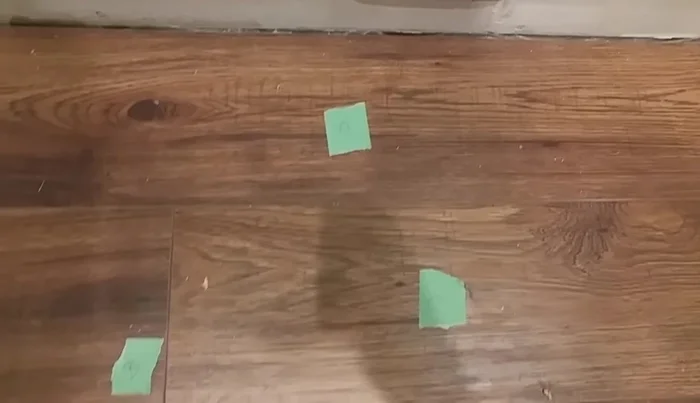
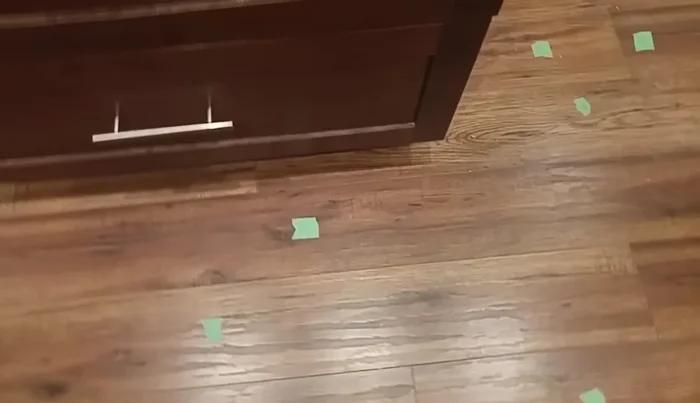
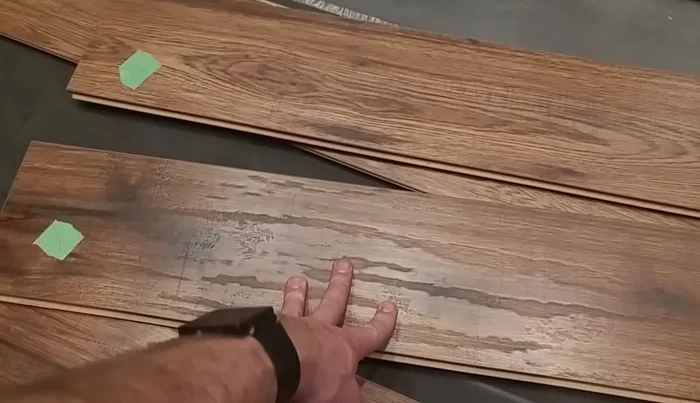
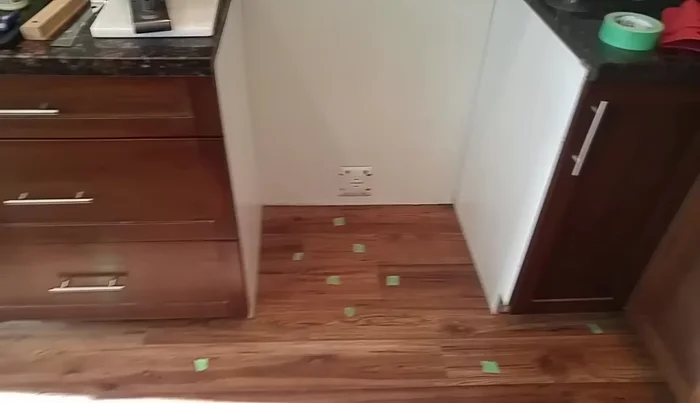
- Use tape to label each board and create a diagram to aid reassembly.
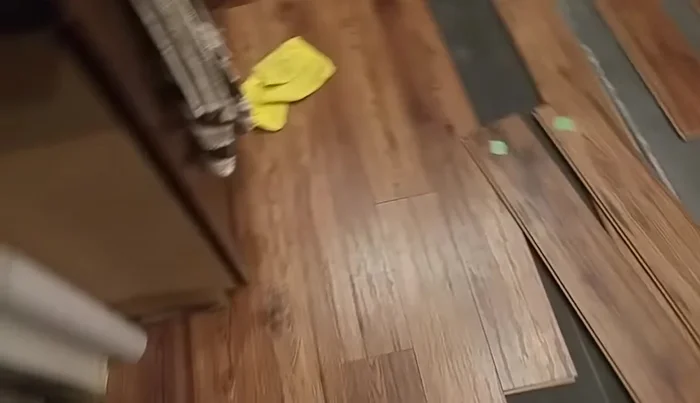
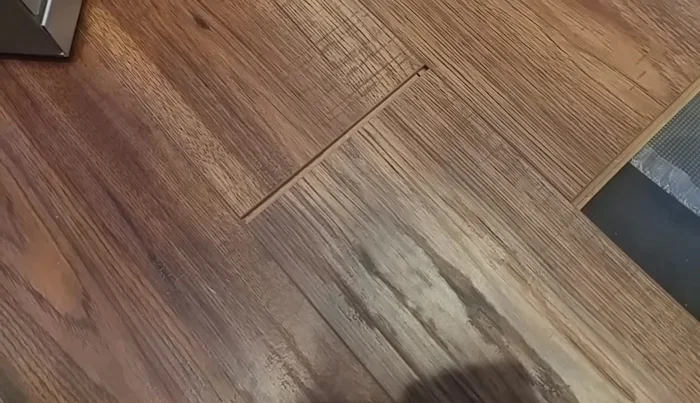
- Start from one end, carefully pry up the warped boards using the pry tool. Remember the tongue and groove system; work systematically.
- If a board is difficult to remove because it’s held by another board, remove the adjacent board first. For boards under obstructions, consider using a suction cup to lift the board slightly before carefully tapping it free. Note any damaged areas for later repair.
Documentation and Removal Replacement Preparation
- Measure and cut the replacement boards, matching the existing ones. Transfer any markings from the old boards to the new ones for easy installation.
Replacement Preparation Installation
- Carefully tap the replacement boards into place, ensuring a tight fit and proper alignment. Use a tapping block to avoid damaging the new boards.
- For any broken tongue and groove connections, apply wood glue to the edges, ensuring a tight seal.
Installation Final Steps
- Replace the kickboards, trim, and appliances.
Final Steps
Read more: Fixing Drywall Nail Pops: A Quick and Easy DIY Guide
Tips
- If you can't find the exact flooring, consider relocating damaged boards to less visible areas (e.g., under rugs).
- Thoroughly document the board placement to avoid issues during reassembly.
- Only use glue on broken joints – avoid gluing the whole laminate floor.
- Use a tapping block to avoid damaging the new boards during installation.
- Take your time and ensure all boards are fully seated to prevent gaps and unevenness.