Luxury vinyl plank (LVP) flooring offers a stylish and durable alternative to traditional hardwood, but even the most expertly installed LVP can sometimes suffer from unevenness or loose planks. These imperfections not only detract from the aesthetic appeal of your floor but can also pose tripping hazards and damage the underlying subfloor. Whether your LVP is exhibiting minor gaps or significant lifting, the problem can often be addressed with DIY solutions, saving you the expense and inconvenience of professional repair. Frustrated with unsightly gaps and wobbly planks? You're not alone, and thankfully, fixing these issues is often manageable.
This definitive guide will walk you through the common causes of uneven or loose LVP flooring and provide clear, step-by-step instructions on how to effectively remedy them. We’ll cover everything from identifying the problem areas and selecting the right tools to tackling various repair methods, ensuring you achieve a flawlessly smooth and stable floor. Let's get started with a comprehensive overview of troubleshooting and fixing your LVP flooring problems.
Preparation and Safety Guidelines
- Suction cup
- Wooden mallet
- Utility knife
- Caulk
- Syringe with flexible tube
- Drill with 3/32” bit
- 2-part adhesive
- Activator
- Q-tips
- Masking tape
- Soldering iron
- Extra LVP pieces
- Always wear safety glasses and gloves to protect yourself from debris and potential injuries while working with LVP flooring.
- Before attempting any repairs, identify the underlying cause of the unevenness or looseness. Addressing the root problem (e.g., improper subfloor preparation) is crucial for a lasting fix.
- If you're unsure about any step of the repair process, consult a professional flooring installer. Improper repairs can worsen the problem and potentially damage your flooring.
Step-by-Step Instructions
Assessment and Preparation
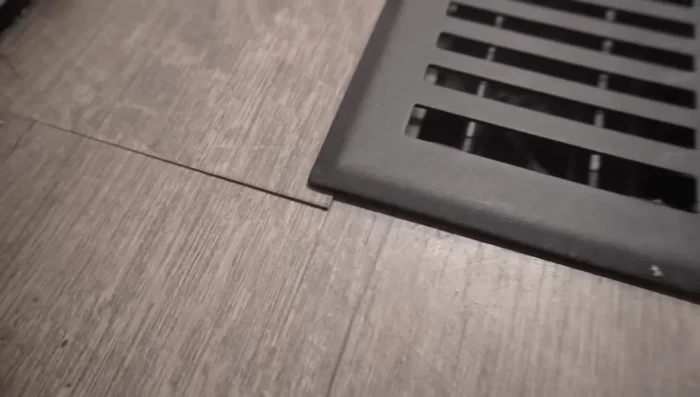
- Identify the damaged plank and its location relative to other planks.
- Completely separate the damaged plank’s row from the adjacent rows. Avoid moving individual planks to prevent damage to the click-and-lock system.
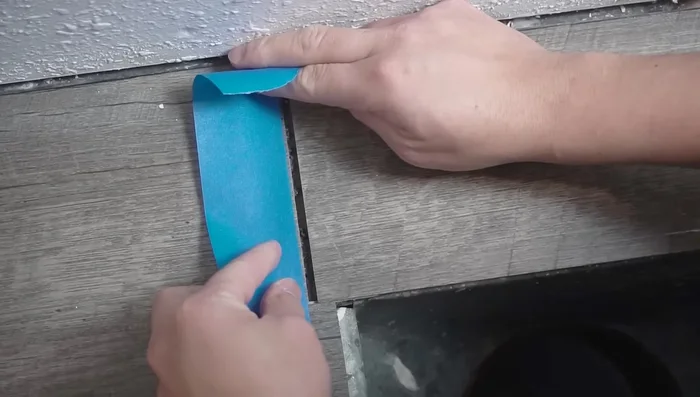
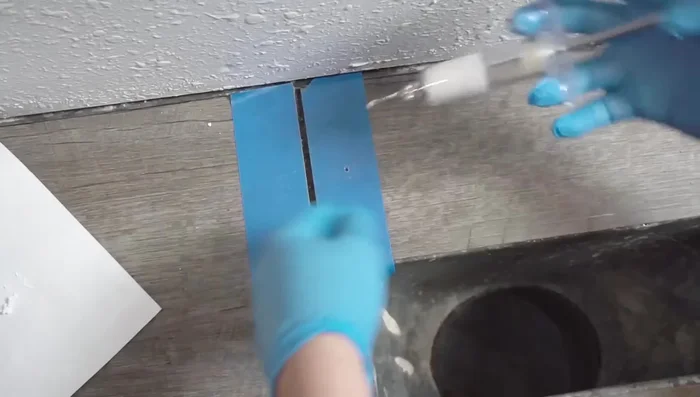
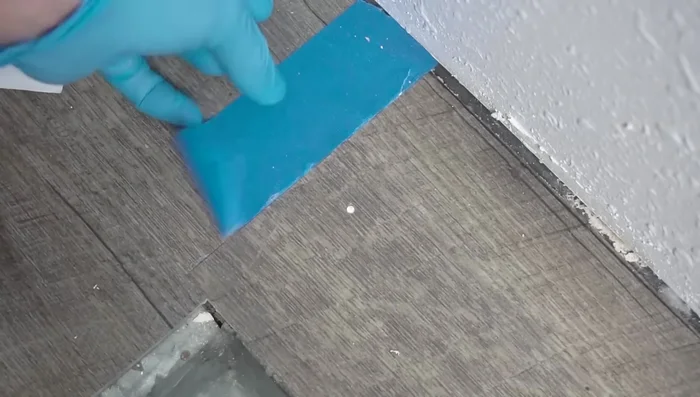
- Apply masking tape along the edges of the damaged area to protect surrounding planks.

Assessment and Preparation Damaged Plank Removal
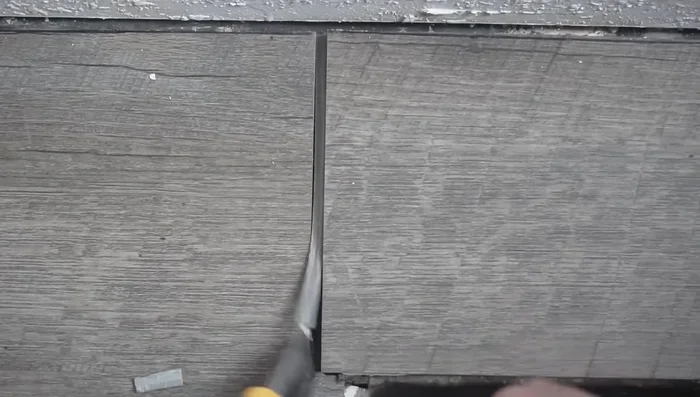
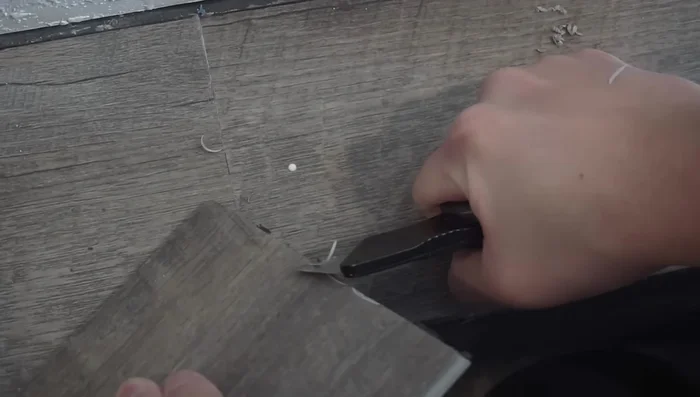
- Carefully remove the damaged plank using a utility knife or other prying tools.
Damaged Plank Removal Caulk Application (Attempt 1 and Plan B)
- Drill a hole in the damaged area and fill it with caulk using a syringe. If using the syringe and flexible tube, ensure the syringe is stable to prevent caulk spillage.
Caulk Application (Attempt 1 and Plan B) Replacement Plank Installation
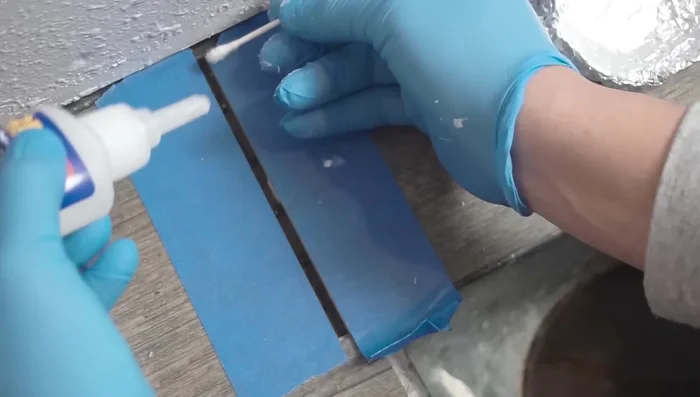
- Apply a small amount of 2-part adhesive to one end of the replacement plank and a small amount of activator.
- Insert the replacement plank into the gap and tap it into place using a mallet and suction cup.
Replacement Plank Installation Cleanup and Finishing
- Carefully remove the masking tape.
- Use a soldering iron and LVP shavings to melt and fill any remaining gaps or imperfections, feathering the edges for a seamless finish.
Cleanup and Finishing

Read more: Fixing Drywall Nail Pops: A Quick and Easy DIY Guide
Tips
- Check your flooring warranty before making any modifications.
- Leave a quarter-inch gap between the flooring and the wall to allow for expansion and contraction.
- Move the entire row of planks at once instead of individual planks to prevent damage.
- Work slowly and carefully to avoid damaging the flooring further.
- Don’t apply too much adhesive; small amounts are sufficient.