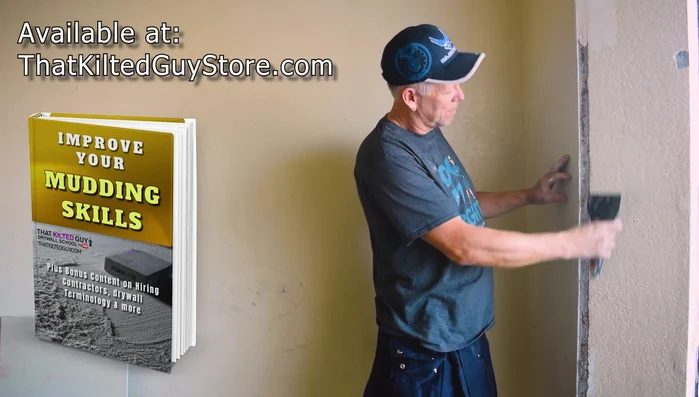
Corner bead, that unsung hero of interior finishes, provides a crucial protective and aesthetic function to drywall corners. However, even the most robust corner bead can succumb to damage, whether from clumsy movers, errant tools, or the wear and tear of everyday life. A damaged corner bead not only looks unsightly, but also compromises the structural integrity of the corner, leaving it vulnerable to further damage and impacting the overall appearance of your room. Repairing it effectively is essential for maintaining a clean, professional finish. A poorly repaired corner bead will only lead to more headaches down the line.
Fortunately, fixing damaged corner bead is a manageable DIY project, even for those with limited experience in home repairs. This guide provides a comprehensive, step-by-step approach to restoring your damaged corner bead to its former glory, leaving you with a seamless and durable finish. Let's dive into the process and learn how to effectively fix those unsightly imperfections.
Preparation and Safety Guidelines
- Putty knife
- Screws
- Drill
- Mesh tape or Fiber Fuse tape
- 6-in-1 tool
- Drywall compound
- Sandpaper
- Always wear safety glasses and a dust mask to protect your eyes and lungs from debris and dust generated during the repair process.
- Use caution when working with sharp tools like utility knives and putties knives. Always cut away from yourself and keep your fingers clear of the blade.
- Ensure the area is well-ventilated to avoid inhaling fumes from any adhesives or patching compounds used.
Step-by-Step Instructions
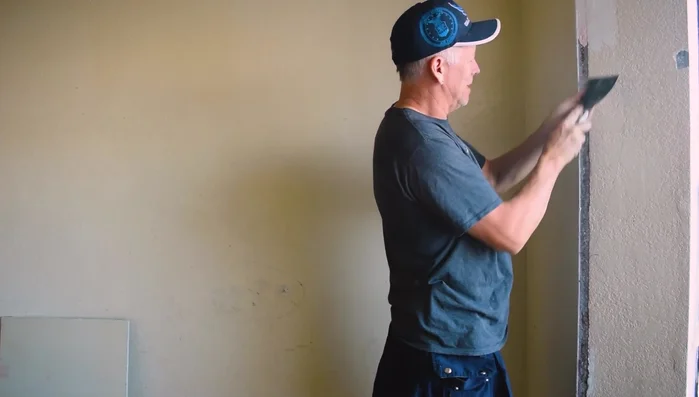
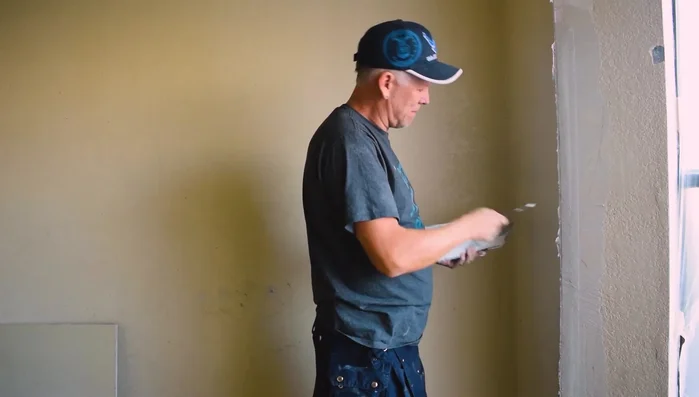
Assess and Secure the Corner Bead
- Remove loose mud from the damaged corner bead. Only remove what's loose; don't strip the whole thing unless necessary.
- Check the security of the corner bead by tapping it. If loose, secure it with screws along the edge, going through the metal slightly for better hold.

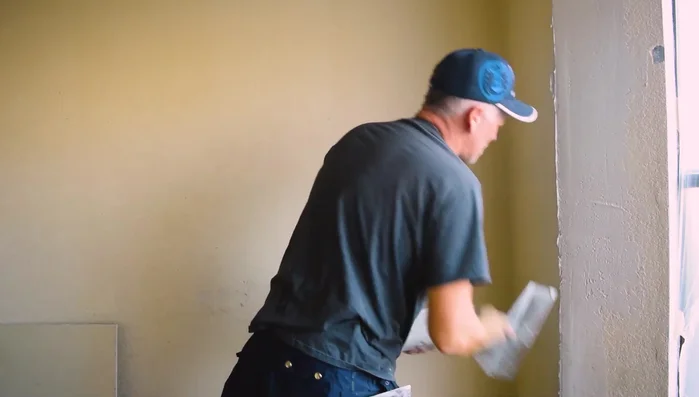
Assess and Secure the Corner Bead Prepare the Damaged Area
- Build up the damaged area slightly with a putty knife to help the mud blend better.
- Clean up the corner bead edge.
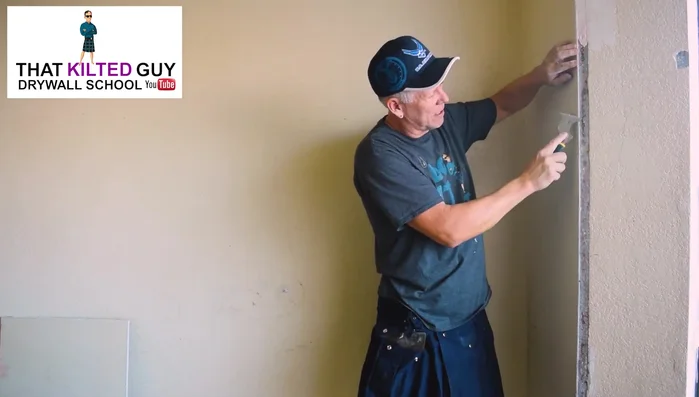
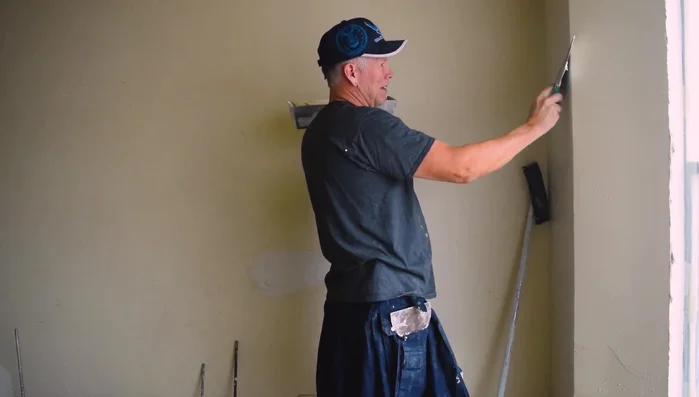
Prepare the Damaged Area Apply Reinforcement Tape
- Apply thin fiber fuse tape to the edge of the corner bead. Press firmly.
Apply Reinforcement Tape Apply First Coat of Mud
- Apply a generous amount of hot mud to the tape, flattening it out.
- Apply a first coat of mud, ensuring full coverage of the tape. Check for any protruding nails or other imperfections and address them.
Apply First Coat of Mud Dry and Apply Second Coat of Mud
- Let the first coat dry. Then apply a second coat of all-purpose joint compound, focusing on smoothing any high points and covering the edge.
- When applying the second coat, use a sawing motion with your knife to clean the edge and prevent pushing mud back into the work area.
Dry and Apply Second Coat of Mud Finish and Texture
- Address any bubbles that may appear, especially on painted surfaces. Avoid overworking the mud.
- Sand, scrape, and apply a thin skim coat to fill in any remaining bubbles. Then, apply texture.
Finish and Texture

Read more: Fixing Drywall Nail Pops: A Quick and Easy DIY Guide
Tips
- Use quality tools for better results.
- Don't push too hard when applying the mud to avoid pushing it out from the middle.
- Use a sawing motion with your knife when cleaning off the edge to prevent pushing the mud back.
- Fiber fuse tape is thinner and stronger than mesh tape, allowing the mud to better penetrate and providing extra strength.