Cracked tiles are a common household eyesore, often leading to costly replacements. But before you succumb to the expense and disruption of a full-scale tiling overhaul, consider this surprisingly effective, and budget-friendly, solution. A simple combination of wood glue and nail polish can often repair minor cracks and chips, restoring your tiles to their former glory, without the need for specialist tools or expensive materials. This method is ideal for tackling small, superficial cracks, providing a quick and aesthetically pleasing fix.
This inexpensive and surprisingly effective repair technique uses readily available household items to create a strong and durable bond, making it a perfect DIY solution for minor tile damage. Forget expensive professional repairs – in this article, we'll guide you through a simple, step-by-step process for repairing cracked tiles using wood glue and nail polish, proving that sometimes the best solutions are the simplest.
Preparation and Safety Guidelines
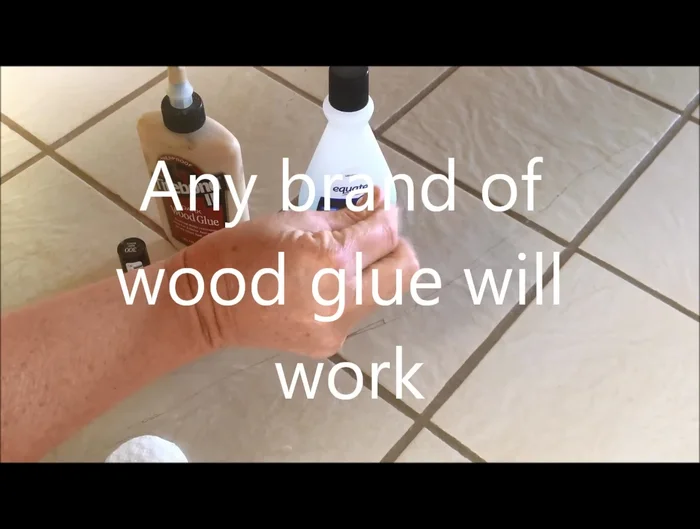
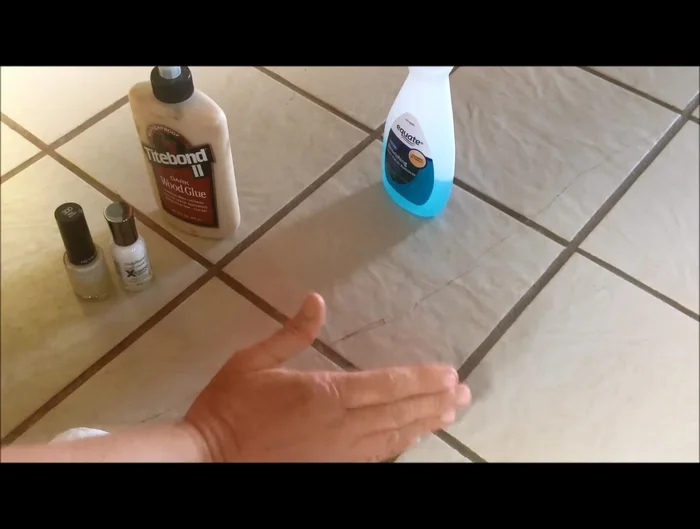
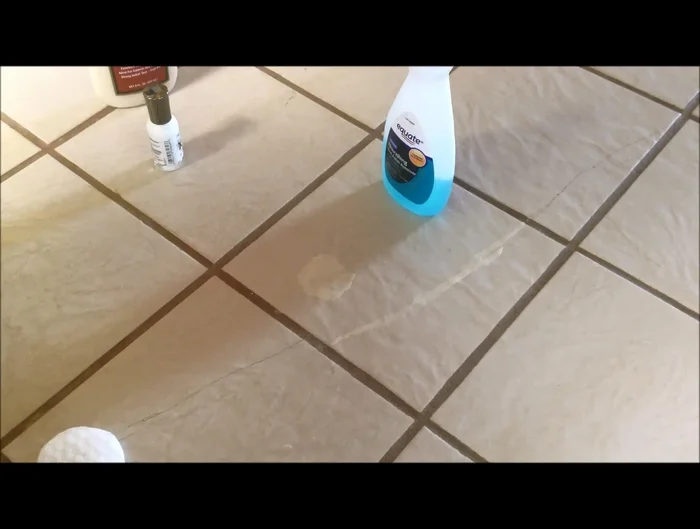
- Wood glue
- Fingernail polish (matching tile color)
- Fingernail polish remover
- Cotton swab
- Fine-grit sandpaper (optional)
- White nail polish (for mixing)
- Always work in a well-ventilated area, as wood glue and nail polish fumes can be harmful.
- Test the nail polish color on an inconspicuous area of the tile first to ensure color matching and avoid staining.
- Use a minimal amount of wood glue to avoid excess squeeze-out that may be difficult to clean.
Step-by-Step Instructions
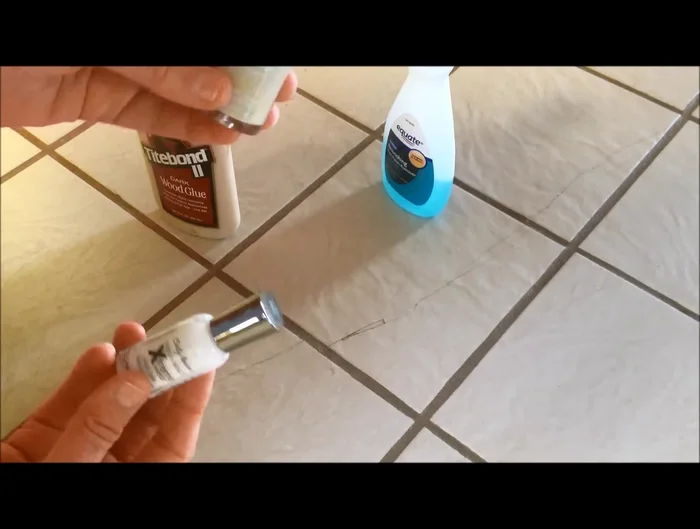
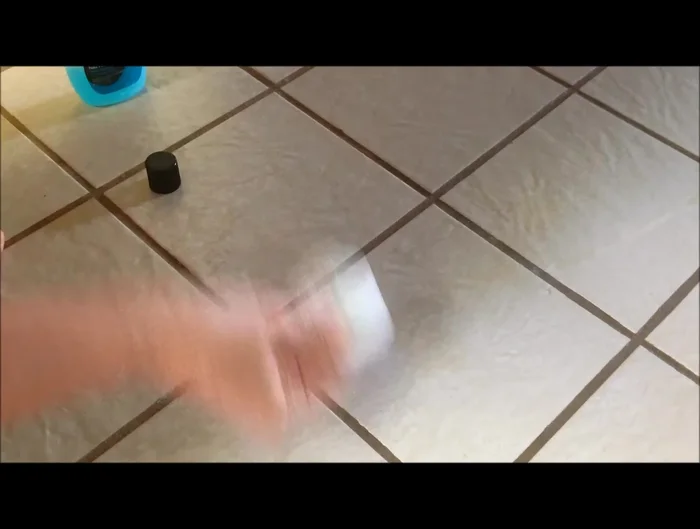
Prepare and Fill the Crack
- Fill the crack with wood glue. Apply liberally, especially for larger cracks or deep chips, allowing the glue to expand and contract with the house.

Prepare and Fill the Crack Allow Initial Drying
- Let the wood glue dry completely.
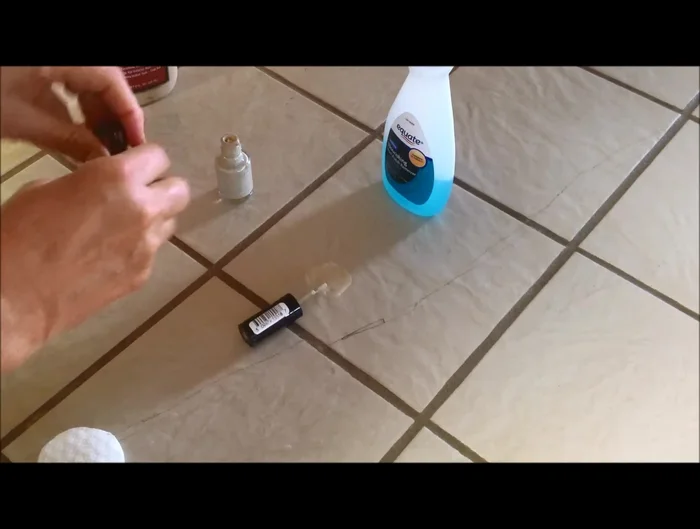
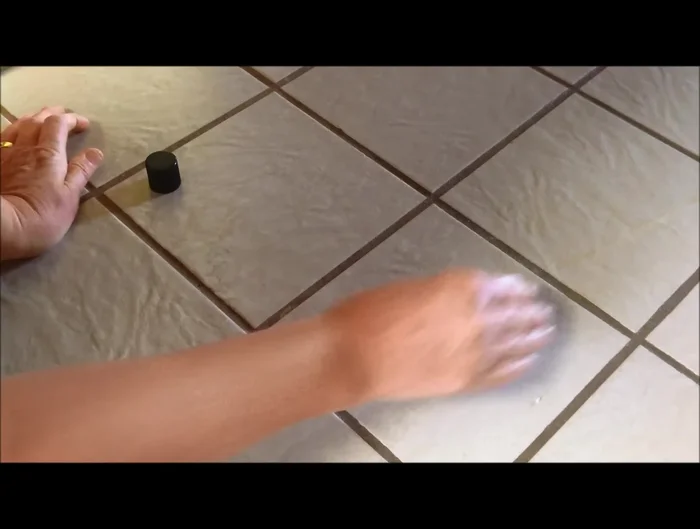
Allow Initial Drying Color Matching and Application
- Mix fingernail polish to match your tile color. If necessary, add white nail polish to lighten the shade.
- Apply the mixed nail polish over the dried wood glue, gently blending it into the surrounding tile. Work in small sections to ensure a natural blend.
Color Matching and Application Allow Nail Polish to Dry
- Let the nail polish dry completely.
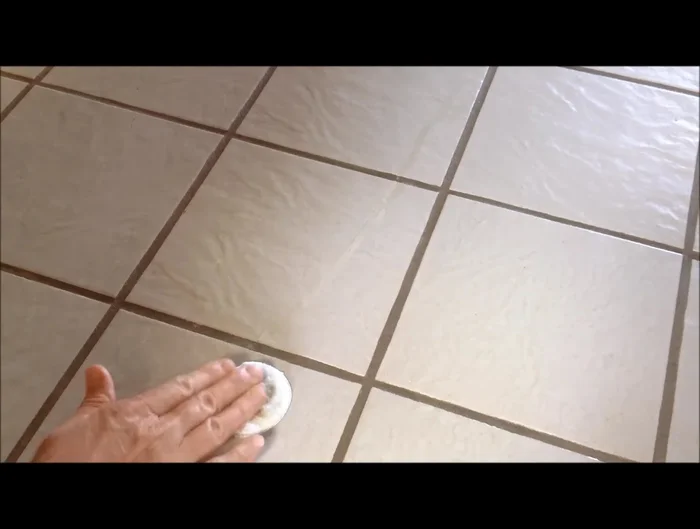
Allow Nail Polish to Dry Smoothing and Refinement
- Gently smooth the nail polish with a cotton swab dipped in nail polish remover.
- Repeat steps 6 as needed to achieve a smooth, even finish.
Smoothing and Refinement Final Refinement (Optional)
- If there’s excess shine, lightly sand the area with fine-grit sandpaper.
Final Refinement (Optional)
Read more: Fixing Drywall Nail Pops: A Quick and Easy DIY Guide
Tips
- This method works best on glazed tiles. Avoid using it on porous tiles.
- Use separate brushes for mixing the nail polish to avoid color contamination.
- For deep chips, multiple applications of wood glue and nail polish might be necessary.