Is your child ready for their own dedicated study space, but the thought of buying a new desk fills you with budget-anxiety? Don't despair! There's a fantastically creative and cost-effective solution hiding in plain sight: that old crib gathering dust in the basement or garage. With a little ingenuity and some elbow grease, you can transform this seemingly outdated piece of furniture into a charming and functional kids' desk, perfect for homework, art projects, and imaginative play. This upcycling project not only saves you money but also offers a rewarding way to repurpose a cherished item, imbuing the desk with sentimental value.
This 'DIY Kids' Desk Upcycle' project is surprisingly simple, even for beginners. We'll guide you through each step of the transformation, from safely disassembling the crib to adding a personalized touch with paint and decorative elements. Ready to breathe new life into an old crib and create a personalized study haven for your little one? Let’s get started with our step-by-step guide below!
Preparation and Safety Guidelines
- Old crib
- Piece of wood
- Drill
- Drill bit
- Marker
- Wooden pegs
- Screws
- Sandpaper
- Flat head screws
- White chalk paint
- Paintbrushes
- Under shelf baskets
- Lazy Susan
- Cardboard box
- Tension curtain rods
- Drawing paper roll
- Empty toilet paper roll
- Always supervise children while they are near or using the upcycled desk. Ensure all edges are sanded smooth and there are no sharp corners or protruding hardware.
- Use non-toxic paints, stains, and sealants specifically designed for children's furniture. Allow ample drying time before use to ensure complete curing and prevent children from ingesting harmful substances.
- Ensure the crib meets all safety standards for its intended use *before* repurposing it. If the crib is damaged or shows signs of wear, do not attempt to upcycle it; discard it properly.
Step-by-Step Instructions
Planning and Preparation
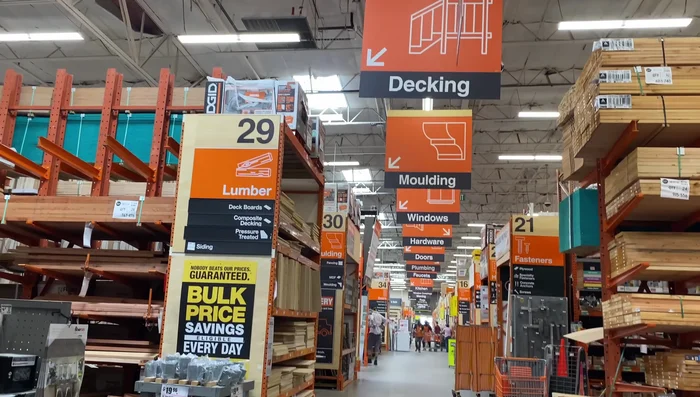
- Measure the crib and purchase a piece of wood at a home improvement store. Consider getting the wood cut to size at the store for convenience.
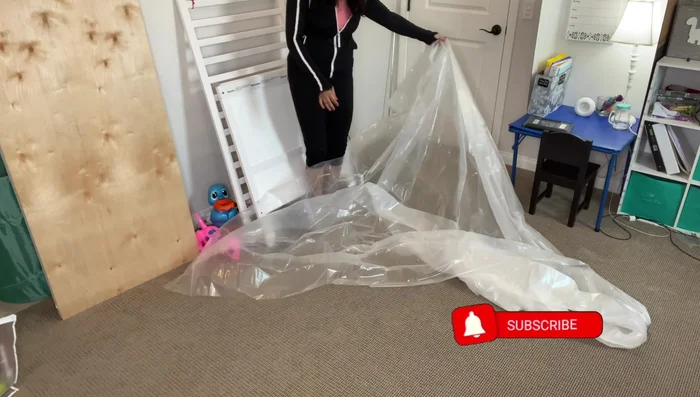
- Protect your floor with a plastic roll before starting any work.

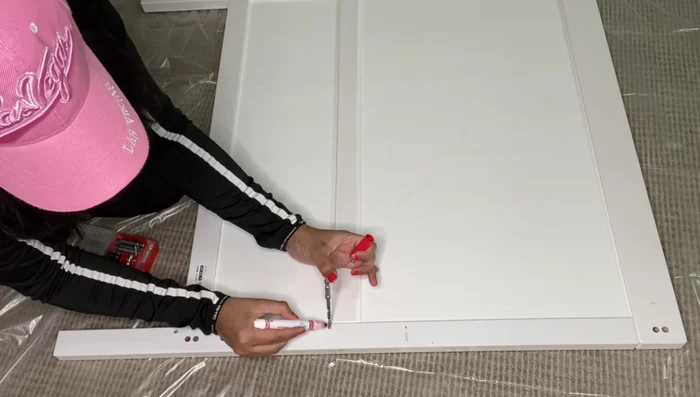
Planning and Preparation Attaching the Wood Surface
- Mark the depth of the drill bit and drill pilot holes to attach the new wood surface to the crib, matching the existing angle of the crib's holes.
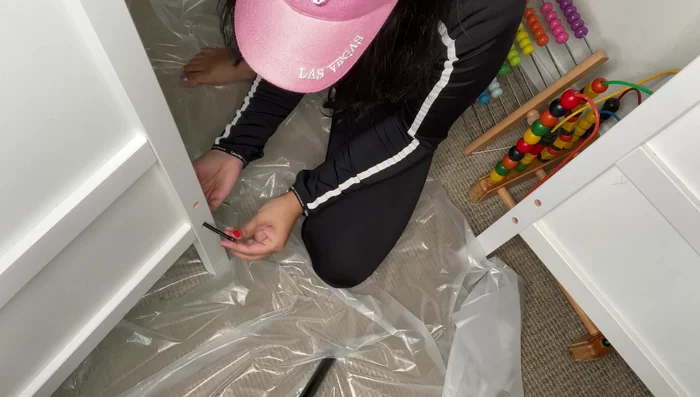
- Secure the new wood piece to the crib using wooden pegs and existing screws.
- Sand the edges of the new wood surface for safety.
Attaching the Wood Surface Painting the Desk
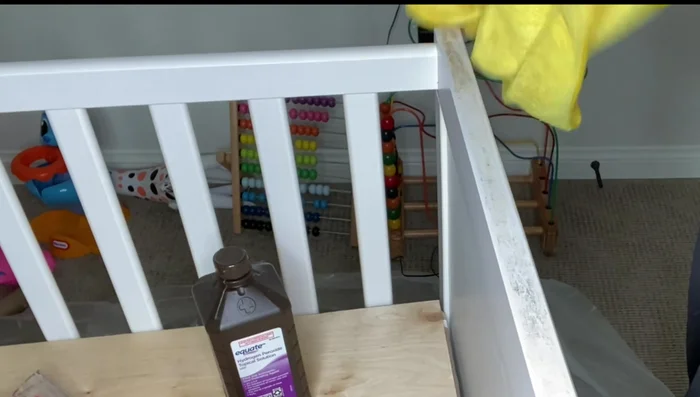
- Clean the surface of the new desk using hydrogen peroxide or nail polish remover to prepare for painting.
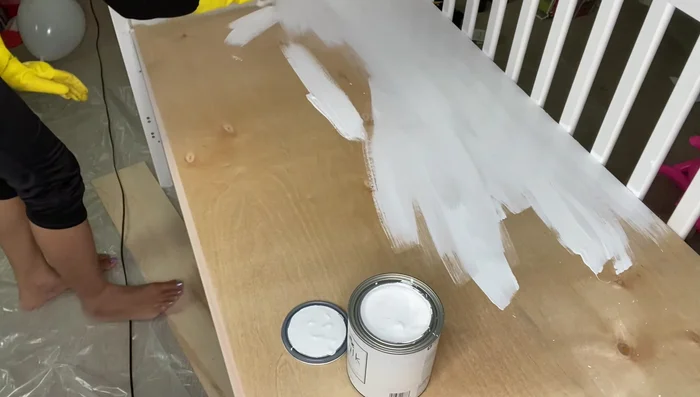
- Paint the desk with two to three coats of non-toxic white chalk paint and let it dry completely.
Painting the Desk Adding Storage and Organization
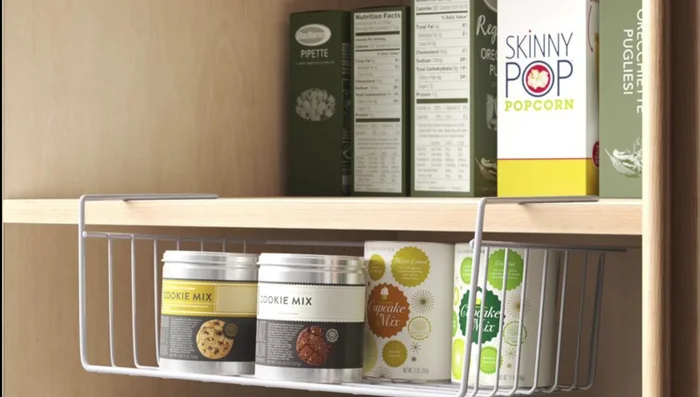
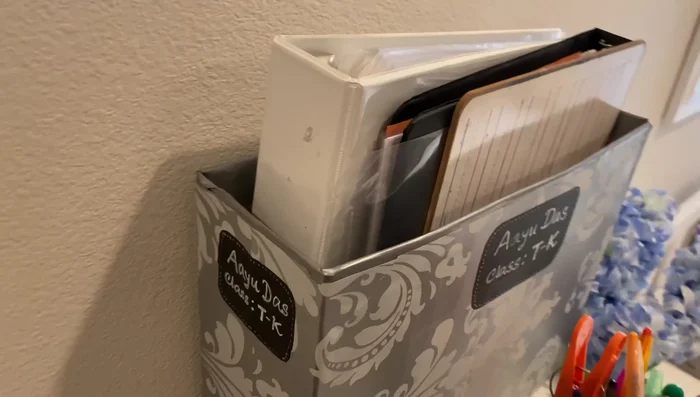
- Add under-shelf baskets vertically to increase workspace and storage.
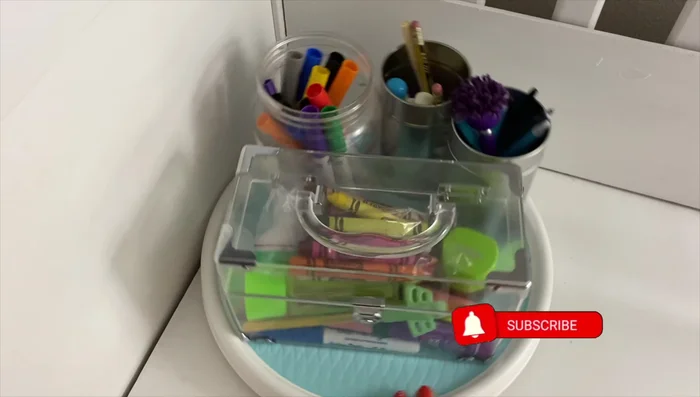
- Use a lazy Susan to organize school supplies in a corner space.
- Recycle a cardboard box for additional storage.
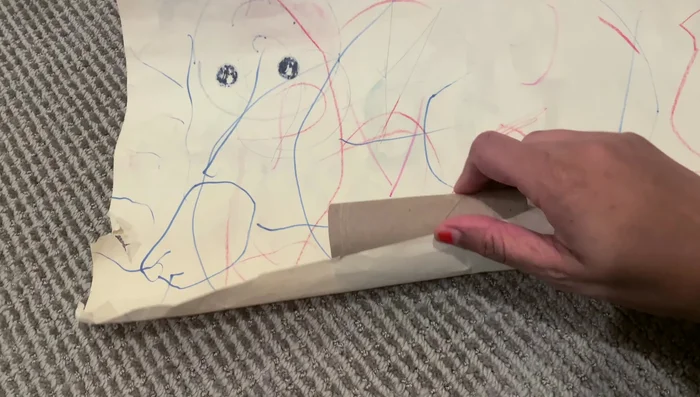
Adding Storage and Organization Creating a Built-in Drawing Surface
- Install tension curtain rods and attach a roll of drawing paper for a built-in drawing surface. Use an empty toilet paper roll to create a clean edge for the paper roll.
Creating a Built-in Drawing Surface

Read more: DIY Upcycled Bed Frame: A Step-by-Step Guide
Tips
- Check for sales or discounts at your local home improvement store to save money on materials.
- Chalk paint is easy to work with and forgiving if you are not an experienced painter.