A fierce storm has passed, leaving a trail of destruction in its wake, and your roof isn't looking its best. Missing shingles, flapping in the wind, are a common sight after high winds or hail, leaving your home vulnerable to water damage and further deterioration. The good news is that repairing blown-off shingles is often a manageable DIY project, saving you the considerable expense of professional roofers. This isn't a task to be taken lightly, however; safety is paramount when working at heights. Proper preparation and the right tools are crucial for a successful and safe repair.
Before you start climbing onto your roof, make sure you understand the extent of the damage. This article will provide a detailed, step-by-step guide to effectively and safely repair your roof, covering everything from assessing the damage to securing the final shingle. Let's get started on learning how to fix those blown-off shingles and protect your home.
Preparation and Safety Guidelines
- Roof sealant (wet/dry application)
- Caulking gun
- Rag
- Stepladder (or scaffolding for higher roofs)
- WD-40 (optional)
- Always prioritize safety! Wear a safety harness and work with a partner when working at heights. Never work on a roof during inclement weather (rain, snow, high winds).
- Use appropriate safety equipment: This includes sturdy work boots with good grip, gloves, safety glasses, and a hard hat.
- Inspect the entire roof for further damage before beginning repairs. A single blown shingle might indicate a larger underlying problem.
Step-by-Step Instructions
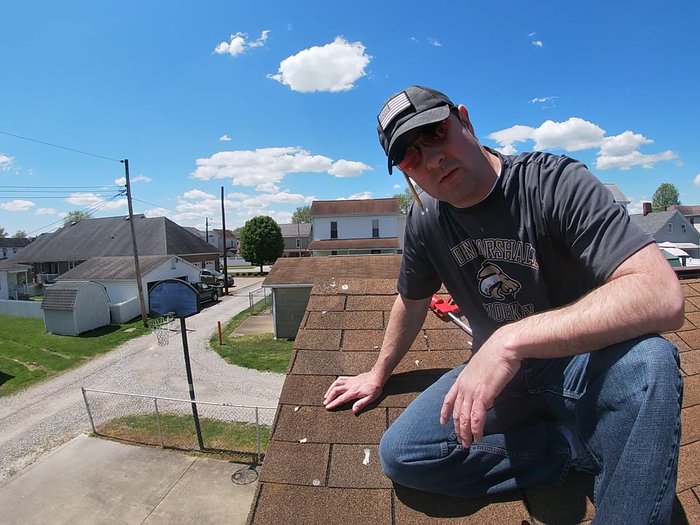
Roof Inspection
- Inspect the roof for damaged shingles. Identify the shingles that have lifted or are damaged.

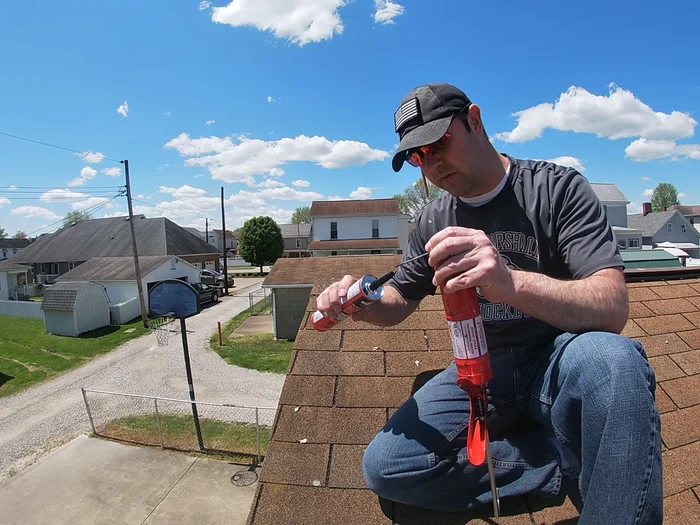
Roof Inspection Sealant Preparation
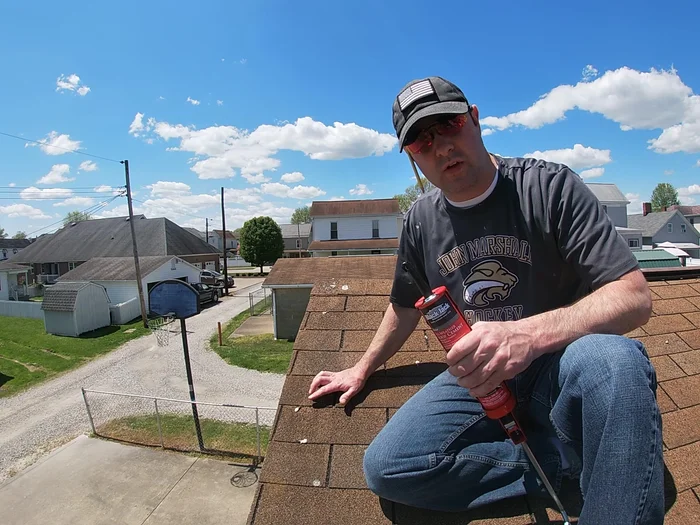
- Prepare the roof sealant. Puncture the sealant tube using the caulking gun's puncture tool. Be careful to avoid getting sealant on your hands.
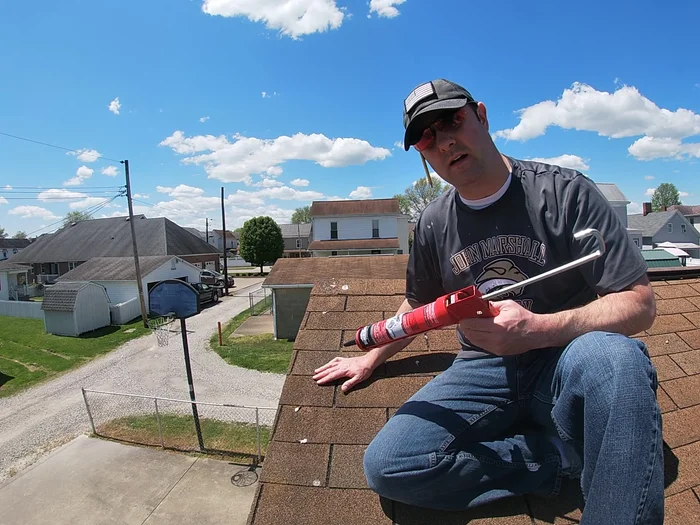
Sealant Preparation Shingle Application
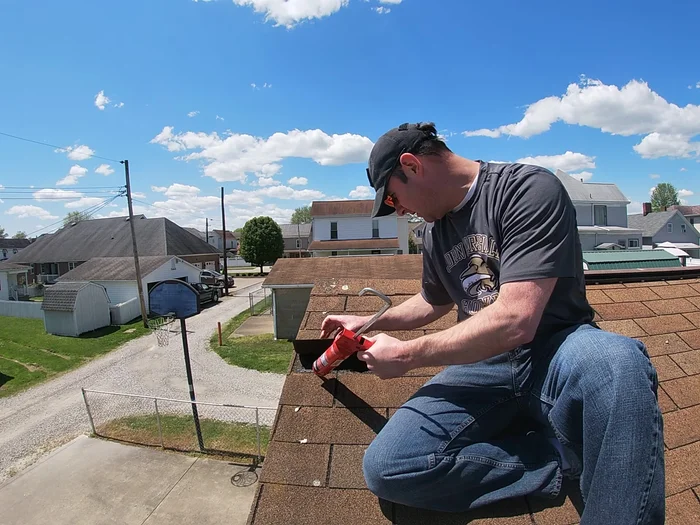
- Lift the blown-off shingle. Apply the roof sealant along the existing tar strip on the underside of the shingle.
- Press the shingle firmly back down onto the roof, ensuring good adhesion to the sealant and existing tar strip.
Shingle Application Cleanup and Final Inspection
- Clean up any excess sealant immediately with a rag. WD-40 can help remove sealant from your hands if needed.
- Inspect the rest of the roof for any other damaged areas or exposed nails. Apply sealant to these areas as needed.
Cleanup and Final Inspection
Read more: DIY Roof, Shingle, Fence, and Flashing Repair with Henry Wet Patch 208
Tips
- Use caution when working on a roof. Use a stepladder for lower roofs; for higher or steeper roofs, consider hiring a professional.
- Choose a wet/dry roof sealant to ensure it works even if it rains shortly after application.
- Apply sealant only to the tar strip to avoid making a mess and to prevent excess sealant from showing on the visible part of the shingle.
- Keep a rag handy to clean up excess sealant immediately.
- WD-40 can effectively remove roof sealant from your hands.