Tripped breakers can be incredibly frustrating, leaving you in the dark – literally! But before you call an expensive electrician, consider tackling the problem yourself. Replacing a circuit breaker is often a straightforward task, even for novice DIYers, saving you time and money. This simple guide will empower you to safely and efficiently handle minor electrical issues, preventing inconvenient power outages and empowering you to take control of your home’s electrical system. Remember, safety is paramount; if you're ever unsure about any step, it’s always best to consult a qualified professional.
This guide focuses on common types of circuit breakers found in most homes, providing clear, concise instructions and accompanying visuals. We'll walk you through each step of the process, from safely turning off the power to properly installing the new breaker and testing the circuit. Ready to conquer that tripped breaker and restore power to your home? Let's dive into the step-by-step process outlined below.
Preparation and Safety Guidelines
- Manual Screwdriver
- Non-contact voltage tester
- Always turn off the power to the circuit at the main breaker box BEFORE attempting any work. Failure to do so could result in serious injury or death.
- If you are uncomfortable or unsure about any step of the process, consult a qualified electrician. Electrical work can be dangerous.
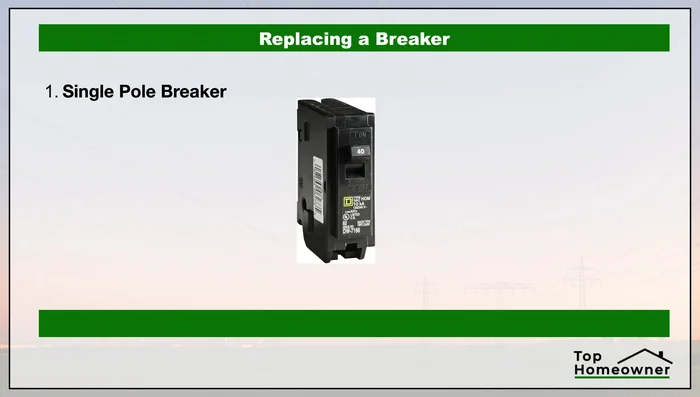
- Match the new breaker to the amperage and type of the old breaker. Using an incorrect breaker can cause damage to your electrical system or fire.
Step-by-Step Instructions
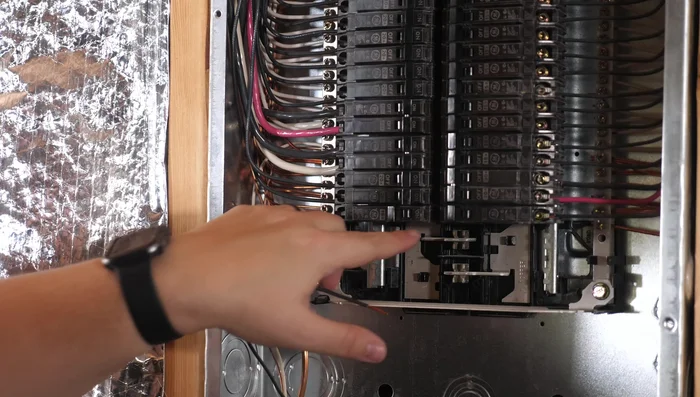
Power Down and Safety Check
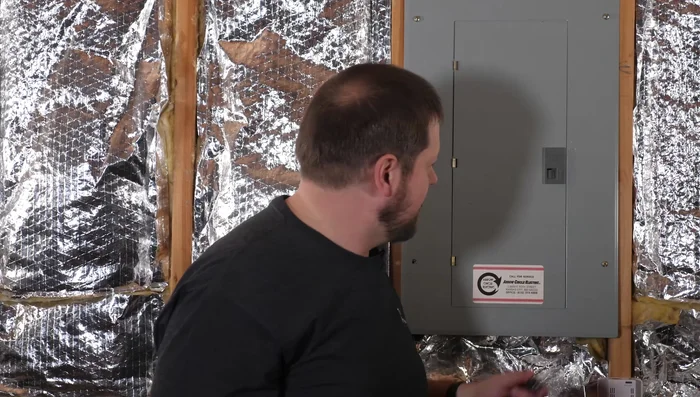
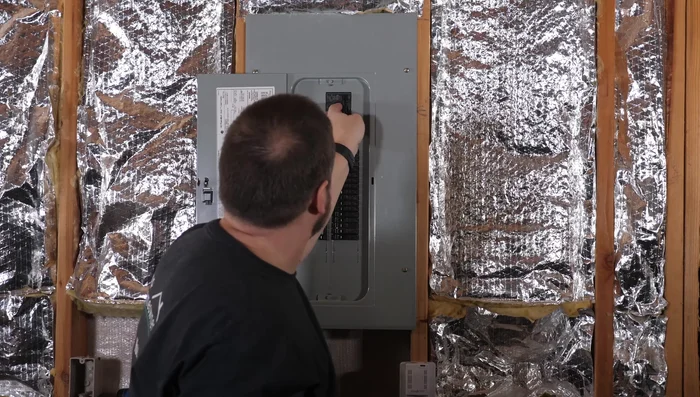
- Cut power to the breaker panel by flipping the main breaker off.
- Safely remove the panel cover using a manual screwdriver.
- Verify power is off using a non-contact voltage tester in the breaker area.

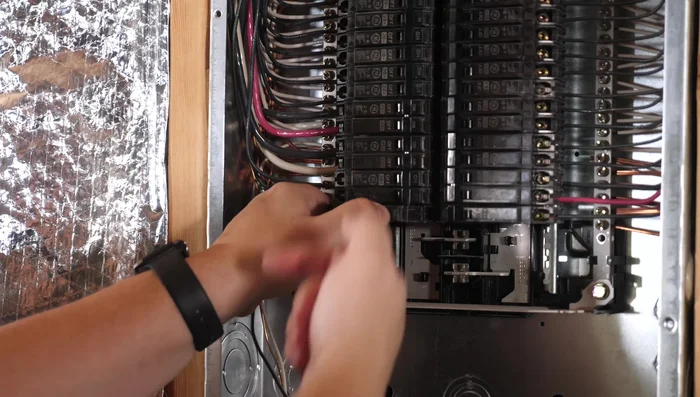
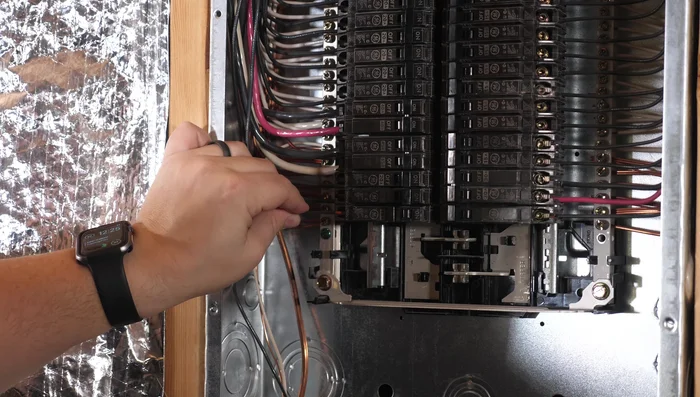
Power Down and Safety Check Remove Faulty Breaker
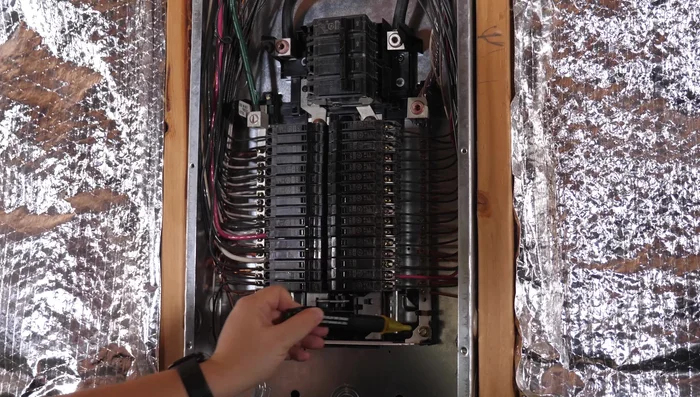
- Unscrew the screw inside the faulty breaker to release the hot wire(s).
- Carefully remove the hot wire(s) from the breaker. Note the position of each wire.
- If dealing with an AFCI or GFCI breaker, remove the white wire and the curly wire from the neutral bus bar.
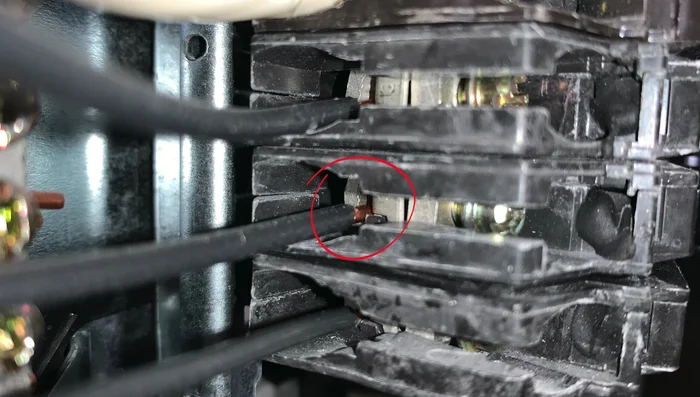
- Release the breaker by pulling it forward. There's a clip holding it to the bar.
Remove Faulty Breaker - Remove the breaker.
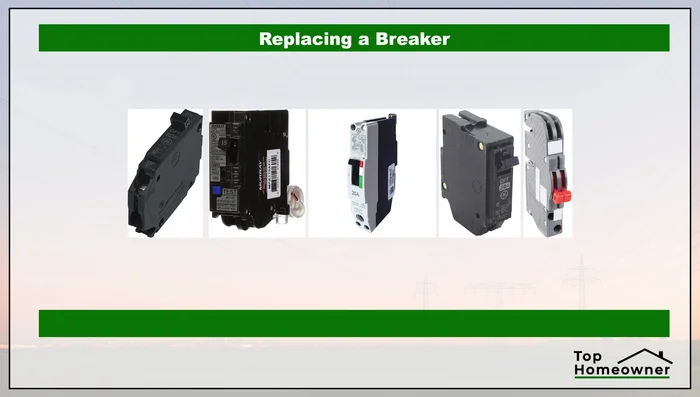
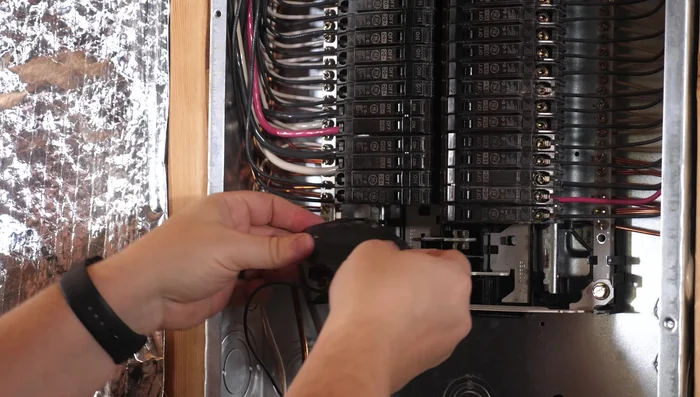
Remove Faulty Breaker Install New Breaker
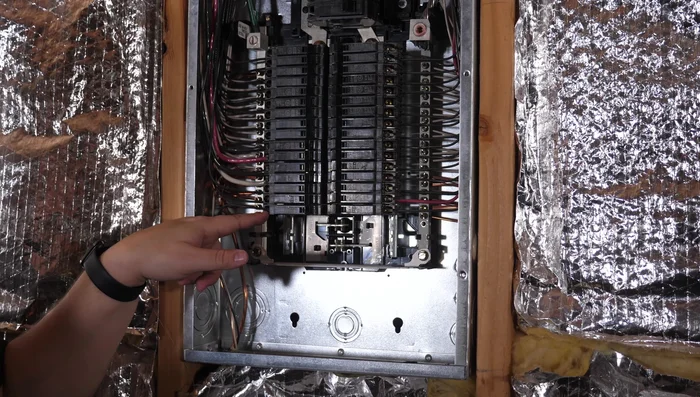
- Choose the correct replacement breaker matching amperage rating (15 or 20 amps) and brand compatibility.
- Install the new breaker by clipping it in place and pushing it back.
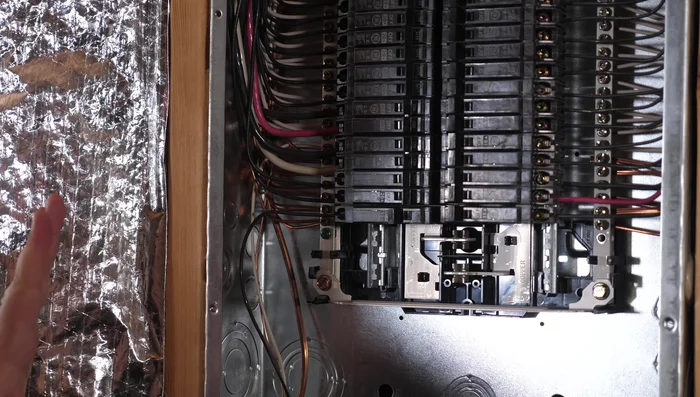
- Reattach the wires to the new breaker, ensuring they are securely under the screw terminals.
- Screw the breaker back in place.
Install New Breaker Restore Power
- Replace the panel cover.
- Flip the main breaker back on.
Restore Power

Read more: Installing an Outdoor GFCI Receptacle: A Step-by-Step Guide
Tips
- If uncomfortable, contact a licensed electrician.
- Use a manual screwdriver to avoid over-tightening screws.
- Avoid touching live wires above the main breaker.
- Keep track of wire positions for accurate reinstallation.
- Don't attempt to remove the curly white wire from the breaker itself.