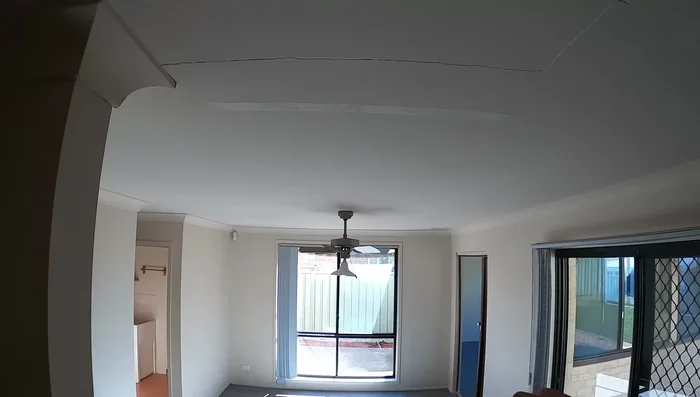
Ceiling cracks—those unsightly blemishes that can mar the aesthetic appeal of your home—often appear more daunting to fix than they actually are. While a gaping fissure might warrant professional attention, many smaller cracks are easily repaired with a little DIY know-how and the right materials. A cracked ceiling not only impacts the look of your room but can also be a sign of underlying structural issues, so addressing it promptly is crucial. Ignoring these cracks can lead to further damage and potentially more costly repairs down the line.
This guide will empower you to confidently tackle those annoying ceiling cracks yourself, saving you time and money. Forget expensive contractors; we'll walk you through a straightforward, step-by-step process to effectively repair your ceiling, leaving it looking smooth and seamless. Let's get started on your path to a flawless ceiling!
Preparation and Safety Guidelines
- 7-in-1 multi-tool
- Utility knife
- Joint compound
- Mesh tape or paper tape
- Joint knife/scraper
- Primer
- Ceiling paint
- Always turn off the power to the affected area before starting any repairs to prevent electrical shock.
- Wear safety glasses and a dust mask to protect your eyes and lungs from debris and dust.
- If the crack is large, wider than ¼ inch, or shows signs of structural damage (e.g., sagging ceiling), consult a professional contractor immediately. Attempting DIY repairs on significant damage could be dangerous.
Step-by-Step Instructions
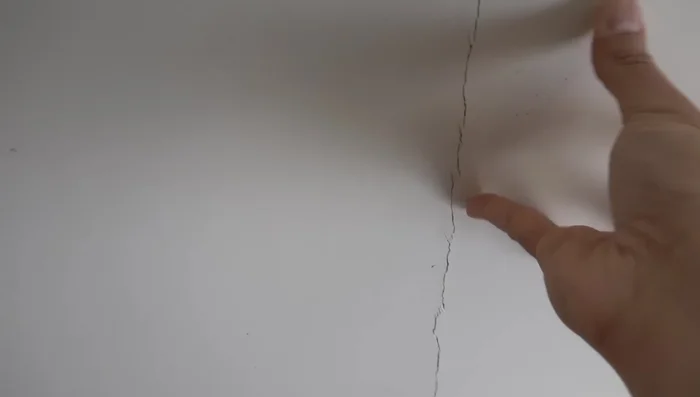
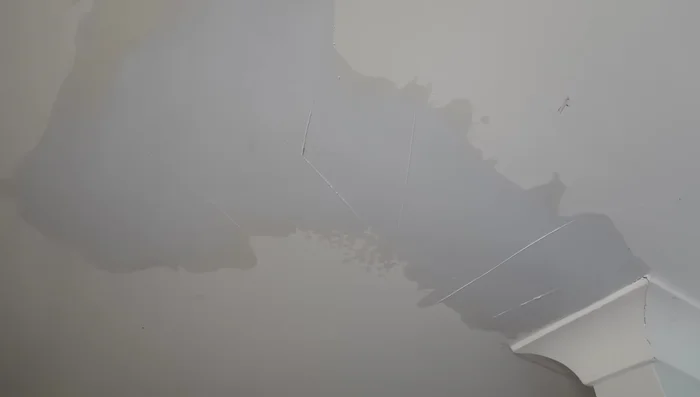
Assess and Prepare
- Push on both sides of the crack to ensure the ceiling is secure. Loose nails or adhesive can cause movement and further cracking.
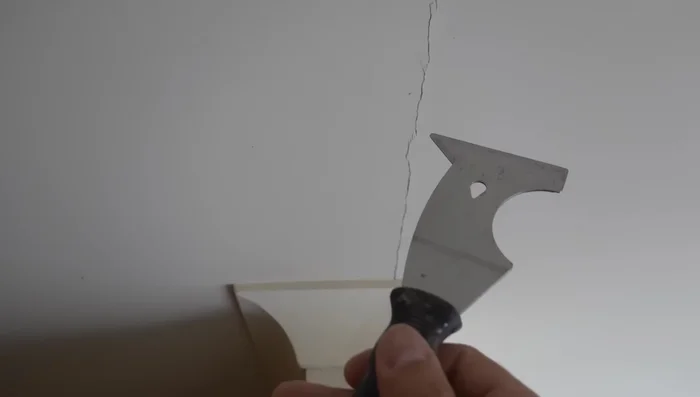
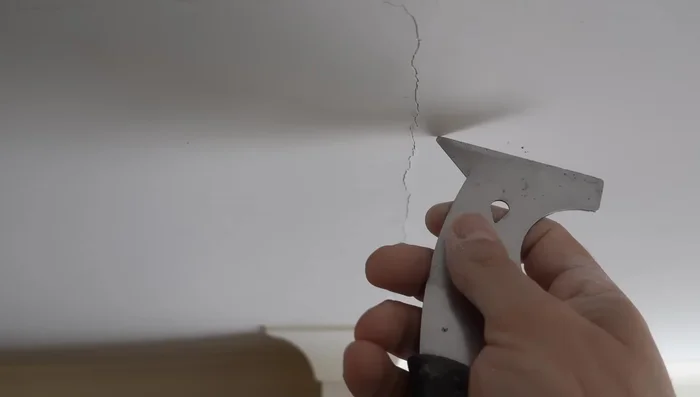
- Use a multi-tool to widen the crack slightly. This allows for better penetration of the joint compound.
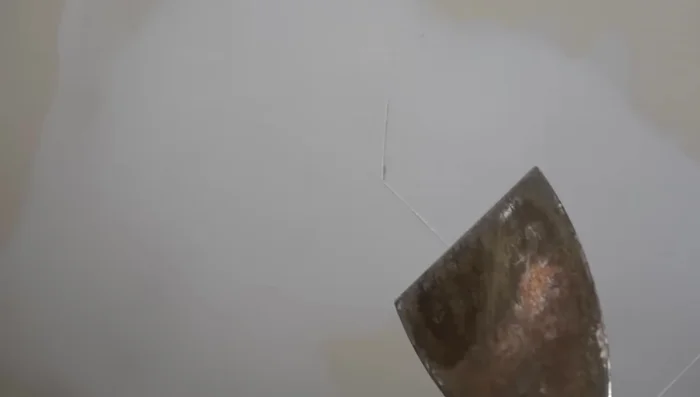
- If the crack thins out, create small intersections at the end of the crack to prevent further spreading. Use a utility knife, chisel, or screwdriver.
- Remove any loose material from the crack using a scraper.

Assess and Prepare Tape and First Coat
- Apply mesh tape (preferred for small repairs) or paper tape across the crack. Pre-cut pieces for easier application.
- Fill the crack with joint compound, ensuring the tape is embedded. Don't worry about perfection; focus on embedding the tape.
Tape and First Coat Dry and Smooth First Coat
- Allow the first coat to dry completely.
- Remove any high spots with a scraper and lightly sand the edges if necessary.
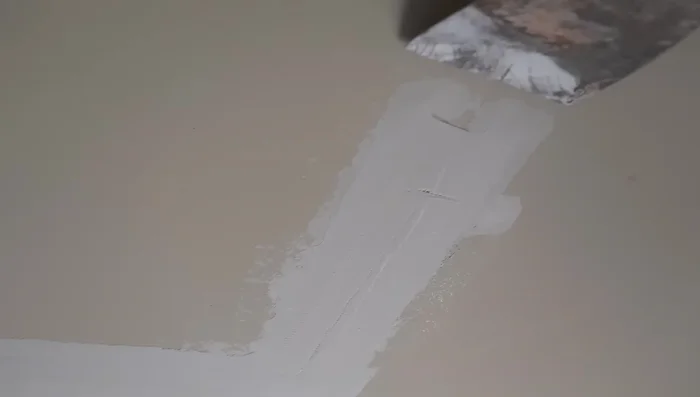
Dry and Smooth First Coat Second Coat Application
- Using a larger joint knife, apply a second coat of joint compound, feathering it out to blend with the ceiling. Aim for a smooth finish.
Dry and Smooth Second Coat
- Allow the second coat to dry completely.
- If necessary, apply a third, final coat to achieve a perfectly smooth surface.
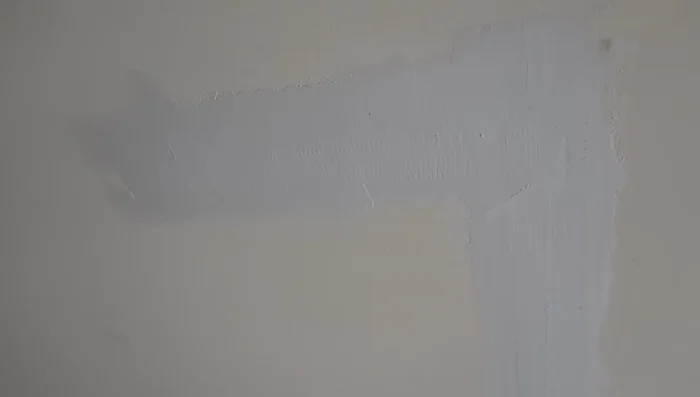
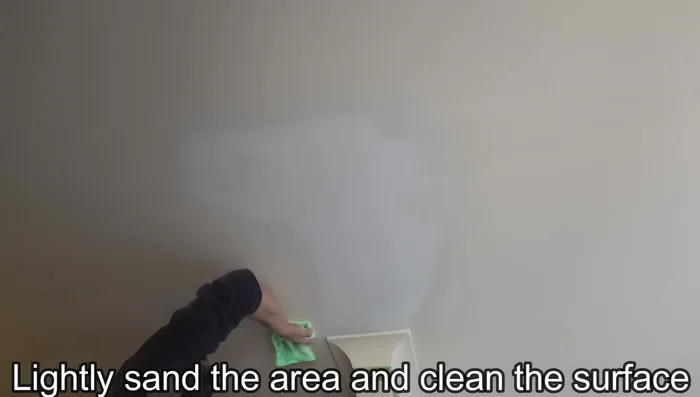
Dry and Smooth Second Coat Prime and Paint
- Once completely dry, prime and paint the repaired area with two coats of ceiling paint.
Prime and Paint
Read more: Fixing Drywall Nail Pops: A Quick and Easy DIY Guide
Tips
- Use mesh tape for small repairs and paper tape for larger repairs or new installations.
- Don't overlap tape to avoid thickness issues.
- Don't worry about a perfect finish on the first coat; focus on embedding the tape.
- A larger joint knife makes smoothing easier.
- Multiple thin coats are better than one thick coat.