Drowning in a sea of clothes and struggling to find anything in your closet? A cluttered closet can feel overwhelming and frustrating, impacting your mornings and overall sense of organization. But what if transforming your chaotic closet into a stylish and functional space didn't require a hefty price tag or professional help? This guide offers a simple and inexpensive solution to your closet woes, proving that a stunning DIY makeover is entirely within reach. Forget expensive, pre-fabricated organizers – we'll show you how to maximize your existing space using readily available materials and a touch of creativity.
We'll guide you through each step, transforming your disorganized closet into a haven of order and efficiency. From assessing your needs and gathering materials to the actual construction and final styling, this practical step-by-step guide will empower you to conquer closet clutter and create a space you'll love. Ready to get started on your affordable closet transformation? Let's dive into the step-by-step process!
Preparation and Safety Guidelines
- 12-inch wide MDF boards (8 feet long)
- 1x2 pine or poplar boards
- Pocket hole jig
- Pocket screws
- Drill
- Nail gun
- Painter's tape
- Measuring tape
- Saw
- Wood glue
- Wood filler
- Caulk
- Paint
- Paint roller
- Angle paint brush
- Always ensure proper weight distribution on shelves. Overloading can cause shelves to collapse, potentially causing injury or damage.
- Use appropriate safety equipment (like gloves and safety glasses) when using tools, especially when cutting or drilling.
- If working with power tools, always disconnect them from the power source before making any adjustments or repairs. Familiarize yourself with the tool's safety instructions before use.
Step-by-Step Instructions
Prepare the Closet
- Remove old shelves and closet rod. Paint the closet interior (white paint is used in this example).

Prepare the Closet Design and Plan
- Use painter's tape to layout your closet organizer design on the closet walls. Determine the dimensions of shelves and hanging rods based on your needs and available space.
Cut MDF Boards
- Cut the MDF boards to the sizes determined in the previous step.
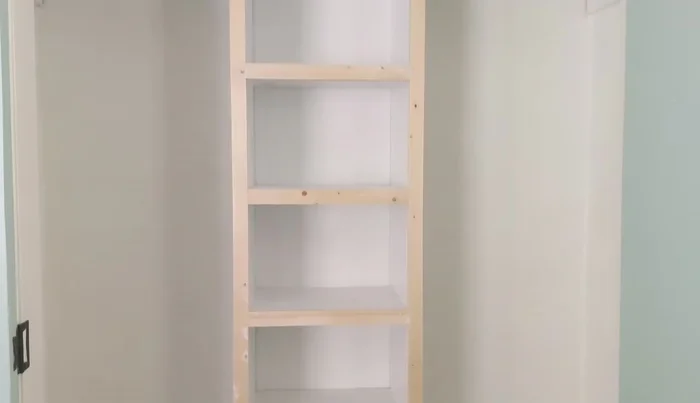
Assemble Middle Shelves
- Attach vertical side boards and shelves using pocket holes and pocket screws. Start by attaching the shelves to one side board, then attach the second side board to the assembled shelves.
Install Middle Section
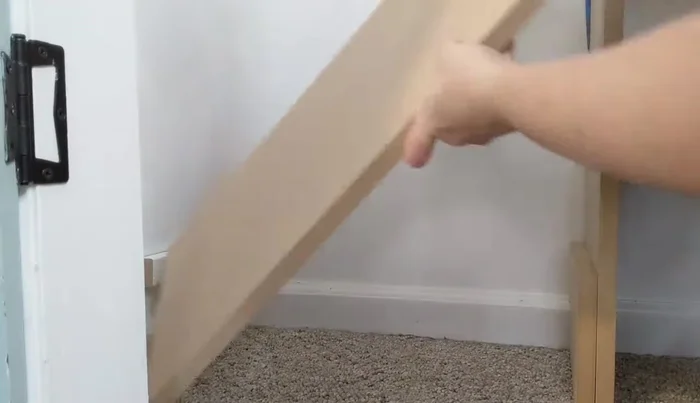
- Lift the assembled middle shelf section into place within the closet.
Install Middle Section Build Shoe Shelves
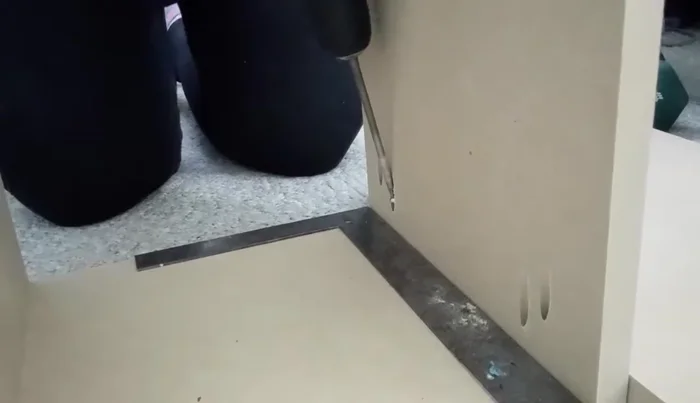
- For wall-side bottom shelf, attach a small board directly to the wall. For other shelves, use MDF supports, position the shelf boards, and secure them with a nail gun.
Build Shoe Shelves Build Shoe Cubbies (Optional)
- Build cubbies using similar techniques as the shoe shelves, adding dividers to create compartments. Attach shelves to dividers for extra support.
Build Shoe Cubbies (Optional) Install Top Shelf and Supports
- Position the top shelf and attach supporting boards to the end walls.
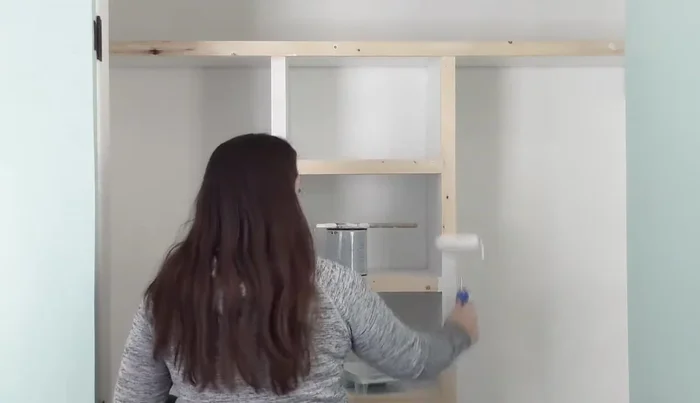
Install Top Shelf and Supports Paint Interior
- Paint the inside of the shelves and cubbies before adding the facing.
Add Wood Facing
- Attach 1x2 boards to the front of all shelves to improve appearance and sturdiness.
Caulk and Fill
- Caulk gaps and fill any imperfections with wood filler.
Caulk and Fill Final Painting
- Apply a final coat of paint to the shelves.
Final Painting Install Closet Rods
- Hang closet rods for hanging clothes.
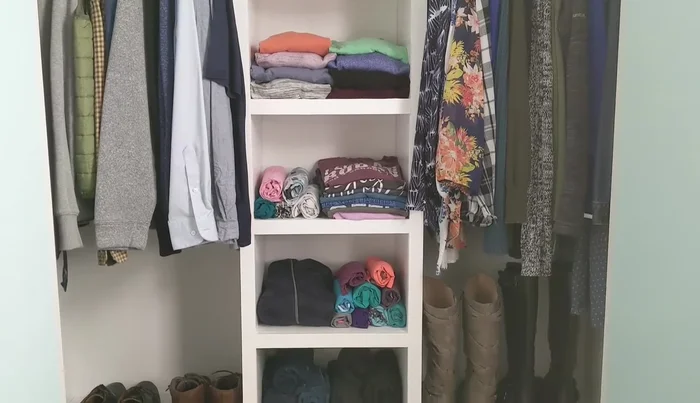
Load the Closet
- Organize and place clothes and shoes into the newly built closet organizer.
Load the Closet


Read more: DIY Upcycled Bed Frame: A Step-by-Step Guide
Tips
- Use MDF for shelves because it's straight, strong, and has a smooth surface. Painting it is easier than working with wood grains.
- When attaching trim to horizontal shelves, align the top of the trim with the shelf board to avoid blocking shelf space.
- For small shoe cubbies, using individual 1x1 boards instead of 1x2s for facing might be easier.
- Painting the interior of the shelves before adding the facing makes the process easier.