Cracked concrete is an unsightly and potentially structural problem that plagues homeowners and property owners alike. Whether it's a driveway riddled with spiderweb cracks, a crumbling patio, or a foundation showing signs of stress, the cost of professional repair can be prohibitive. Fortunately, tackling minor concrete cracks yourself is achievable with the right tools and a little know-how. This DIY approach not only saves you money but also empowers you to maintain your property's integrity. Using readily available materials and a product like Crack Weld Pro, you can effectively restore the appearance and structural soundness of your concrete surfaces.
This guide provides a comprehensive, step-by-step approach to repairing your concrete cracks using Crack Weld Pro, a high-performance solution designed for ease of use and lasting results. From preparing the crack to the final finishing touches, we'll walk you through every stage of the process, ensuring a professional-looking and durable repair that will stand the test of time. Let's get started!
Preparation and Safety Guidelines
- Crack Weld Pro concrete crack repair kit
- Dual cartridge caulking gun
- Putty knife
- Silica sand
- Gloves
- Nozzles
- Small cups
- 5-inch grinder with vacuum attachment
- Diamond cup wheel
- Always wear appropriate safety gear, including safety glasses, gloves, and a dust mask, to protect yourself from dust, debris, and chemical splashes.
- Ensure adequate ventilation in the work area to avoid inhaling harmful fumes, especially when using Crack Weld Pro or other chemical products.
- Before starting any repair, carefully assess the crack to determine its cause and extent. If the crack is large, structurally significant, or indicates a more serious foundation problem, consult a professional contractor.
Step-by-Step Instructions
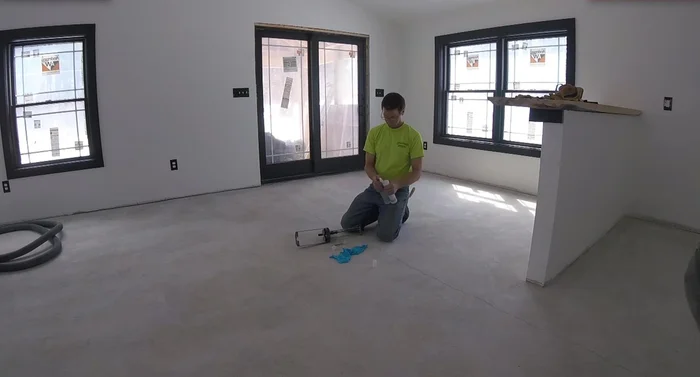
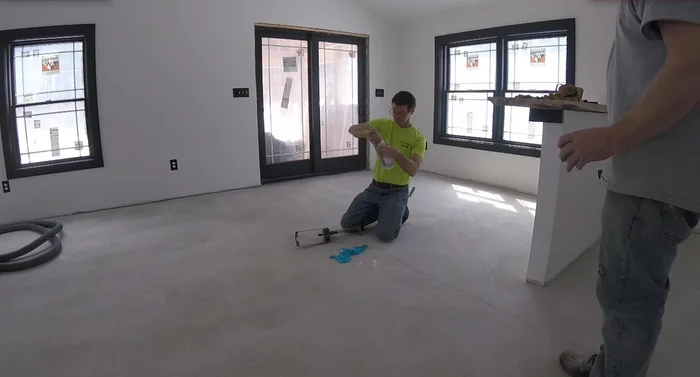
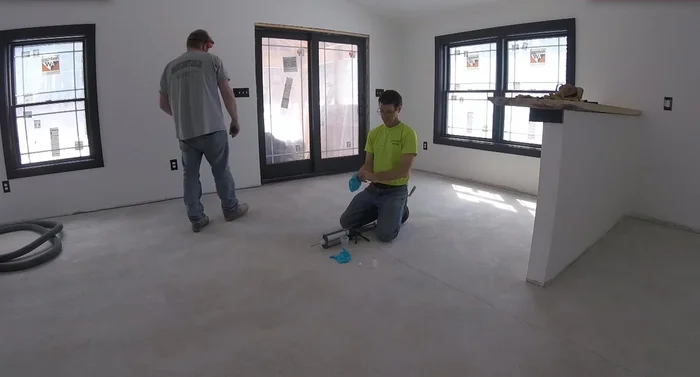
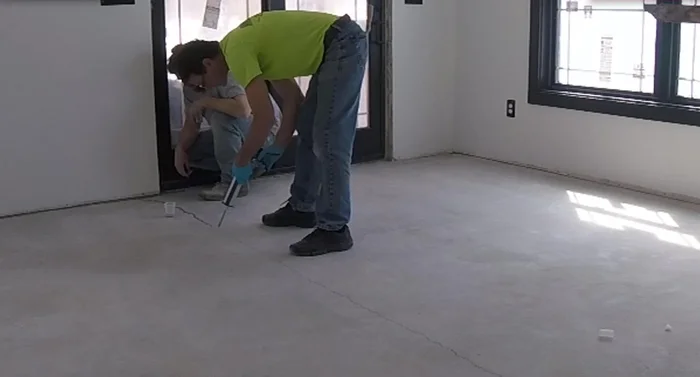
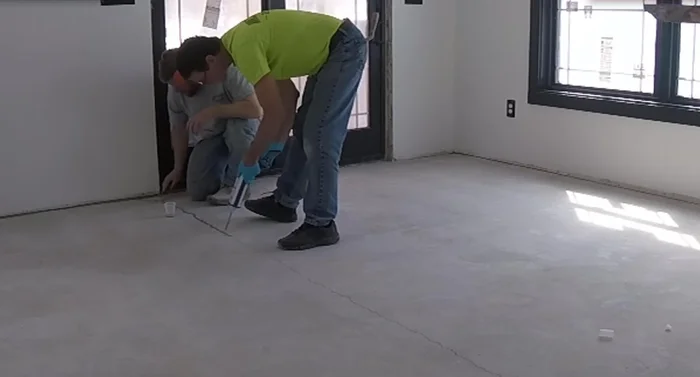
Prepare Crack Weld Pro
- Remove the stopper and attach the backflow resistor.
- Attach the nozzle and load the cartridges into the caulking gun.
- Purge a small amount of material to ensure thorough mixing.

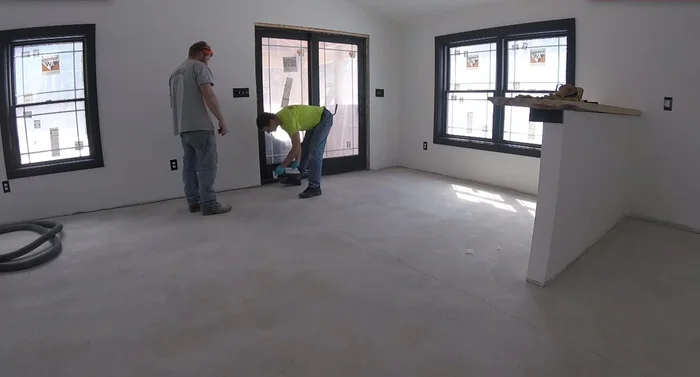
Prepare Crack Weld Pro Prepare the Crack
- Clean the crack area.
- Wet the crack with water.
- Add silica sand to the wet crack.
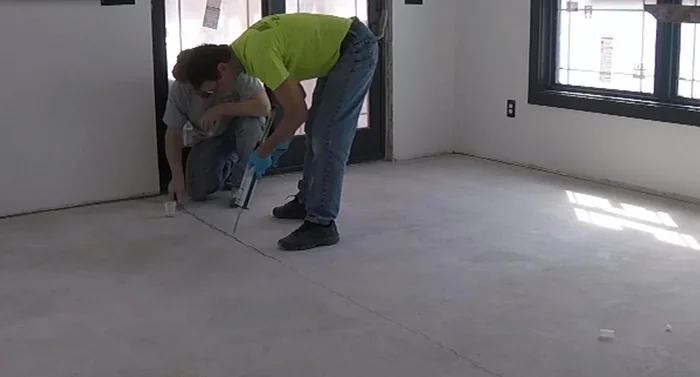
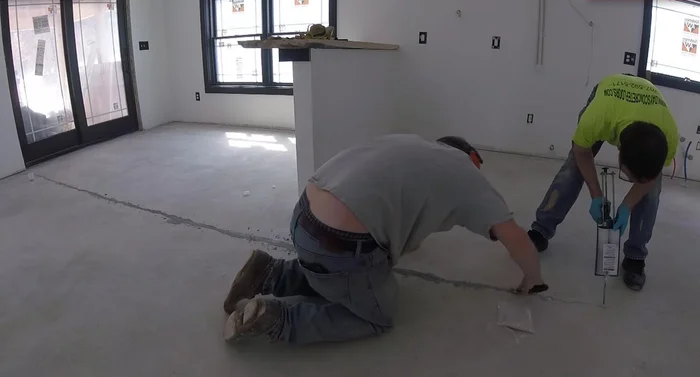
Prepare the Crack Apply Crack Weld Pro
- Mix the sand with the repair material to form a paste using a putty knife.
- Force the paste into the crack, leaving it slightly higher than the surrounding concrete.
- Repeat steps 5-8 for the entire crack, working in 5-10 foot sections.
Apply Crack Weld Pro Cure and Finish
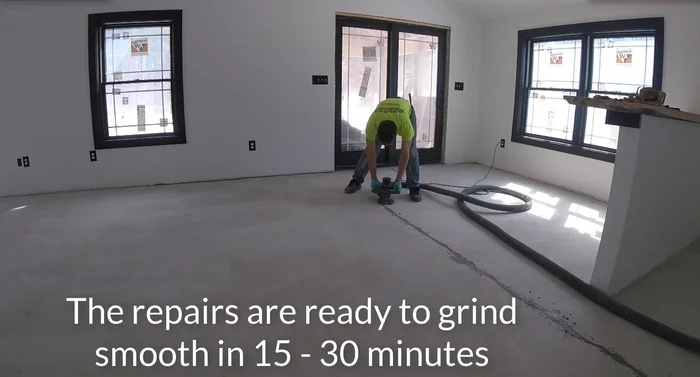
- Allow the repair material to harden.
- Grind off the excess repair material using a grinder with a vacuum attachment.
Cure and Finish


Read more: Fixing Drywall Nail Pops: A Quick and Easy DIY Guide
Tips
- Work steadily to avoid the material drying before you can finish.
- Leave the repair material slightly high initially, as you will grind it down later.
- Use a vacuum attachment with your grinder to minimize dust.