Tired of cluttered entryways or bare hallway spaces? Transform a forgotten table leaf into a stylish and functional console table with this easy DIY project! Often tucked away in garages or basements, these discarded pieces of furniture hold surprising potential. With a little creativity and some simple tools, you can upcycle an old table leaf into a beautiful addition to your home, adding both character and storage space. Imagine the satisfaction of creating a unique piece that perfectly complements your existing décor, all while giving a second life to something that might otherwise end up in the landfill.
This step-by-step guide will walk you through the entire process, from assessing your table leaf and gathering supplies to the final touches that will make your new console table truly shine. Prepare to be amazed at how easily you can turn a discarded item into a treasured piece of furniture. Let’s get started!
Preparation and Safety Guidelines
- Planer
- Miter Saw
- Drill Press
- Pocket Hole Jig
- Glue
- Pin Nailer
- Table Saw with Crosscut Sled
- Sander
- Chisel
- Biscuit Joiner
- Stain
- Poly Acrylic
- Epoxy Resin
- Clamps
- Always wear safety glasses and a dust mask when sanding and cutting. Wood dust is harmful to your lungs.
- Ensure the table leaf is structurally sound before starting. If it's cracked or significantly damaged, it may not be suitable for repurposing.
- Use appropriate clamps and support while gluing and assembling to ensure even pressure and prevent warping or damage.
Step-by-Step Instructions
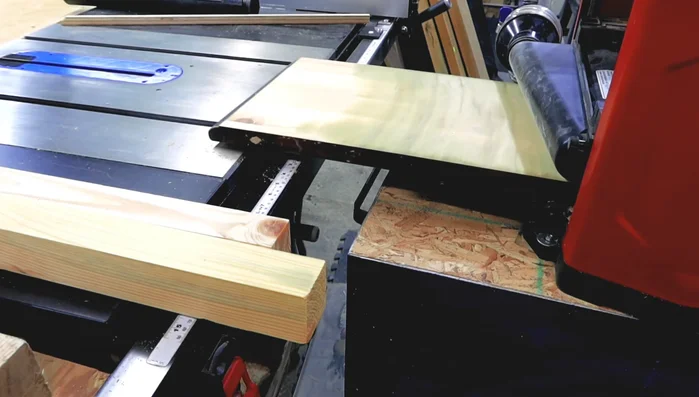
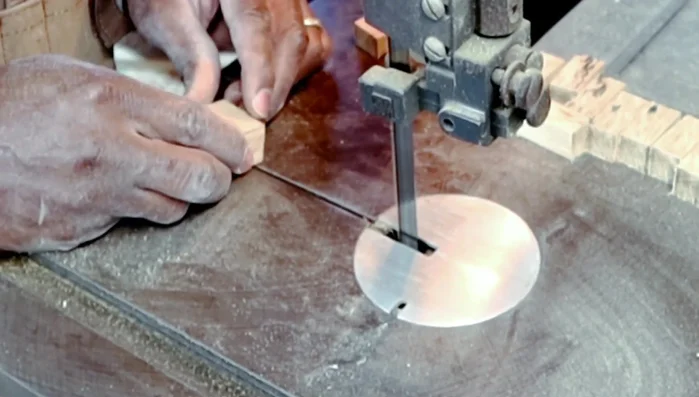
Prepare the Table Leaf
- Planing the table leaf to remove lamination from both sides. Pay close attention to the top side to avoid going too deep into the wood grain.
- Trimming off the plastic dowels from the table leaf and plugging the holes with oak dowels. Clean up the edges with the jointer.
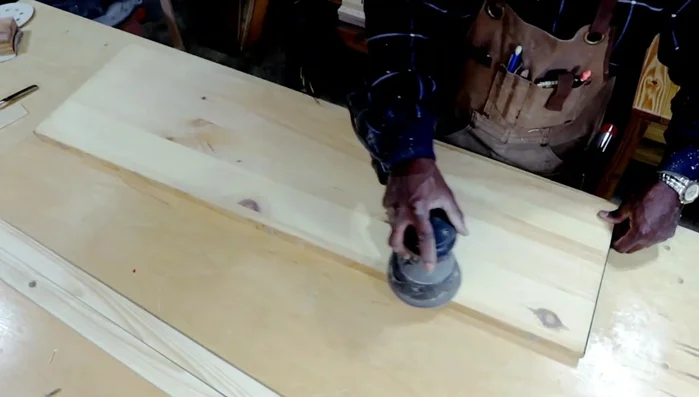
- Sanding the tabletop.

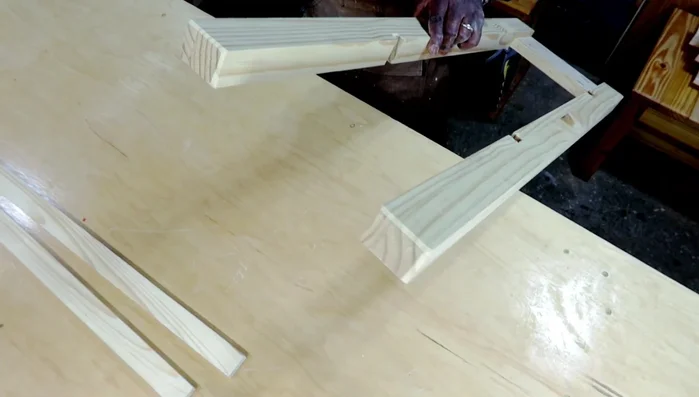
Prepare the Table Leaf Construct the Legs
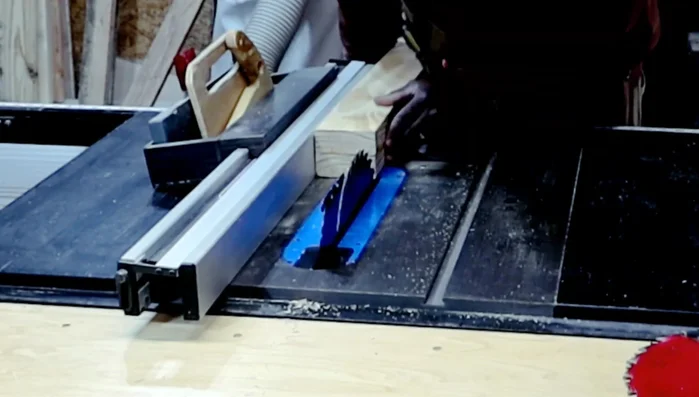
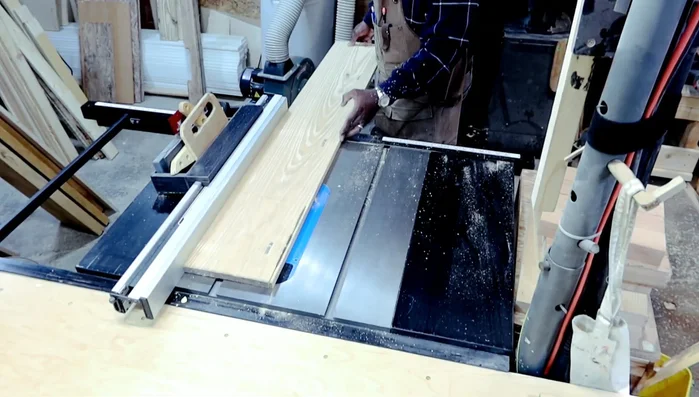
- Gluing and assembling two-by-fours and pine to create the legs. Trim and split the pieces to create four legs of equal thickness using the planer.
- Cutting the legs to their final length using the miter saw.
- Adding bevels to the bottoms of the legs using a sander.
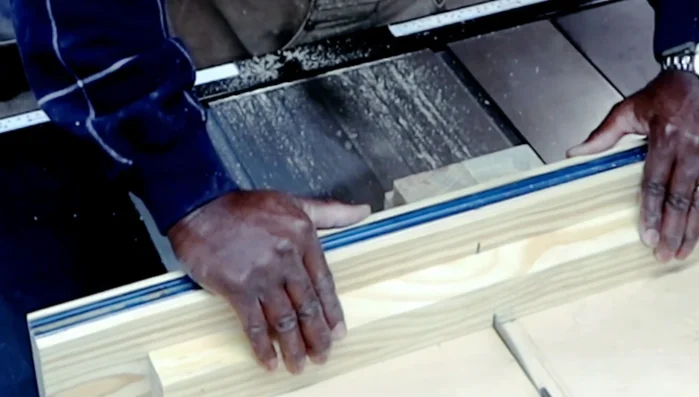
Construct the Legs Build the Skirting
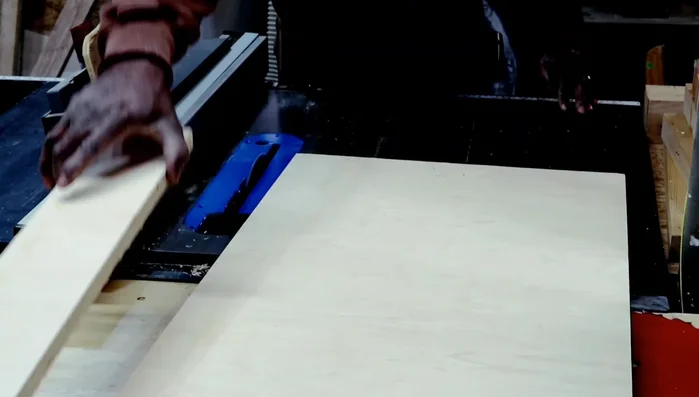
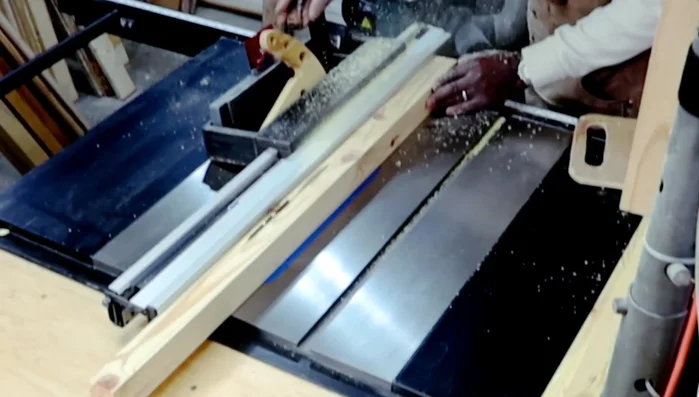
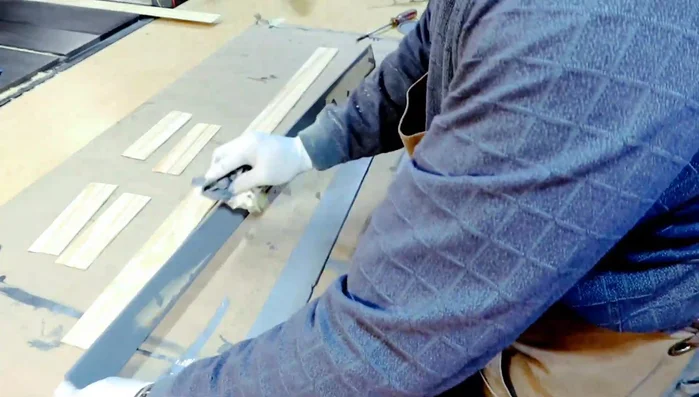
- Creating the skirts using maple plywood.
- Edge banding the bottom of the plywood skirting using plywood or pine. Glue and pin nail the banding, ensuring a tight fit.
- Cutting the edge banding for the end pieces using the crosscut sled on the table saw.
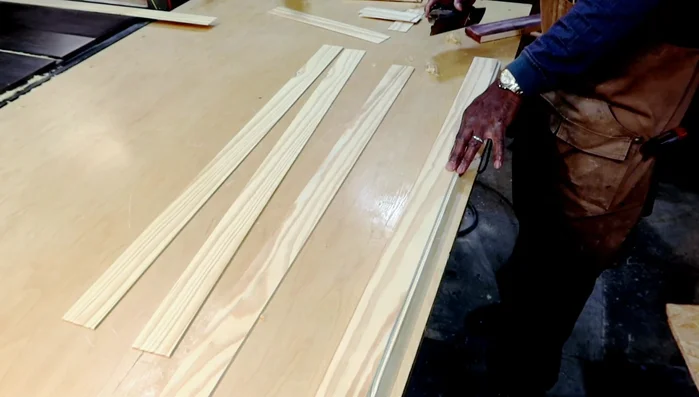
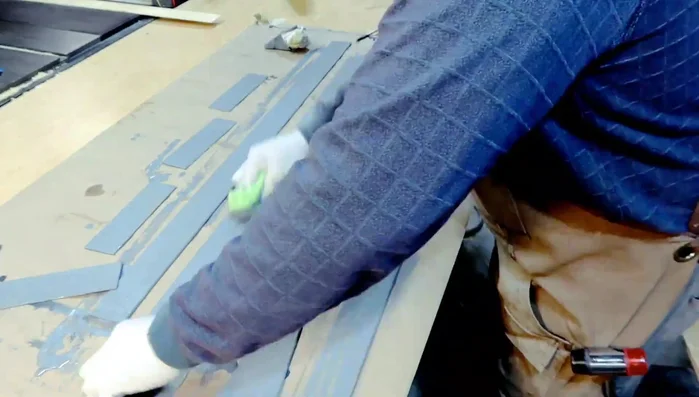
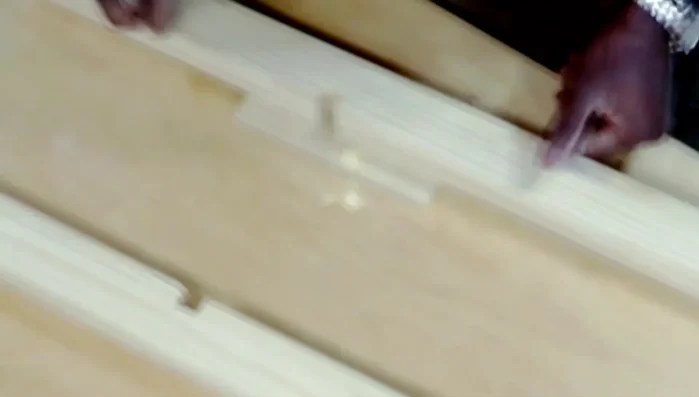
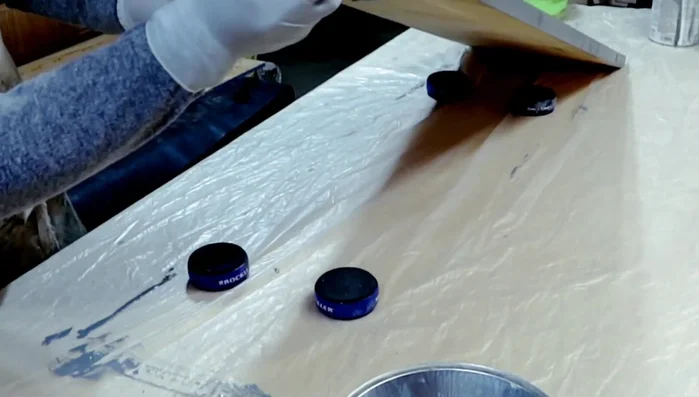
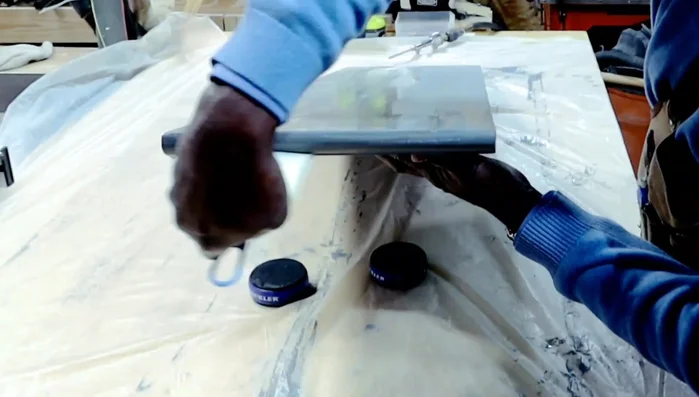
- Laminating the face, back, and sides of the console table using additional pieces of wood, trimming the edges and light sanding.
Build the Skirting - Staining the laminate pieces.
- using too much epoxy can lead to excess squeeze-out.
Build the Skirting Prepare the Bottom Shelf
- Trimming and cleaning up the edges of the bottom shelf (pallet wood).
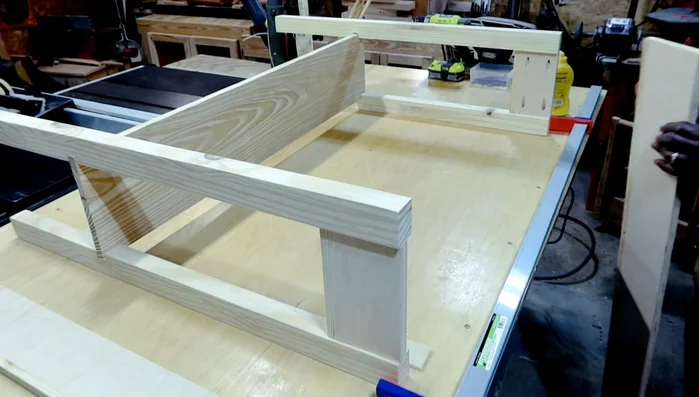
Prepare the Bottom Shelf Assemble the Base
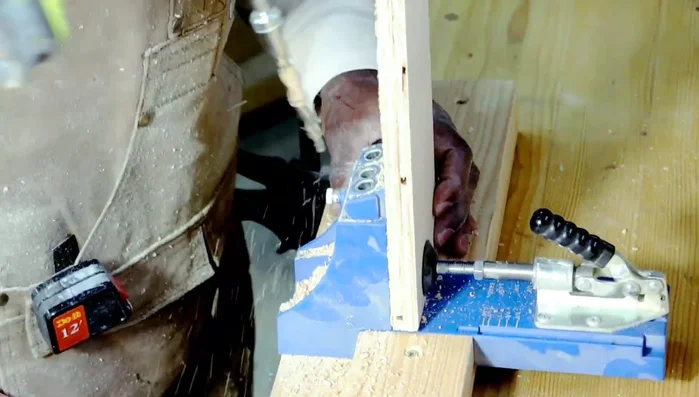
- Drilling pocket holes in the skirting for leg attachment.
- Cutting dados in the legs for the bottom shelf using the crosscut sled.
- Assembling the legs and skirting using pocket holes and clamps.
- Cleaning up dados with a chisel.
Assemble the Base - adding the bottom shelf and side skirts. Using a quarter-inch plywood spacer to create a reveal.
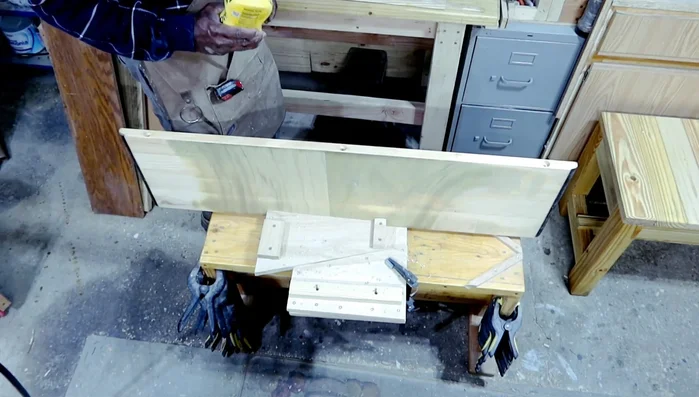
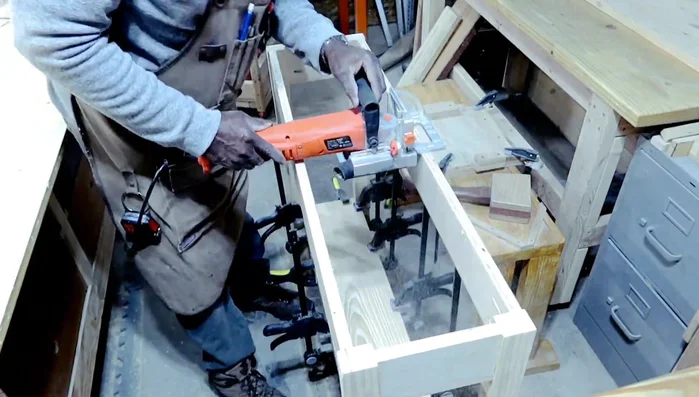
Assemble the Base Prepare for Tabletop Attachment
- Adding slots with a biscuit joiner for the tabletop assembly.
- Creating and attaching hardwood hold downs for the tabletop.
Prepare for Tabletop Attachment Attach Tabletop and Finish
- Applying weathered gray stain to the tabletop and base.
- Applying multiple coats of water-based poly acrylic to the tabletop.
Attach Tabletop and Finish


Read more: DIY Upcycled Bed Frame: A Step-by-Step Guide
Tips
- When planing the table leaf, be cautious near the original wood grain to avoid removing too much material.
- Use clamps to hold pieces together while driving screws in.
- Use hardwood for hold downs for added strength and durability.
- Avoid using too much epoxy resin when laminating. Too much will lead to excessive squeeze-out.
- Consider using tape instead of clamps to avoid clamp marks on the finished surface.