Tired of looking at those unsightly cracked grout lines in your bathroom or kitchen? Don't despair! Cracked grout not only detracts from your home's aesthetic appeal but can also lead to water damage and mold growth. Fortunately, fixing it doesn't require professional help or a hefty expense. With the right tools and a little elbow grease, you can easily restore your grout's pristine condition and the beauty of your tiled surfaces. This DIY project is surprisingly straightforward, especially when using a high-quality product like Platinum Grout.
This guide will walk you through a simple, step-by-step process for repairing cracked grout, using Platinum Grout for a long-lasting, professional-looking finish. Forget expensive contractors and messy repairs – prepare to learn how you can achieve stunning results in just a few easy steps! Let's dive in and discover how to revitalize your tiles with the ease and effectiveness of Platinum Grout.
Preparation and Safety Guidelines
- Broom or Vacuum
- Grout Removal Tool
- Masking Tape
- Utility Knife
- Platinum Grout (or similar flexible grout)
- Latex Gloves
- Sponges or Wipes
- Always wear safety glasses and a dust mask to protect your eyes and lungs from grout dust and debris.
- Ensure proper ventilation in the area you are working to avoid inhaling fumes from cleaning agents and grout.
- Use caution when working with tools like a grout saw or utility knife to prevent cuts or injuries. Work slowly and deliberately.
Step-by-Step Instructions
Preparation
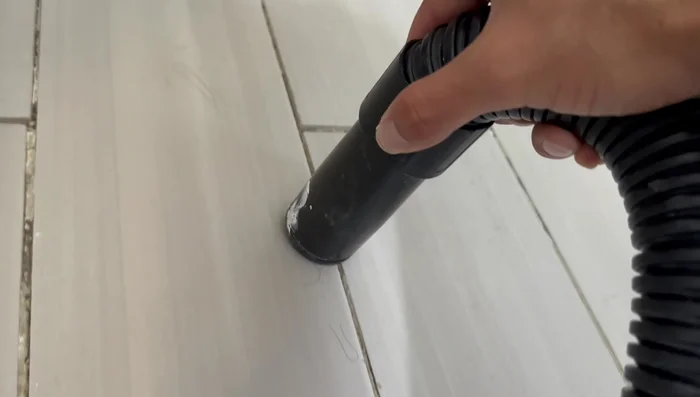
- Clean the floor thoroughly using a broom or vacuum to remove loose debris.
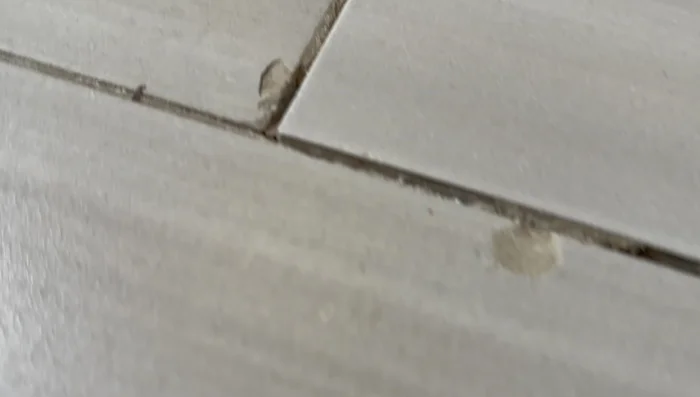
- Use a grout removal tool to scrape away any loose or cracked grout.
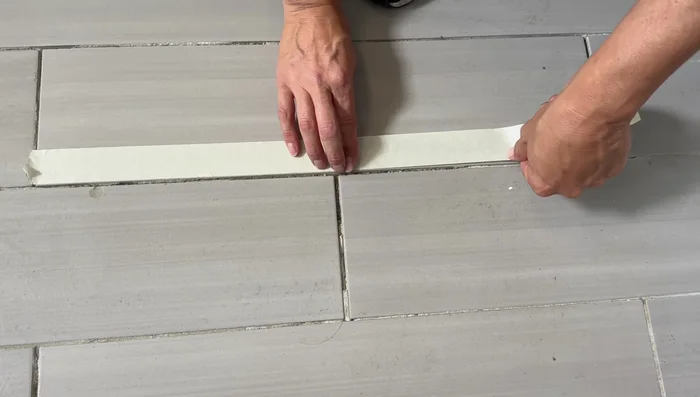
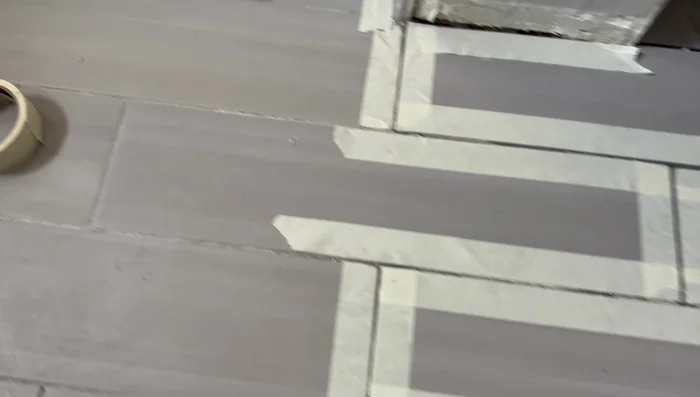
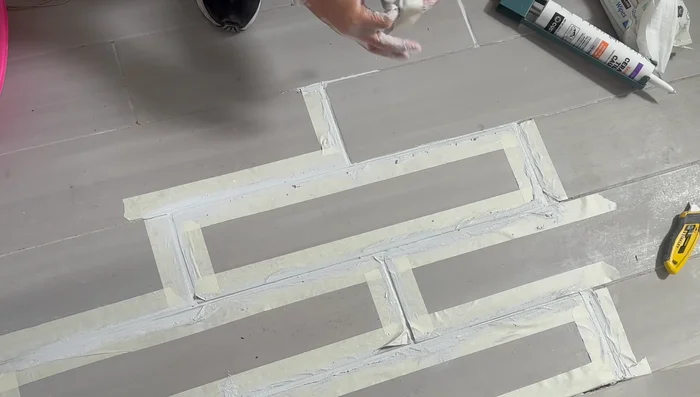
- Apply masking tape around the cracked grout area to protect surrounding surfaces.
- Clean the area again to remove any remaining dust or debris.

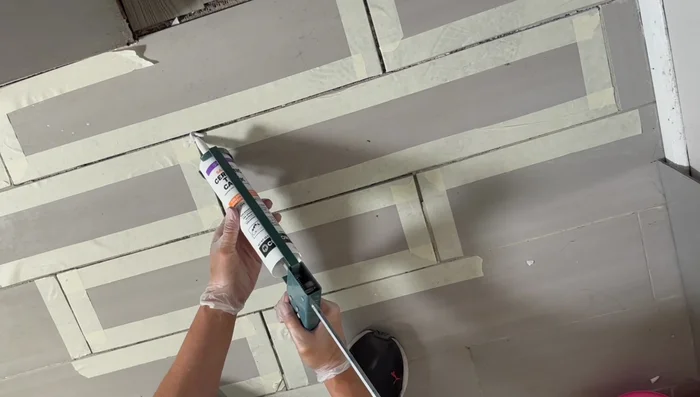
Preparation Grout Application
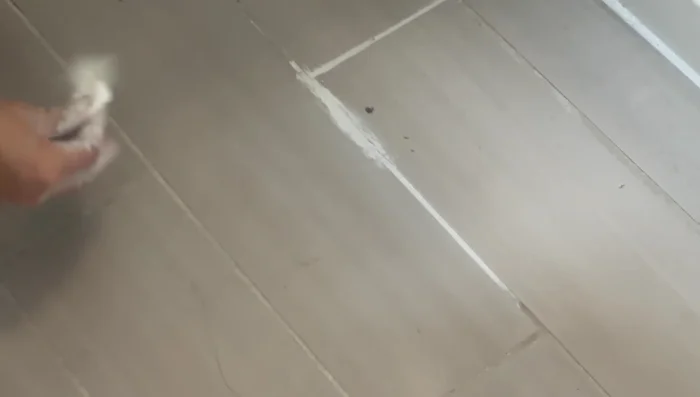
- Apply the Platinum grout (or similar flexible grout) to the cracked areas, using enough to fill the gaps completely.
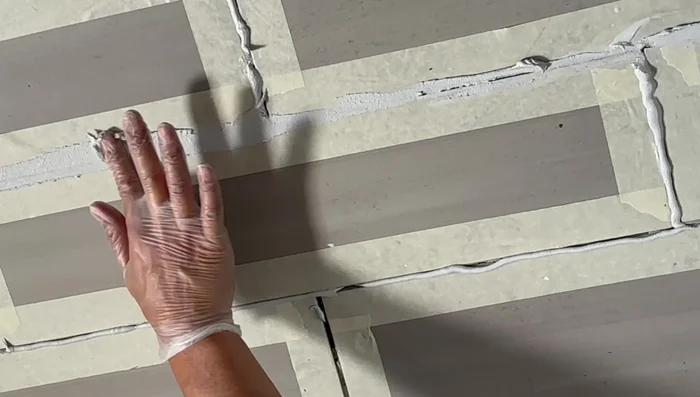
- Smooth the grout using your finger (wearing a latex glove) to ensure even coverage and remove any excess. Wipe away excess grout immediately with a sponge or wipe.
Grout Application Cleanup
- Carefully remove the masking tape.
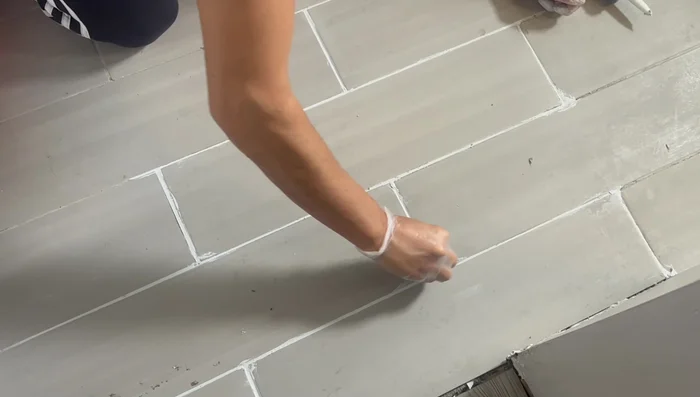
- Clean away any remaining grout residue with a sponge or wipe.
- If necessary, touch up any remaining cracks with a small amount of grout and smooth with your finger, then clean immediately.
Cleanup
Read more: Fixing Drywall Nail Pops: A Quick and Easy DIY Guide
Tips
- Masking tape is essential to prevent messy spills and makes clean up easier.
- Use latex gloves to avoid getting grout on your hands.
- Apply the grout in thin layers; excess grout will create a mess.
- Use a damp sponge or wipe to remove excess grout immediately while still wet; it’s much harder to remove once it dries.
- Flexible grout, like Platinum grout, is ideal as it prevents future cracking from tile movement.