Tired of cluttered patios and expensive outdoor furniture? Transform your unwanted plant stands into charming and functional deck side tables with this quick and easy DIY project! We'll show you how to breathe new life into those forgotten metal or wooden stands, turning them into stylish additions to your outdoor space without breaking the bank. Forget flimsy plastic tables that fade in the sun – these sturdy creations will last for years, adding a touch of rustic charm or modern elegance, depending on your chosen style. They're perfect for holding drinks, snacks, or even a good book while you relax outdoors.
This simple tutorial requires minimal tools and materials, making it ideal for beginners. Ready to get started and create your own unique deck side tables? Let's dive into the step-by-step process, complete with helpful tips and tricks to ensure a successful project.
Preparation and Safety Guidelines
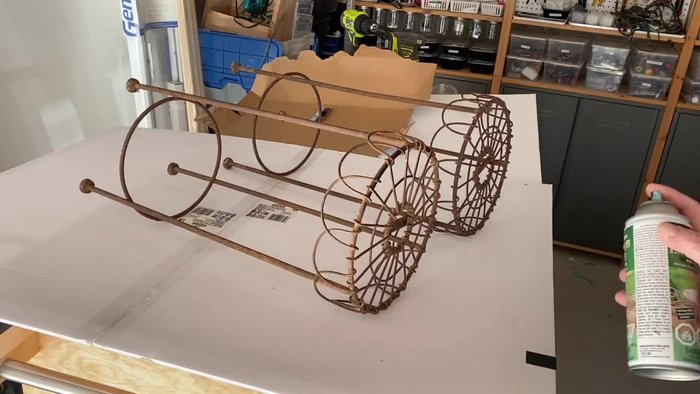
- Old metal plant stands
- Flat black outdoor spray paint
- Table saw
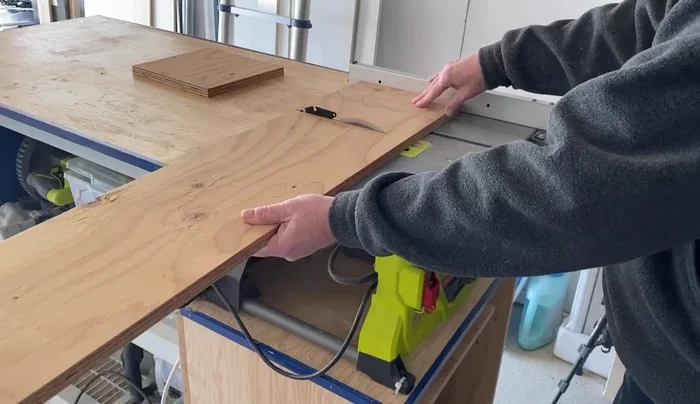
- Plywood
- Drill
- Miter gauge
- Nail
- Sandpaper
- Wood glue
- Sawdust
- Mineral paint (or other suitable paint)
- Paintbrush
- Cricut machine (or other design method)
- Heat press
- Screws
- Clear sealant
- Always wear safety glasses to protect your eyes from splinters and debris during sanding and assembly.
- Ensure the plant stand is structurally sound before repurposing. Discard any that are significantly damaged or unstable.
- Use appropriate-strength screws and fastenings for your chosen plant stand material and intended weight capacity. Overloading a weak stand can cause it to collapse.
Step-by-Step Instructions
Prepare the Plant Stands
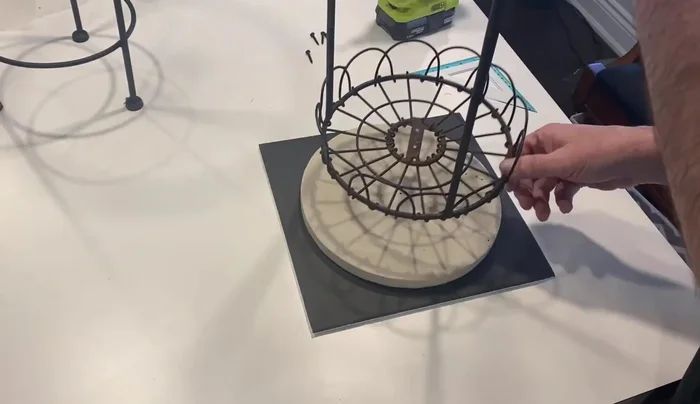
- Paint the plant stands with flat black outdoor spray paint.

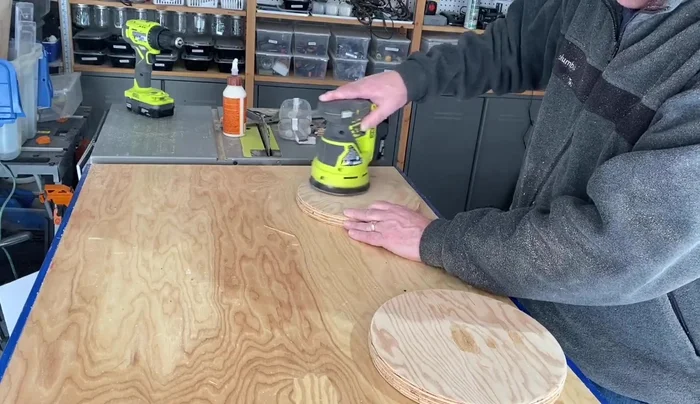
Prepare the Plant Stands Cut and Prepare Table Tops
- Cut circles from plywood using a table saw, a jig (a base with a groove for the miter gauge), and a nail to create a rotating pivot point.
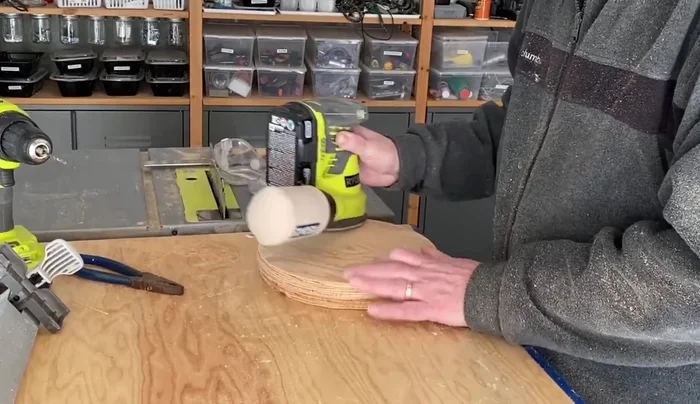
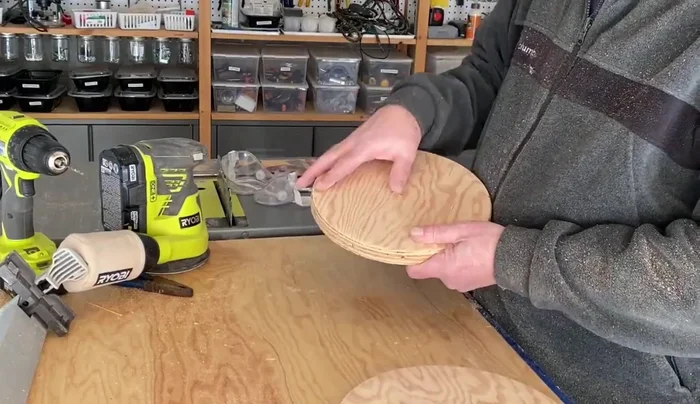
- Sand the edges of the plywood circles.
- Fill the pilot hole in the center of the circles with a mixture of sawdust and wood glue.
- Sand the filled holes smooth.
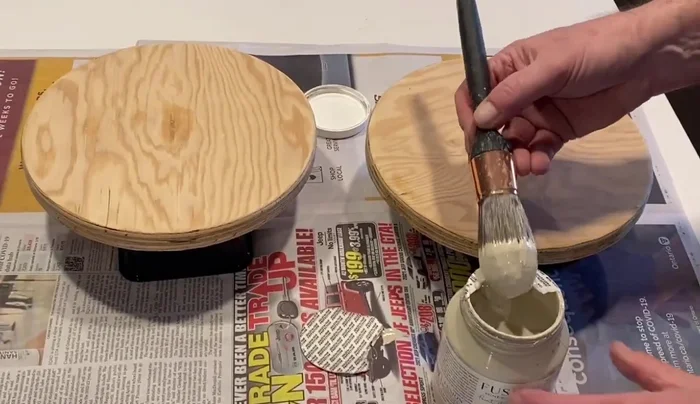
Cut and Prepare Table Tops Paint the Table Tops
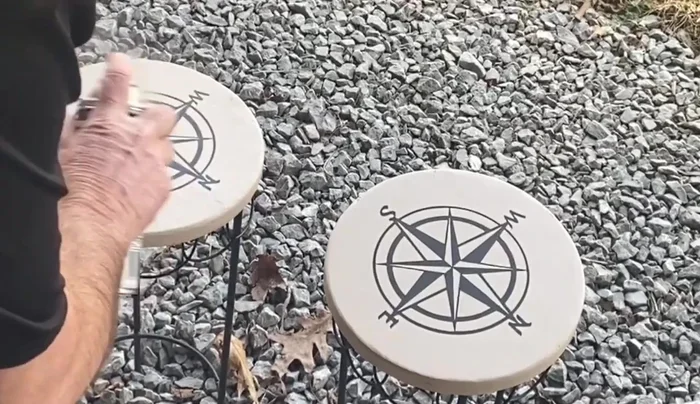
- Paint the plywood circles with mineral paint (or other suitable paint).
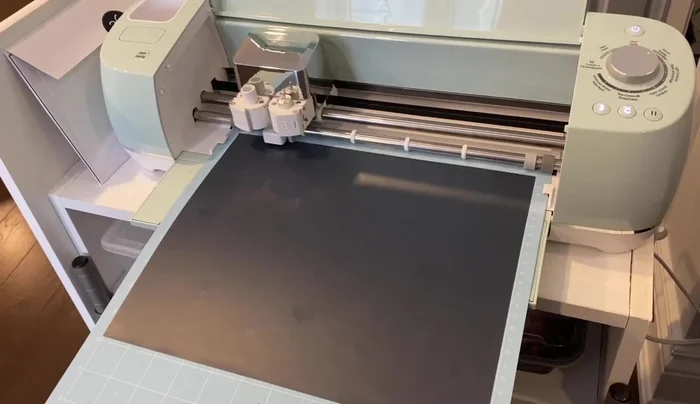
Paint the Table Tops Add Design (Optional)
- Add a design to the tabletops using a Cricut machine or other method.
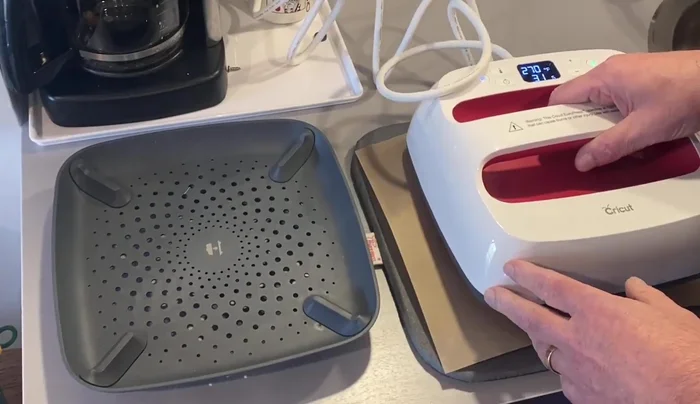
- Attach the design to the tabletops using a heat press.
Add Design (Optional) Assemble the Side Tables
- Attach the tabletops to the plant stands using screws.
Assemble the Side Tables Seal and Finish
- Apply a few coats of clear sealant to protect the tables.
Seal and Finish
Read more: DIY Upcycled Bed Frame: A Step-by-Step Guide
Tips
- Use a flat black outdoor spray paint for durability.
- The jig for cutting the circles ensures accuracy and safety.
- A sawdust and wood glue mixture provides an inexpensive and effective way to fill holes.
- Mineral paint is easy to use and dries quickly, but you can substitute with any suitable paint.
- A Cricut machine offers one option for adding designs, but other methods are also possible or you can skip this step altogether.