Are your desk drawers looking a little worse for wear? Sagging fronts, chipped corners, and misaligned dovetails can significantly detract from both the functionality and aesthetic appeal of even the sturdiest desk. Often, replacing an entire drawer seems like the only solution, a costly and time-consuming undertaking. But what if we told you that restoring those damaged drawer faces is entirely achievable with a little patience and some well-honed woodworking skills? This guide focuses on mastering the art of dovetail repair, a technique that allows you to elegantly mend and strengthen your damaged drawer fronts, restoring them to their former glory.
This article will equip you with the knowledge and confidence to tackle even the most challenging dovetail repairs. From identifying the specific damage and selecting the right tools, to precisely cutting and fitting replacement dovetails, we'll walk you through each step of the process, transforming your worn-out drawers into beautiful, functional pieces. Let’s dive into the step-by-step guide to achieving DIY desk drawer face repair, and rediscover the elegance of perfectly aligned dovetails.
Preparation and Safety Guidelines
- Japanese hand saw
- Rasp (two sizes)
- Sandpaper
- Dowel rod
- Pliers
- CA glue
- Activator
- Wood glue (PVA)
- Clamps
- Table saw
- Hand plane (No.4)
- Router (optional)
- Always wear safety glasses to protect your eyes from flying wood chips and dust.
- Use clamps to secure the wood firmly during gluing and clamping. Improper clamping can lead to uneven joints and damage.
- Sharp chisels and hand planes require careful handling to avoid cuts. Consider using push sticks for added safety when working with hand tools.
Step-by-Step Instructions
Drawer Face Removal
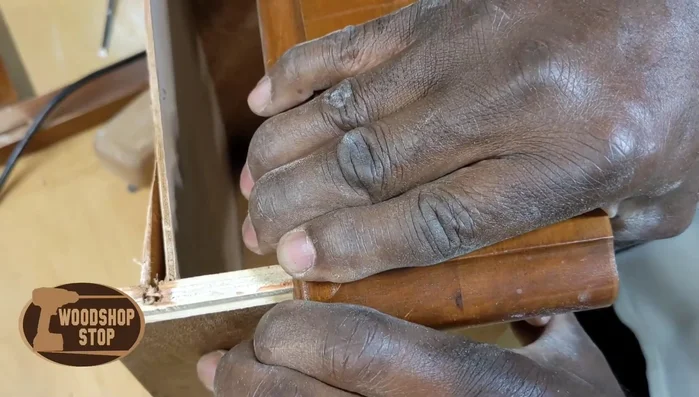
- Remove the broken drawer face from the drawer.

Drawer Face Removal Glue Removal and Crack Repair
- Clean up existing glue from the dovetail slots and inside face of the drawer piece.
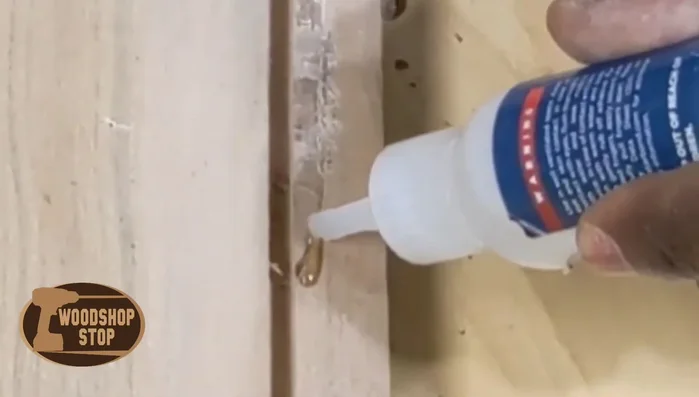
- Repair cracks with CA glue and activator.
Glue Removal and Crack Repair Prepare for New Wood Addition
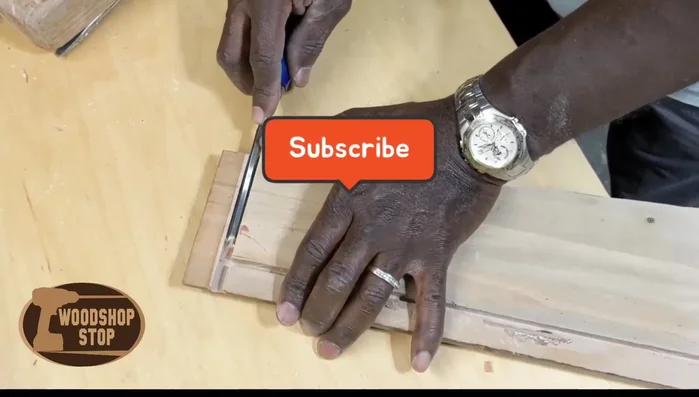
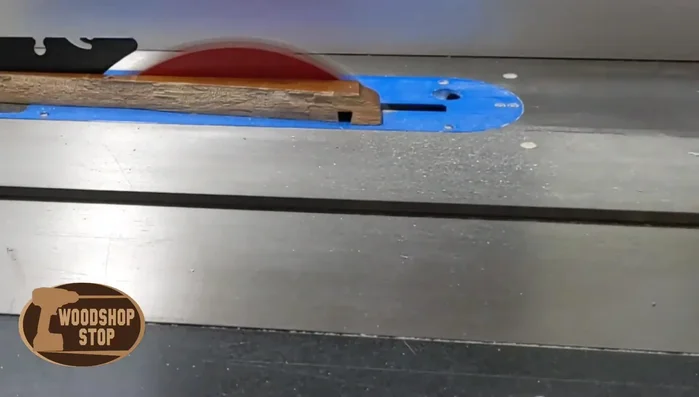
- Cut the existing drawer face piece square using a table saw.
Prepare for New Wood Addition Glue and Clamp New Wood
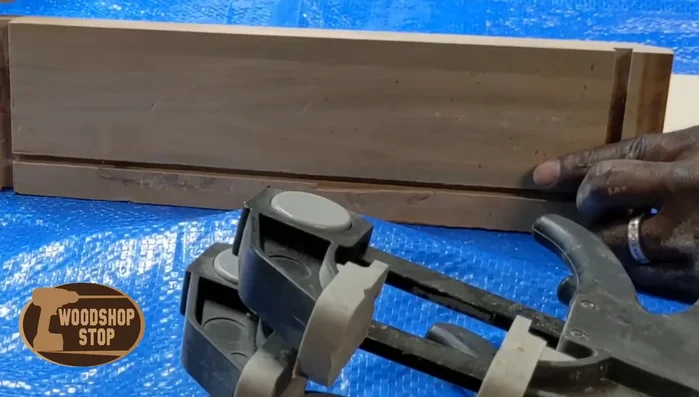
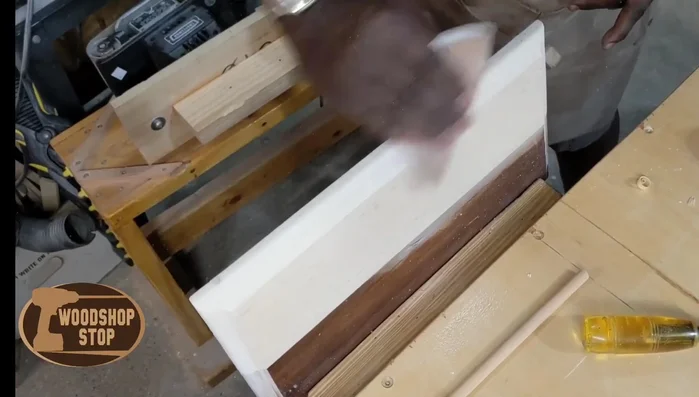
- Glue a new piece of wood to the squared-off drawer face piece, ensuring a strong bond using clamps.
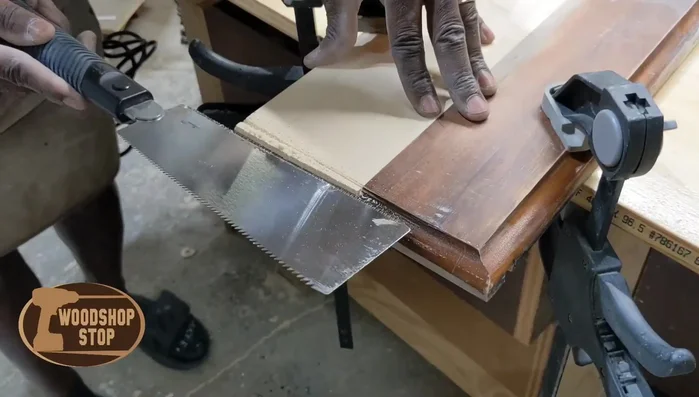
Glue and Clamp New Wood Shape the Repaired Piece
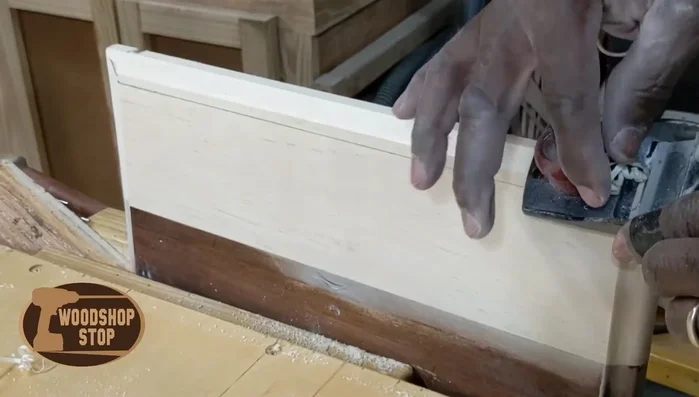
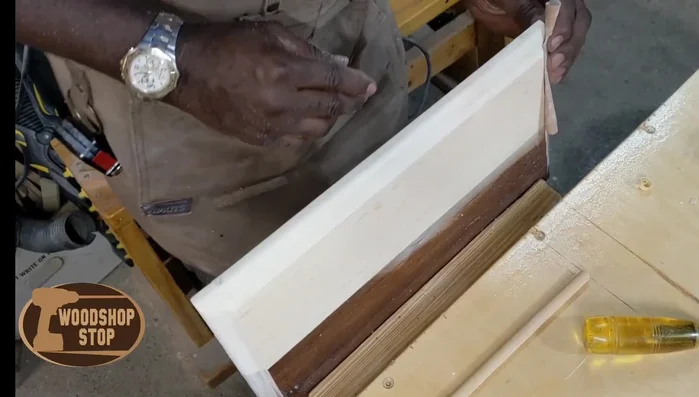
- Shape the repaired drawer face using a Japanese hand saw to remove bulk material, followed by a rasp to refine the shape. Sand using sandpaper wrapped around a dowel to mimic the original router bit profile.
- Use hand planes (if available) to create clean, square edges and refine the shape further.
Shape the Repaired Piece Cut Dovetails
- Cut dovetails on the back of the repaired drawer face, ensuring proper fit.
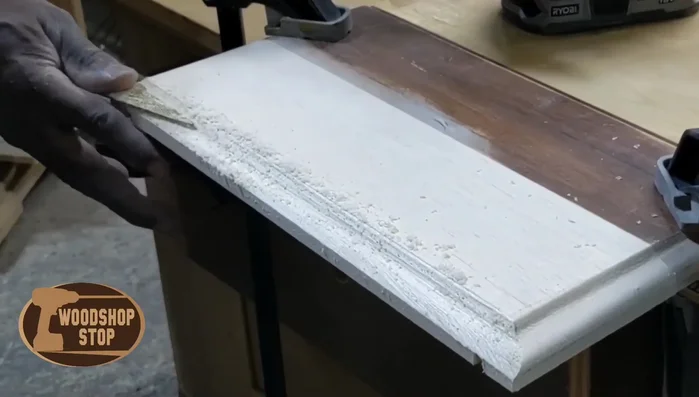
Cut Dovetails Final Sanding
- Sand the entire piece to achieve a smooth finish, paying close attention to blending the new wood with the existing piece.
Final Sanding Reinstallation
- Reinstall the repaired drawer face into the drawer.
Reinstallation
Read more: Silence that Squeaky Bed: A Complete Fix-It Guide
Tips
- Remove as much glue as possible from the original piece to ensure a better glue-up with the new piece.
- Use pliers to help clamp and hold the pieces together while the CA glue sets.
- Take your time and be patient. Hand tools require patience and precision, leading to a high-quality, satisfying result.
- Sharpen your hand plane blades for best performance.