Transform your entryway or mudroom with this charming DIY coat rack, boasting a rustic distressed farmhouse aesthetic and finished with elegant glass knobs. This project is perfect for adding a touch of personalized style to your home without breaking the bank. Forget bland, mass-produced options; create a unique piece that perfectly reflects your taste and complements your existing décor. The weathered wood and glistening glass knobs create a beautiful juxtaposition, blending the warmth of farmhouse style with a hint of modern sophistication. This project requires minimal tools and readily available materials, making it ideal for DIY enthusiasts of all skill levels.
We'll guide you through each step, from choosing the perfect wood and distressing it to the satisfying placement of the elegant glass knobs. Ready to add a touch of rustic elegance to your home? Let's get started with our comprehensive step-by-step guide to building your very own distressed farmhouse coat rack!
Preparation and Safety Guidelines
- Table saw
- Drill press (or handheld drill)
- Forstner bit
- Drill bits
- Router
- Router bit
- Sandpaper/Sander
- Wood glue
- Brad nails
- Chisel
- Stain
- Dry brush
- White paint
- Shellac clear coat
- Keyhole brackets
- Epoxy
- Painter's tape
- Wet wipe
- Always wear safety glasses when using power tools like saws and drills. Wood dust can also irritate eyes.
- Ensure the wall anchors you choose are appropriate for your wall type (drywall, plaster, etc.) to prevent the coat rack from falling.
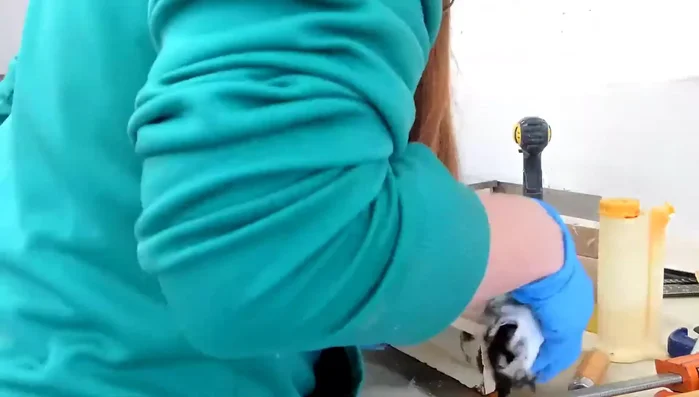
- Handle glass knobs with care to avoid breakage. Wear gloves if necessary.
Step-by-Step Instructions
Prepare the Wood
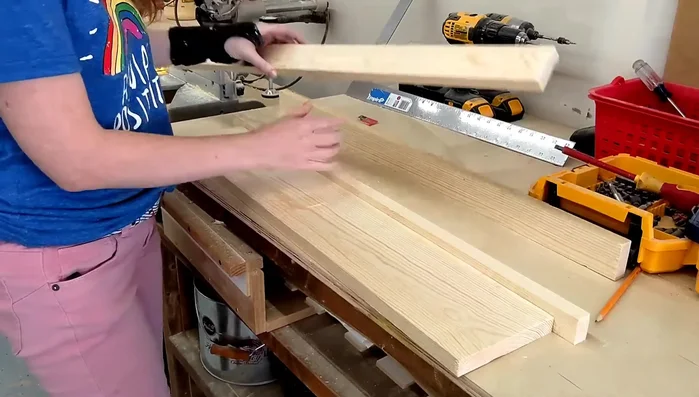
- Cut a 1x6 to 30 inches and another piece to 33 inches. Rip the 33-inch piece into two smaller pieces (1 1/4 inches and 1 3/4 inches)
Create the Molding
- Layer the smaller pieces on top of the 30-inch 1x6 to create a molding effect. Make a line on the smaller piece 3-4 inches from the ends for added layering.

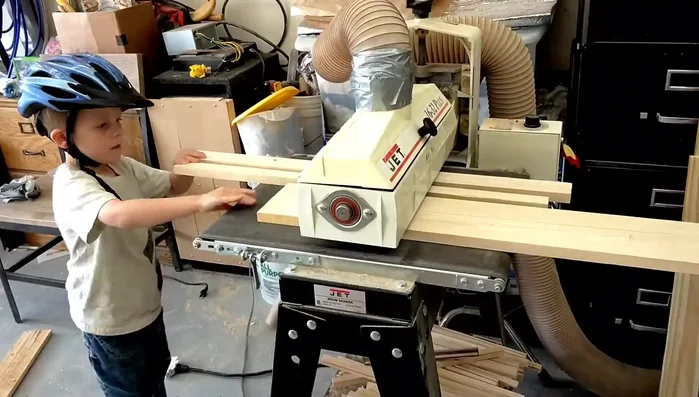
Create the Molding Sand and Smooth
- Sand the wood pieces smooth.
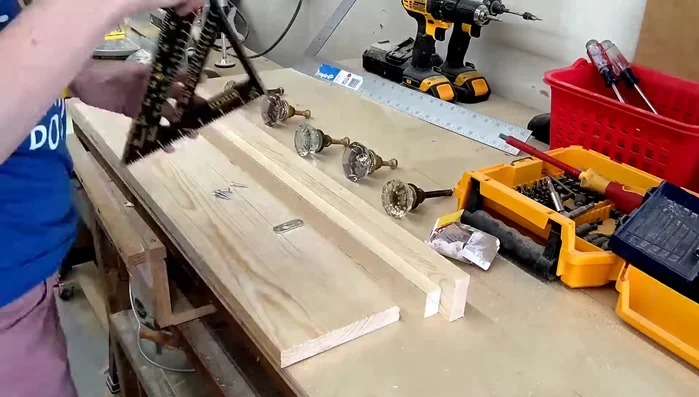
Sand and Smooth Drill Knob Holes
- Mark five lines for the knob placement (5 inches apart) and drill pilot holes with Forstner bit to match the bolt depth. Then drill all the way through using a bit matching the bolt size.
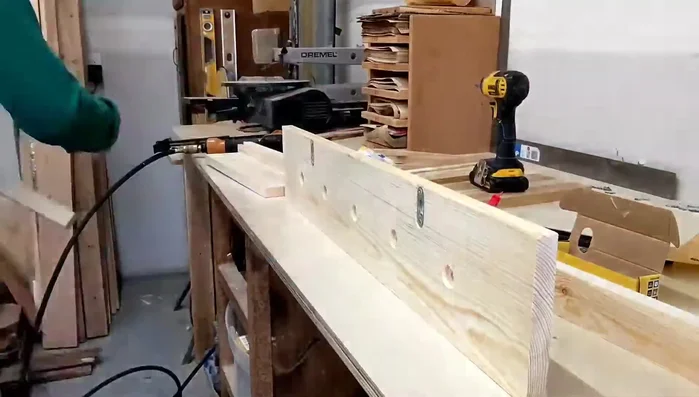
Drill Knob Holes Cut Keyhole Slots
- Mark the keyhole slot positions and use a router to carve out the slots, slightly smaller than the brackets, then adjust with a chisel if needed. Also, rout a small hole in the center for screw placement.
Cut Keyhole Slots Assemble the Coat Rack
- Attach the molding pieces to the 1x6 using wood glue and brad nails.
Assemble the Coat Rack Distress and Stain
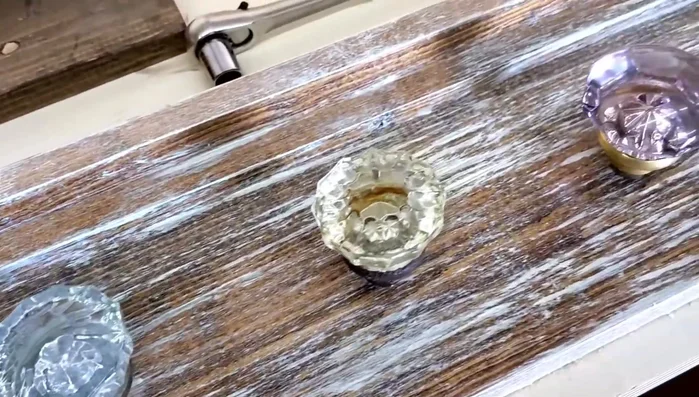
- Apply stain as a base coat, then dry brush white paint onto the wood for a distressed look.
Distress and Stain Install the Knobs
- Screw in most of the knobs using the bolts. For knobs without suitable screw holes, use epoxy to secure them in place.
Install the Knobs Seal and Finish
- Apply a couple of coats of shellac clear coat to seal the coat rack.
Seal and Finish


Read more: DIY Upcycled Bed Frame: A Step-by-Step Guide
Tips
- The measurements for the molding pieces don't have to be precise; adjust to your preference.
- Using a dry brush and lightly dipping it into paint creates an effective distressing effect.
- For epoxy application, use painter's tape to mask the holes and a wet wipe to prevent spillover.