Tired of that bulky, generic TV stand dominating your living room? Ready to unleash your inner designer and create something truly unique? Then get ready to transform a forgotten piece of furniture into a stunning focal point! This DIY guide will show you how to repurpose an old dresser into a beautiful and functional TV console, adding character and charm to your space without breaking the bank. Forget bland, mass-produced entertainment centers; you'll be amazed at what you can achieve with a little creativity and elbow grease.
This project is surprisingly straightforward, requiring minimal tools and readily available materials. We'll walk you through each step, from cleaning and prepping your dresser to installing new hardware and finishing touches. Whether you're a seasoned DIY enthusiast or a complete beginner, prepare to be inspired as we transform a dated dresser into a chic and stylish TV console. Get ready to follow our step-by-step instructions and begin your upcycling journey!
Preparation and Safety Guidelines
- Screwdriver
- Sander
- 60/80/120/220 grit sandpaper
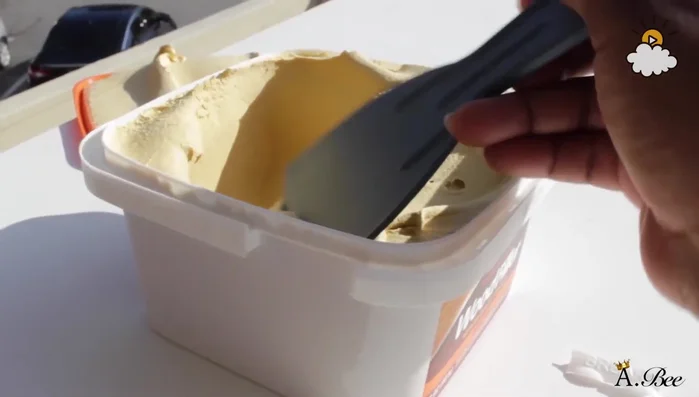
- Wood putty
- Primer
- Paint (BEHR Limousine Leather Satin)
- Microfiber towel
- Windex
- Furniture feet
- Triangle corner plates
- Dresser knobs
- Always disconnect the power to any electrical components before starting any work. This includes unplugging the TV and any other electronics you'll be using.
- Ensure the dresser is structurally sound before adding weight. Reinforce weak areas with wood glue and screws if necessary, especially if you plan on placing a heavy TV on top.
- Use appropriate safety gear like safety glasses and gloves when using power tools or handling sharp objects like saws or chisels.
Step-by-Step Instructions
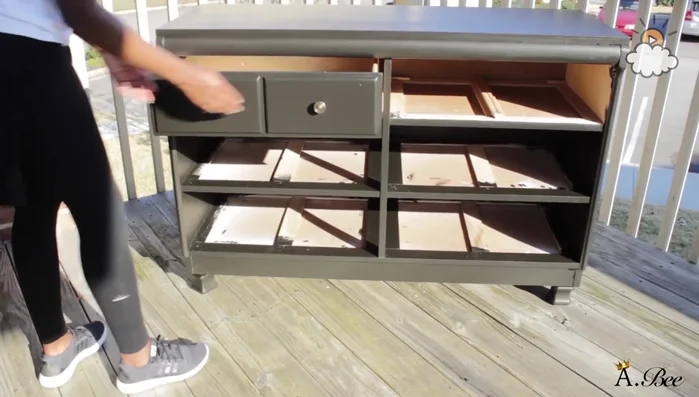
Prepare the Dresser
- Remove drawer knobs and drawer slides.

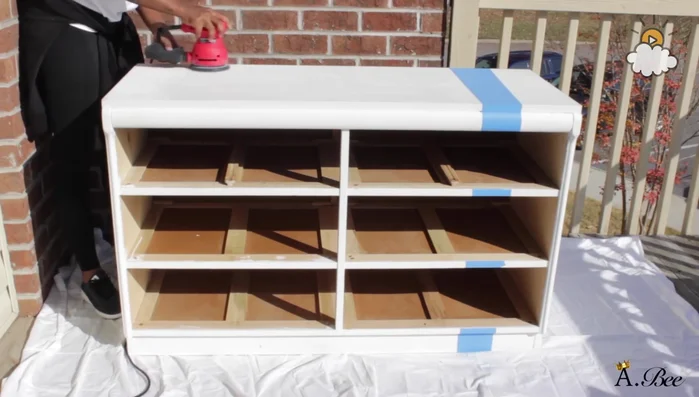
Prepare the Dresser Sanding and Repair
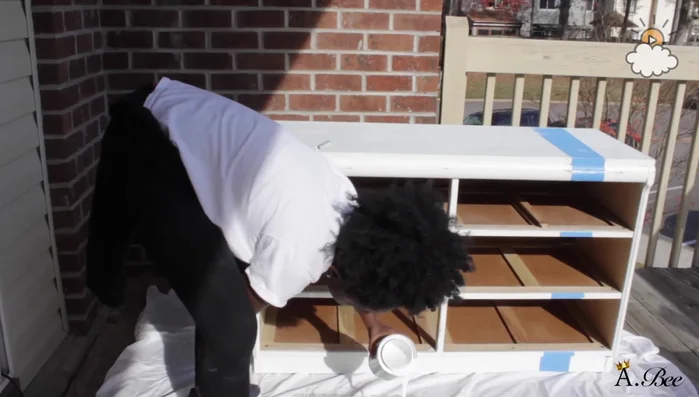
- Sand the dresser down to bare wood using different grit sandpaper (60/80/120/220).
- Fill any wood damage with wood putty, let it dry, and sand smooth.
Sanding and Repair Prepare for Painting
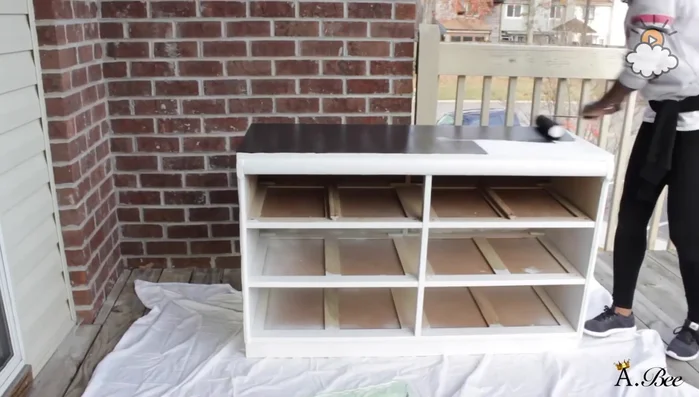
- Prime the entire dresser.
Prepare for Painting Painting
- Paint the dresser with your chosen color.
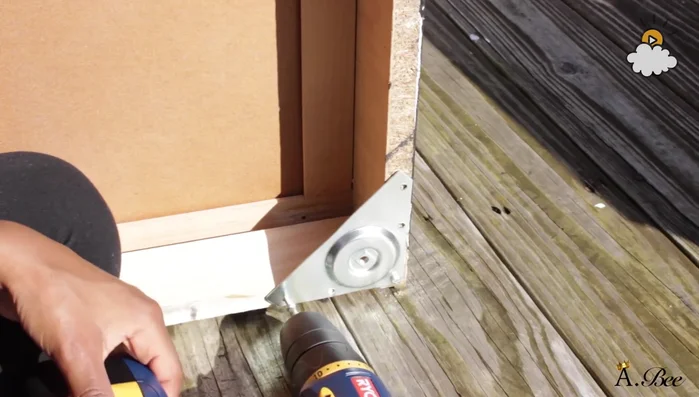
Painting Add Structure and Support
- Attach furniture feet using triangle corner plates.
- Add shelves (if desired).
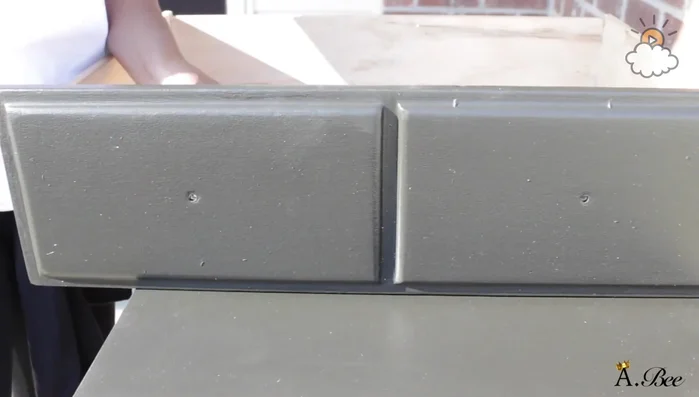
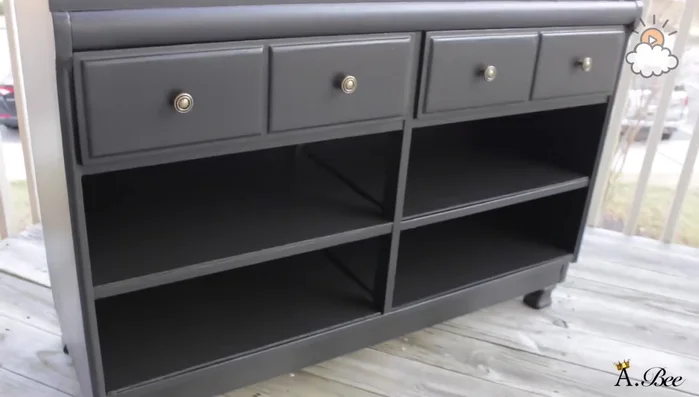
Add Structure and Support Finishing Touches
- Install new dresser knobs.
- Clean the dresser with a microfiber towel and Windex.
Finishing Touches

Read more: DIY Upcycled Bed Frame: A Step-by-Step Guide
Tips
- Sanding is crucial for a smooth finish. Don't skip this step!
- Priming prevents paint chipping and ensures better adhesion.