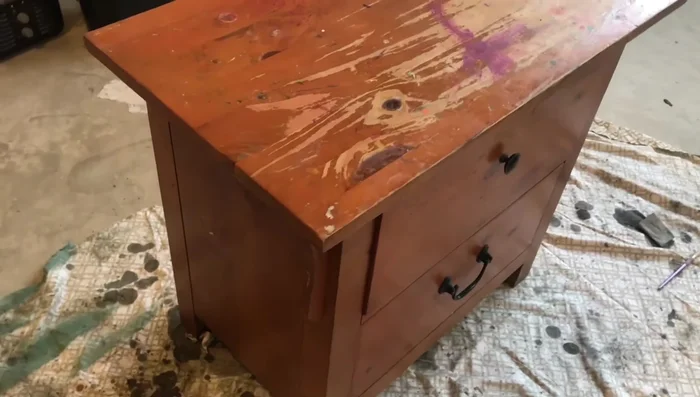
Tired of that old dresser taking up valuable space? Do you dream of a stylish, rustic bench perfect for your entryway or garden? Then get ready to unleash your inner craftsman! This project transforms a discarded dresser into a charming and functional bench, proving that upcycling can be both rewarding and aesthetically pleasing. With just a little time, effort, and a few readily available tools, you can completely revitalize an old piece of furniture and create a unique addition to your home decor. You'll be surprised at how easy it is to change the destiny of that unwanted dresser.
This step-by-step guide will walk you through the entire process, from prepping the dresser and removing unnecessary components to adding the finishing touches that will make your repurposed bench truly shine. We'll cover everything you need to know, ensuring a successful transformation no matter your DIY experience level. Let's get started!
Preparation and Safety Guidelines
- Dresser
- Plywood
- Crowbar
- Screws
- Staple gun
- Nail gun
- Ruler
- Table saw
- Miter saw
- Sandpaper
- Bondo
- Waverly paint (Hazelnut and Cashew)
- Folk Art paint (Savannah)
- Spackle
- Two-inch cushion
- Fabric
- Nail trim
- Dark Walnut stain
- Polyurethane
- Glue gun
- Hardware
- Always disconnect any electrical components (lights, power outlets) before starting any demolition or modification work. Failure to do so can result in serious injury or death.
- Use appropriate safety gear throughout the project, including safety glasses, gloves, and a dust mask. Wood dust can be harmful to your lungs.
- Ensure the dresser is stable and won't tip over during the transformation process. Use appropriate supports and ask for help if needed, especially when lifting heavy parts.
Step-by-Step Instructions
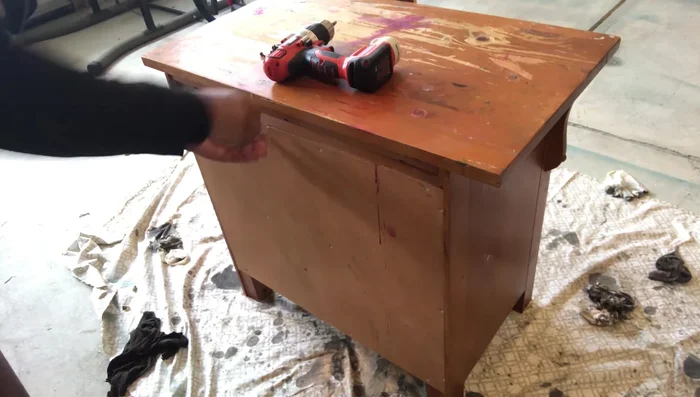
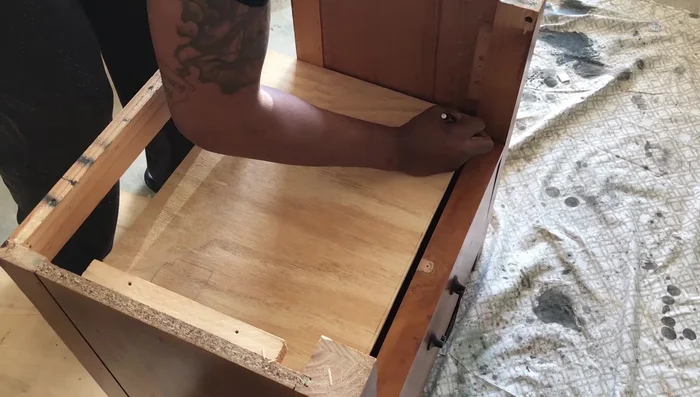
Prepare the Dresser
- Remove drawers and drawer tracks.
- Remove the back of the dresser (screws and staples).
- Remove the top of the dresser.

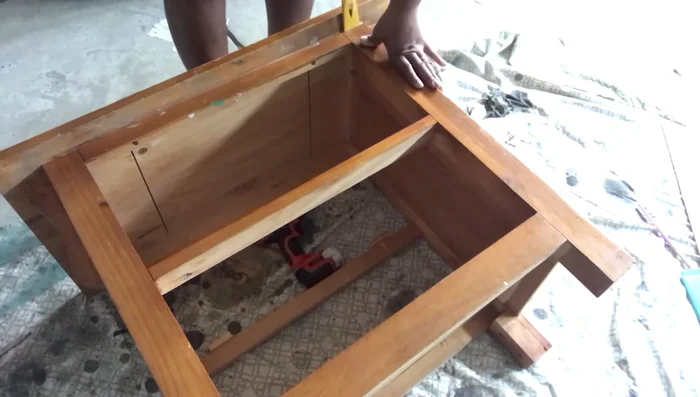
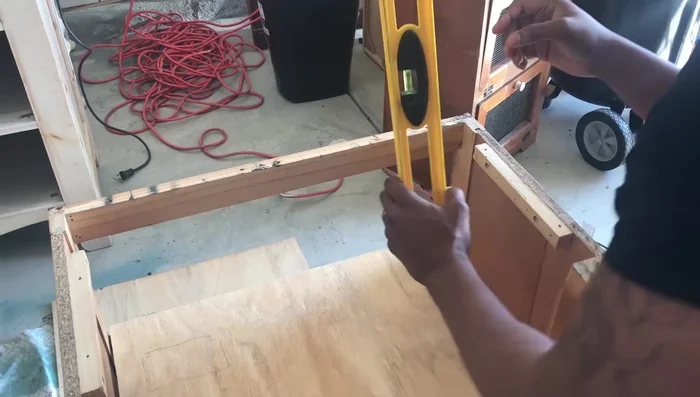
Prepare the Dresser Construct the Bench Base
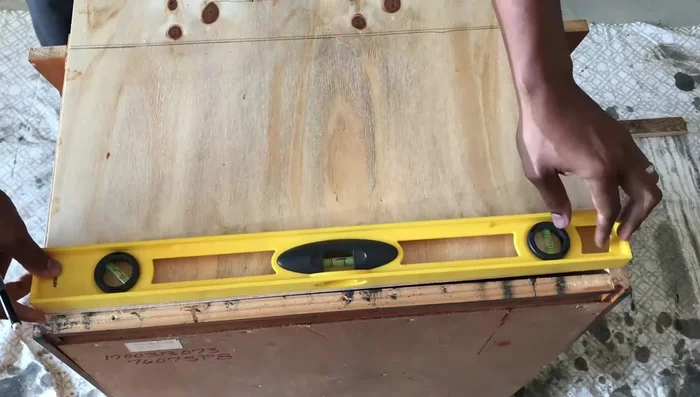
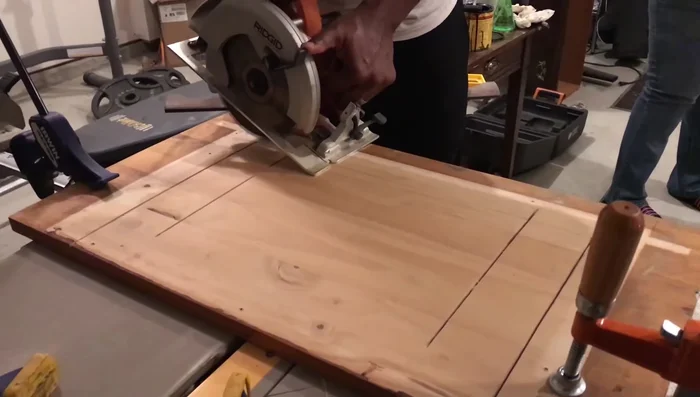
- Measure and cut plywood to fit inside the dresser.
- Cut out the sides of the plywood to allow for a snug fit.
- Measure and cut wooden pieces (10 inches each) for the bench's base.
- Attach the base pieces to the plywood using a nail gun.
Construct the Bench Base Initial Finishing and Painting
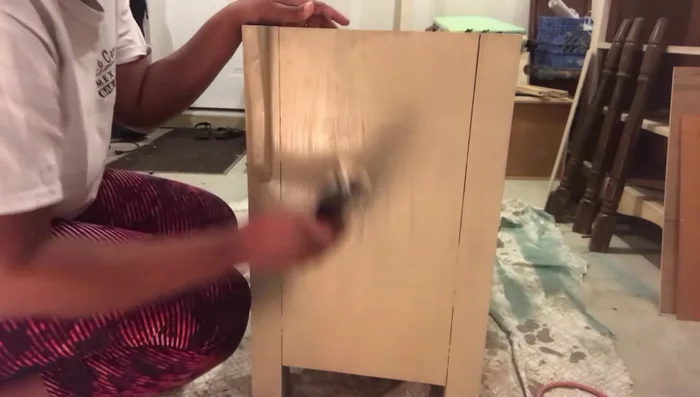
- Sand the top of the dresser and the base to create a smooth surface.
- Apply the first coat of Waverly paint (Hazelnut).
- Patch any holes using bondo, sand smooth, and apply a second coat of paint (Savannah).
Initial Finishing and Painting Decorative Painting
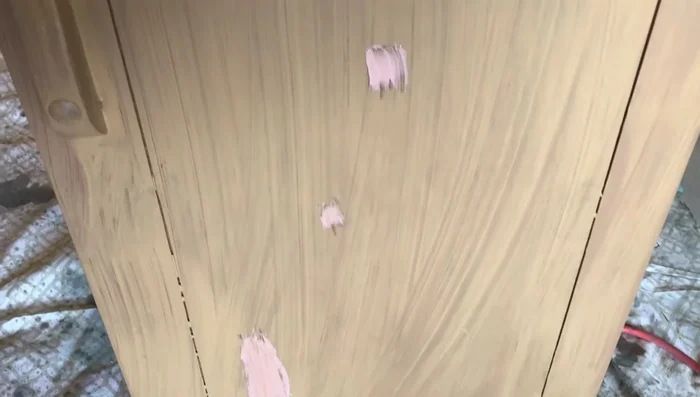
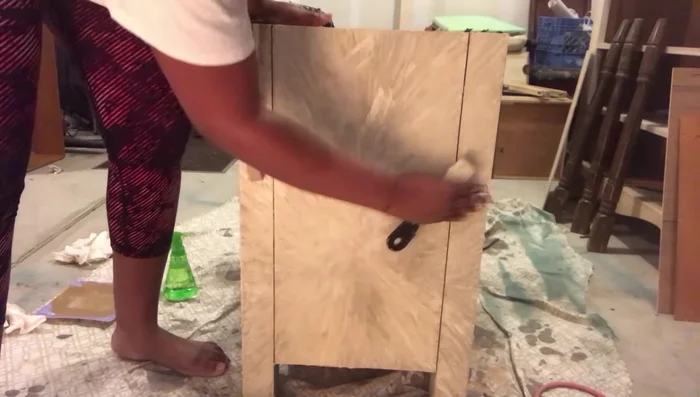
- Apply a third coat of Waverly paint (Cashew) using spackle to create a design.
- Blend any paint that seeped through using your hands.
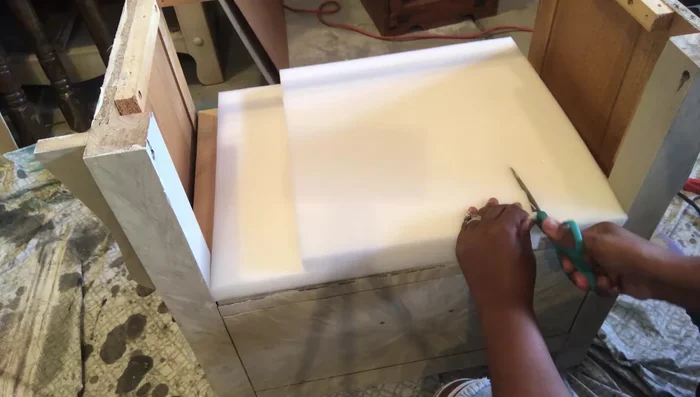
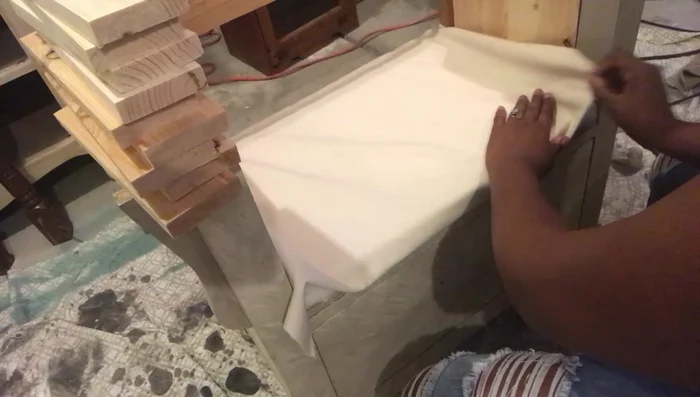
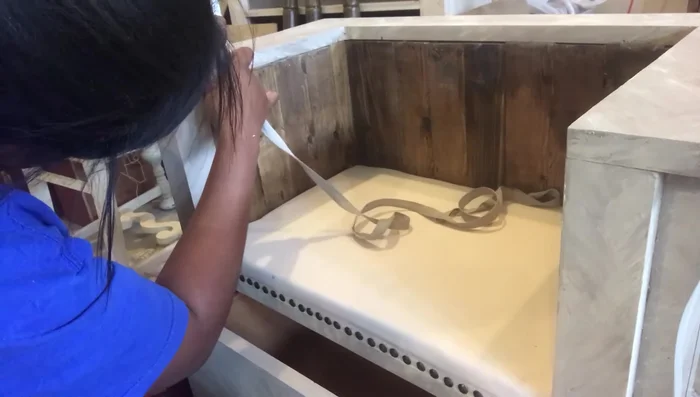
Decorative Painting Prepare and Attach the Cushion
- Cut and attach the cushion to the bench.
- Attach fabric to the cushion, pulling taut and securing with nail trim.
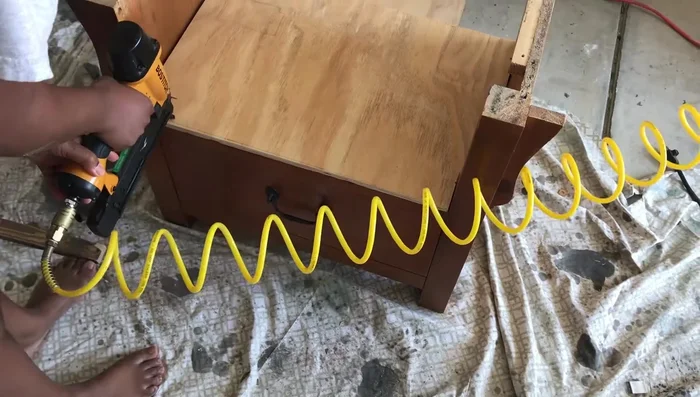
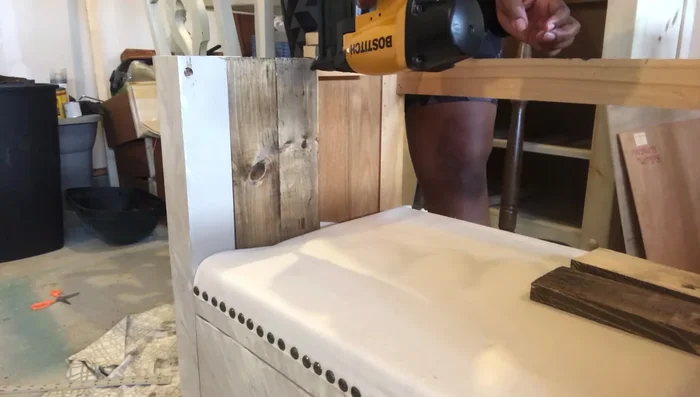
Prepare and Attach the Cushion Stain and Attach Wooden Planks
- Stain the wooden pieces with Dark Walnut stain and apply polyurethane.
- Attach the stained wooden planks to the dresser using a nail gun.
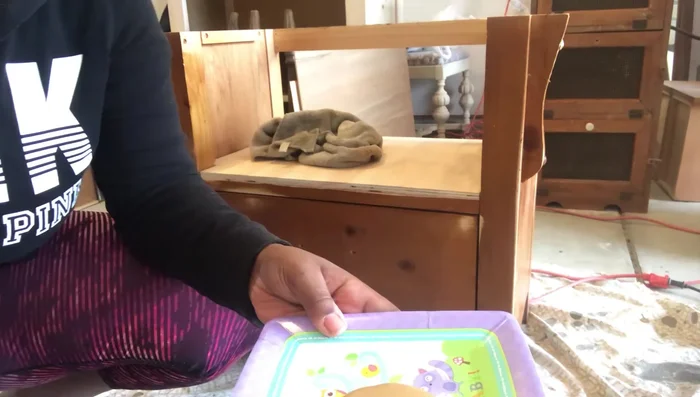
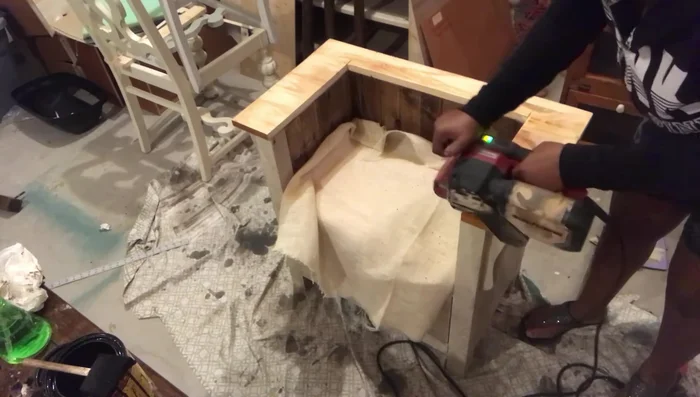
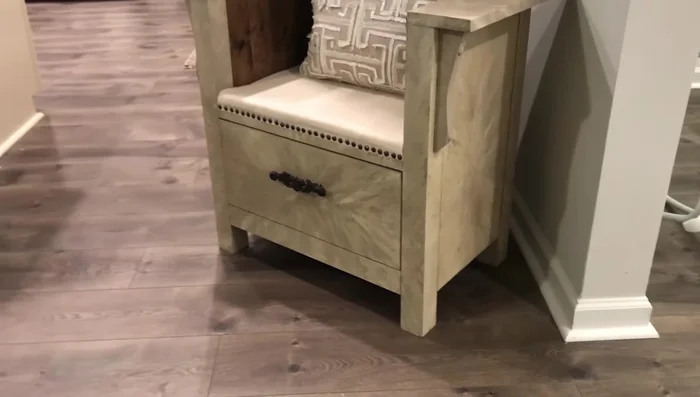
Stain and Attach Wooden Planks Complete the Top and Final Finishing
- Cut and attach the top piece of wood to complete the bench.
- Sand the entire bench, fill nail holes with bondo, and paint again.
- Glue trim around the top edge of the bench to cover gaps.
- Add hardware.
Complete the Top and Final Finishing

Read more: DIY Upcycled Bed Frame: A Step-by-Step Guide
Tips
- Use a little legwork to remove stubborn drawers.
- Water down thick paint for easier application.
- Wear safety shoes when using power tools.
- Pull fabric taut when attaching it to ensure a clean finish.