Tired of looking at that old dresser gathering dust in the garage or spare room? Don't consign it to the curb just yet! With a little creativity and elbow grease, that forgotten piece of furniture can be reborn as a stylish and functional coffee table. Upcycling is not only a fantastic way to reduce waste and contribute to a more sustainable lifestyle, but it also allows for incredible personal expression and the creation of unique pieces you won't find anywhere else. This project proves that a simple transformation can yield surprising results, turning a mundane piece into a cherished addition to your home decor.
This guide will walk you through a straightforward, step-by-step process to convert your old dresser into a charming coffee table. From preparing the dresser and choosing the right paint to adding finishing touches, we'll cover every detail to ensure your upcycling project is a success. Let's begin transforming that dresser into a beautiful, one-of-a-kind coffee table!
Preparation and Safety Guidelines
- Dresser
- Saw
- Screwdriver
- Wood plugs
- Screws
- Wood glue
- Nails
- Sandpaper
- Primer
- Spray paint
- Drill
- Drill bits
- Pegs
- Metal points
- Bondo
- Wood sticks (3/4 x 3/4)
- Always wear safety glasses and a dust mask when sanding and working with power tools. Wood dust is harmful to your lungs.
- Ensure the dresser is structurally sound before beginning the conversion. Check for wobbly drawers or weak joints and reinforce as needed.
- Use caution when handling power tools. Follow the manufacturer's instructions carefully and never rush the process.
Step-by-Step Instructions
Acquisition and Assessment
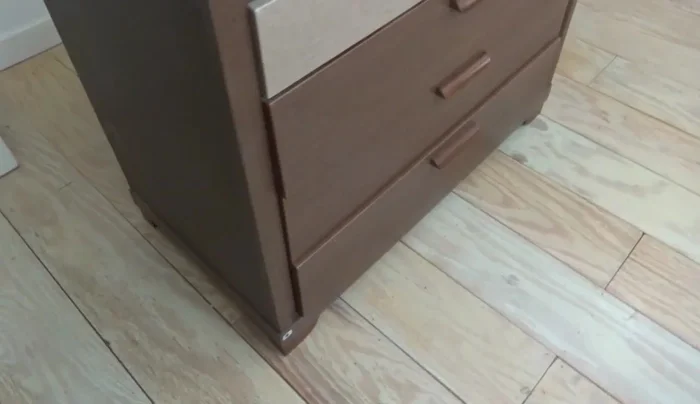
- Acquire a junky dresser (e.g., from Craigslist).
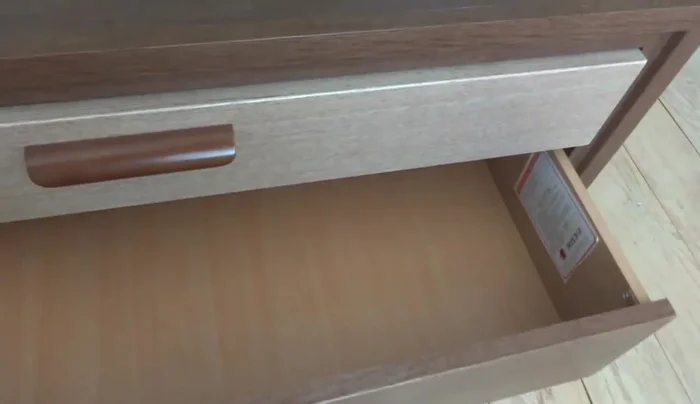
- Remove drawers and assess the dresser's condition. Determine if repairs are feasible or if a repurposing approach is necessary.

Acquisition and Assessment Measure and Cut
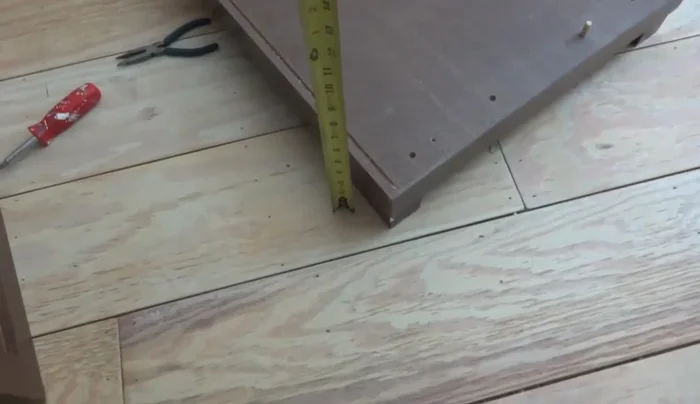
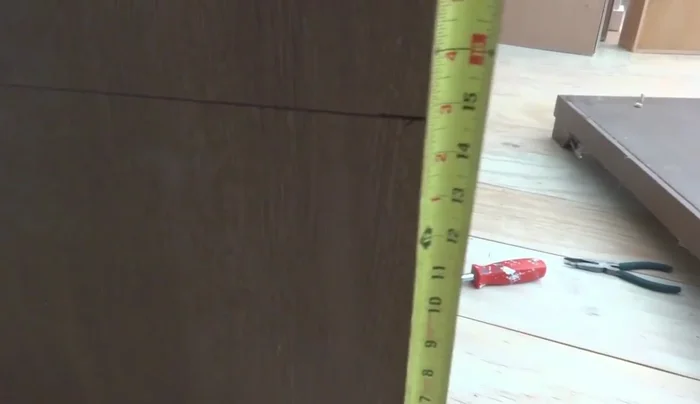
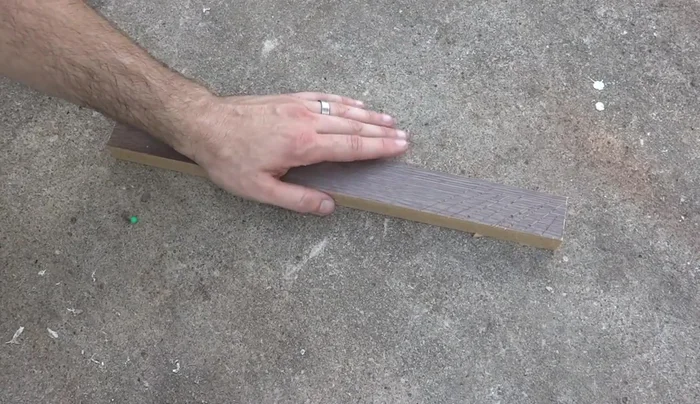
- Decide on the desired height for the coffee table. Measure and mark the cut line on the dresser sides.
- Cut the dresser down to the desired height using a saw.
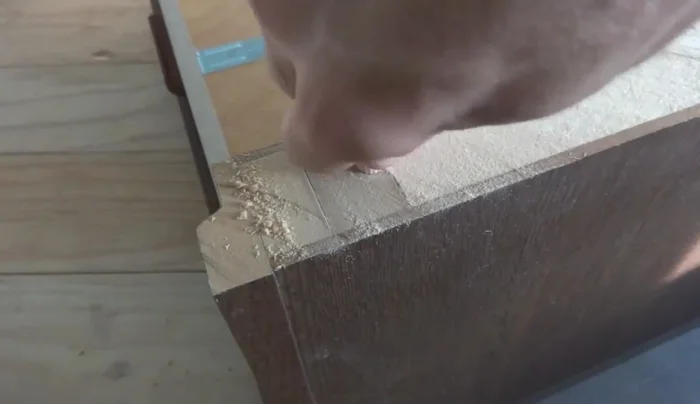
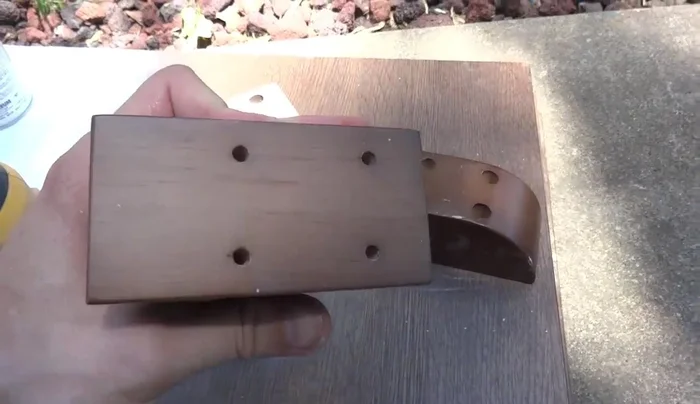
Measure and Cut Repair Imperfections
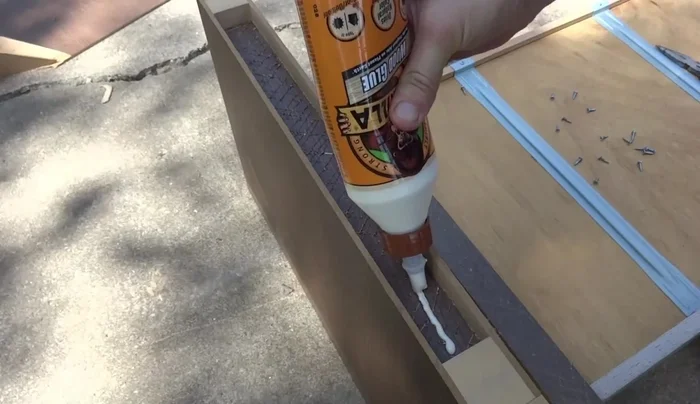
- Address any resulting divots or imperfections by removing the dresser sides to access solid wood, then creating and inserting wood plugs to fill the gaps. Secure with glue and screws.
- Rough up the surface of the plugs and the inside of the dresser for better glue adhesion.
- Glue and securely attach the plugs into the gaps, adding screws for extra reinforcement.
- Cut off any excess plug material flush with the dresser surface.
Repair Imperfections Create Back Cover
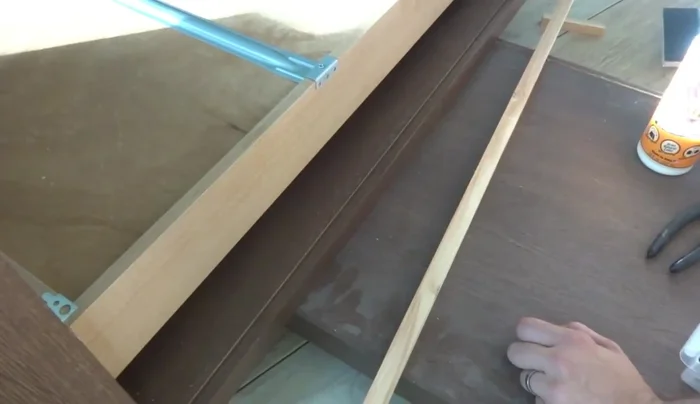
- Create a back cover to conceal the drawer mechanism. Cut and attach a piece of wood to the back of the dresser, using small wood sticks for support.
Create Back Cover Surface Preparation
- Prepare the top and bottom pieces for finishing by lightly sanding the laminate to improve paint adhesion and smoothing rough areas with bondo.
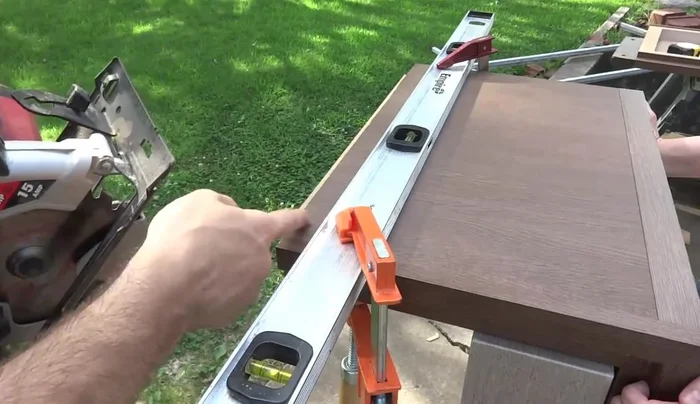
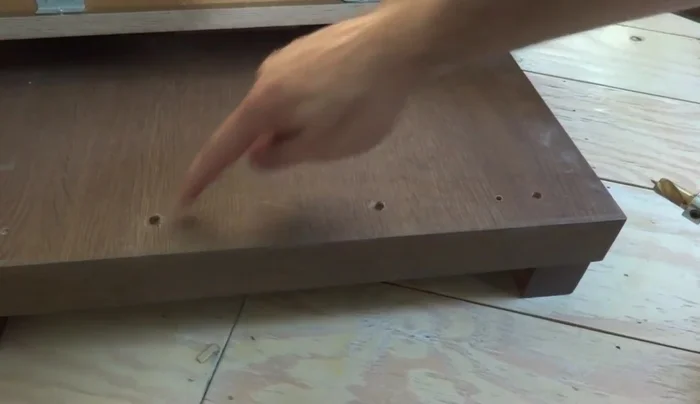
Surface Preparation Reattach Top and Bottom
- Reuse existing holes for new pegs to reattach the top and bottom. Use a drill bit set to half the depth of the peg, and metal points to transfer the peg hole locations to the upper piece.
- Drill holes for the pegs in the top piece. Insert and secure the pegs.
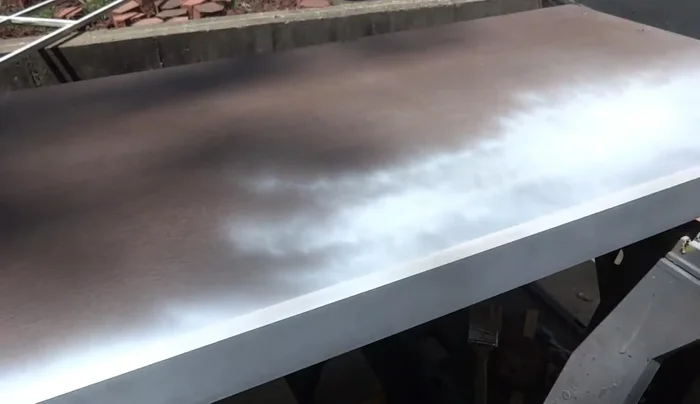
Reattach Top and Bottom Priming and Finishing
- Prime the entire dresser using spray primer for better adhesion to the laminate.
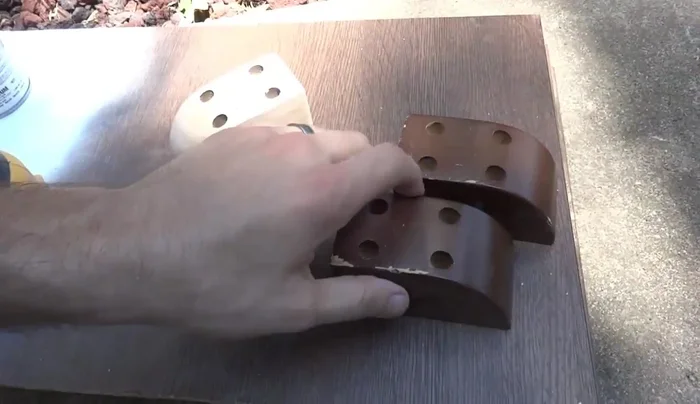
- Sand the feet and handles to raw wood.
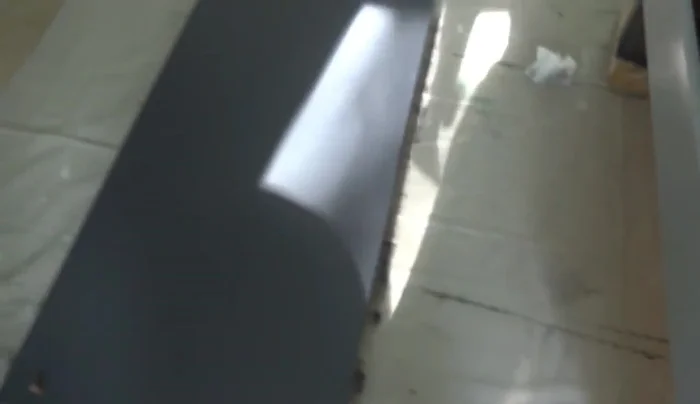
Priming and Finishing Painting
- Paint the dresser, using a dark grey for the main body and lighter grey for details.
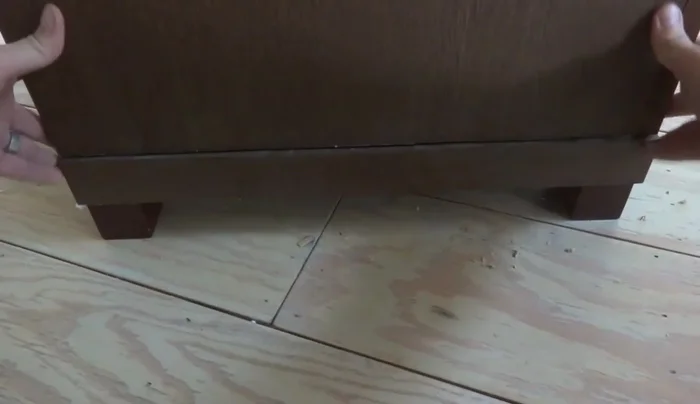
Painting Final Assembly
- Assemble the coffee table by attaching the legs and handles.
Final Assembly

Read more: DIY Upcycled Bed Frame: A Step-by-Step Guide
Tips
- Use spray primer for better adhesion to laminate surfaces.
- Roughing up surfaces before gluing improves adhesion.
- Consider adding screws for extra reinforcement when using glue.