Drywall damage is a common homeowner headache, and while small nail holes are easily patched, larger holes can seem daunting. The sight of a gaping hole in your wall might inspire panic, but with the right tools and techniques, even significant drywall repair is a manageable DIY project. Forget calling expensive contractors; mastering the art of drywall patching can save you time, money, and a whole lot of frustration. This article empowers you to tackle those unsightly blemishes with confidence.
This guide will equip you with the knowledge and skills needed to patch large drywall holes, transforming damaged walls into flawlessly smooth surfaces. From preparing the area and cutting the patch to applying compound and sanding to a perfect finish, we'll walk you through each step of the process in a clear, easy-to-follow manner. Ready to transform that eyesore into a thing of the past? Let's get started with our step-by-step guide.
Preparation and Safety Guidelines
- Drywall knife
- Metal ruler
- Knee kicker (optional)
- Water-resistant styrofoam insulation
- Drywall screws (1 1/4 inch)
- Mesh drywall joint tape
- Joint knife (flexible preferred)
- Sponge sanders (wet and dry)
- Drywall compound (dust control type recommended)
- Taping knife
- Paint (not included in steps)
- Molding
- Always wear safety glasses and a dust mask to protect your eyes and lungs from drywall dust and debris.
- Use caution when working with sharp tools like utility knives and drywall saws. Always cut away from yourself and be mindful of your fingers.
- Ensure adequate ventilation in your workspace. Drywall dust can be irritating and prolonged exposure is unhealthy.
Step-by-Step Instructions
Prepare the Area
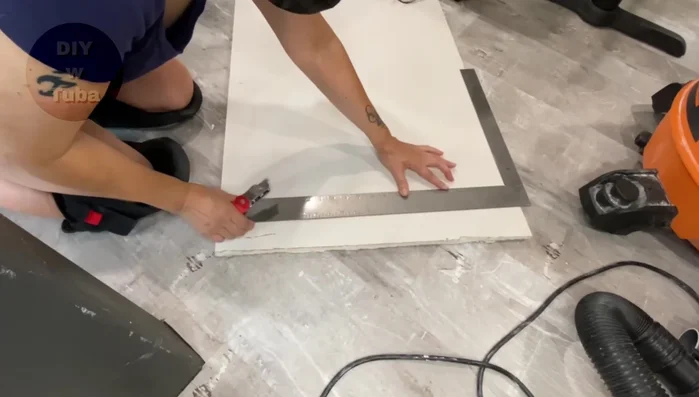
- Measure and cut a replacement drywall piece.
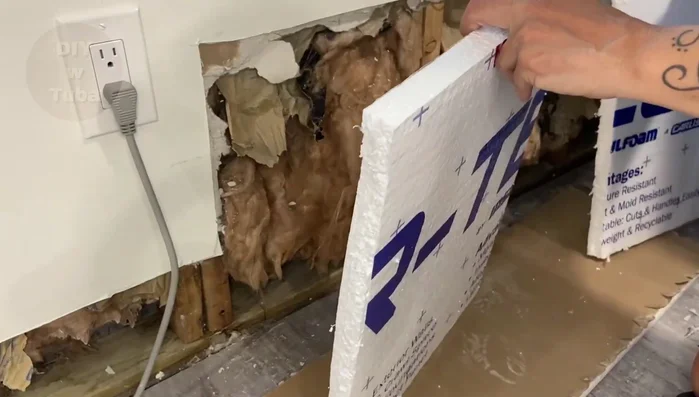
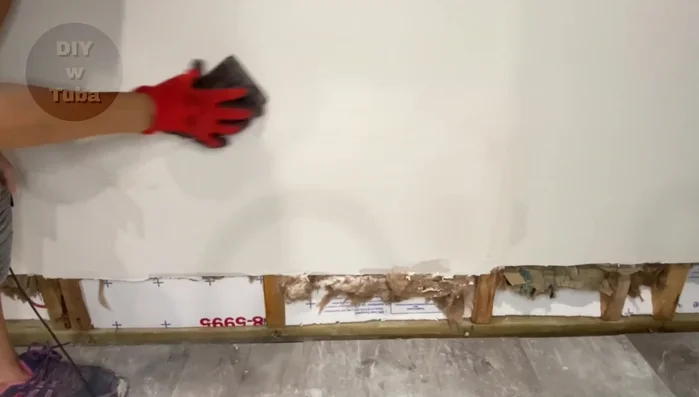
- Replace old, damaged insulation with water-resistant styrofoam insulation.

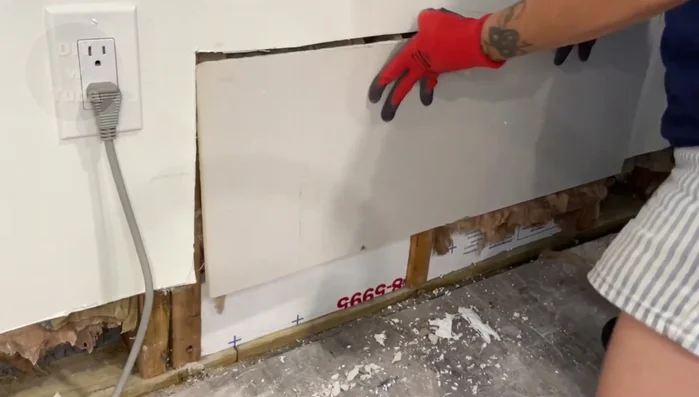
Prepare the Area Install Drywall Patch
- Install the new drywall piece, ensuring it's secured to a stud.
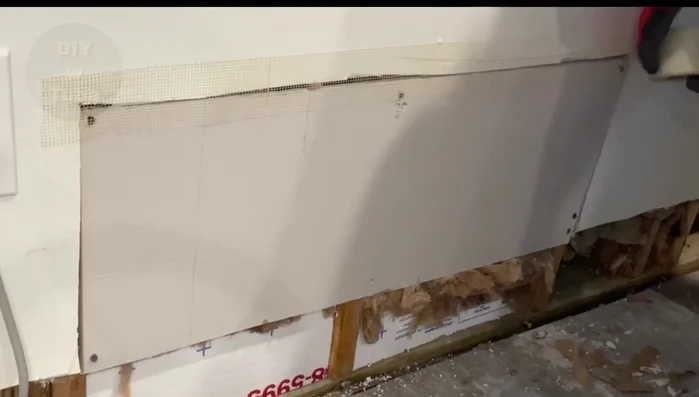
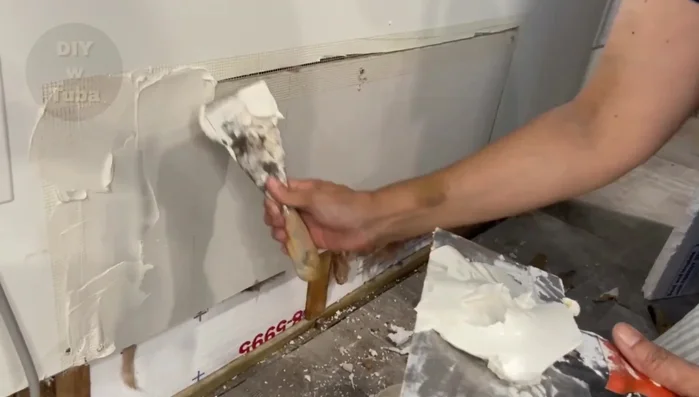
Install Drywall Patch Tape and Mud (First Coat)
- Tape the seams with mesh drywall joint tape, avoiding overlaps.
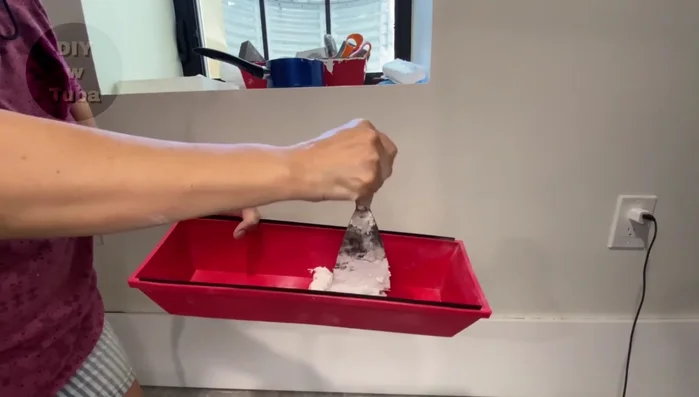
- Apply the first coat of drywall compound, focusing on filling gaps and cavities.
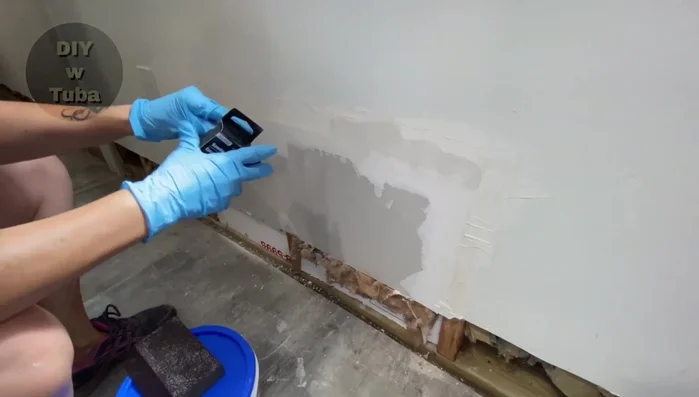
Tape and Mud (First Coat) Sand and Smooth (First Coat)
- Sand the first coat after it dries, removing high points.
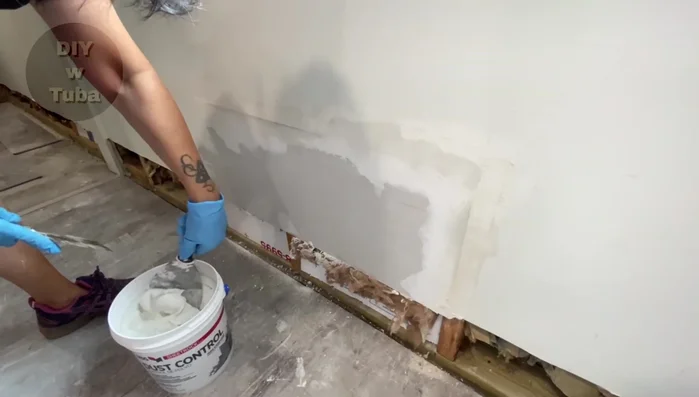
Sand and Smooth (First Coat) Tape and Mud (Second Coat)
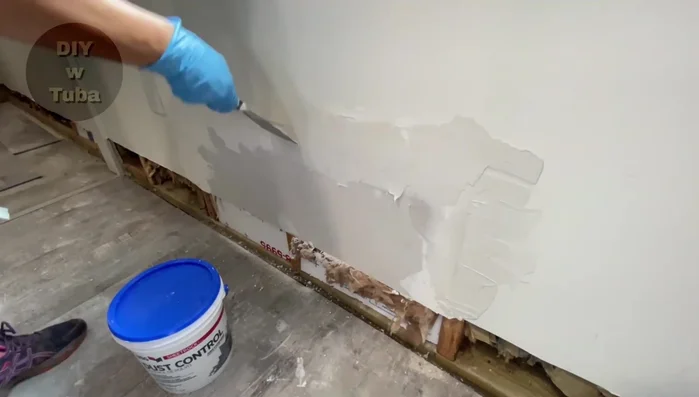
- Apply a second coat of drywall compound (dust control type recommended), spreading it evenly along the tape line.
Tape and Mud (Second Coat) Sand and Smooth (Second Coat)
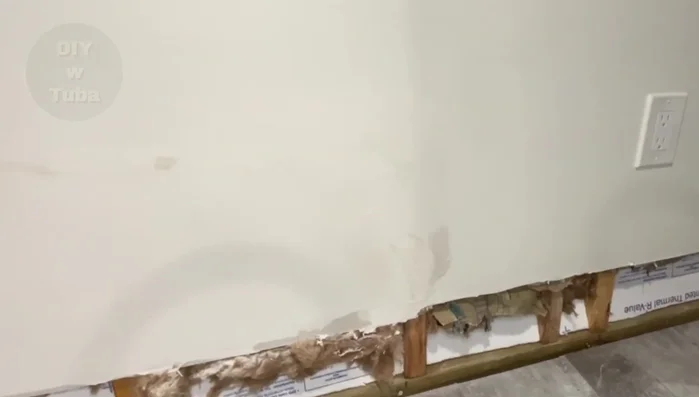
- Sand the second coat, achieving a smooth surface.
Sand and Smooth (Second Coat) Final Finishing Coat
- Apply a skim coat for a final smooth finish.
- Sand the skim coat for a final, smooth finish.
Final Finishing Coat Finishing Touches
- Install molding.
- Paint (not shown in video).
Finishing Touches
Read more: Fixing Drywall Nail Pops: A Quick and Easy DIY Guide
Tips
- Cut drywall by scoring the front surface and then splitting it from the back.
- When installing large drywall pieces, ensure they are secured to a stud.
- Use a flexible knife for applying compound.
- Push compound into gaps to create an anchor when it dries.
- Use a dust control type compound to minimize dust during sanding.