Finishing a basement, attic, or garage often reveals a glaring need: more electrical outlets. Adding a new circuit to an unfinished space might seem daunting, but with careful planning and the right tools, it's a manageable DIY project that can significantly enhance your space's functionality and value. Forget the frustration of extension cords snaking across the floor and embrace the convenience of readily available power. This often overlooked aspect of home improvement can drastically improve your workspace or living area, eliminating power limitations and providing a safe and efficient electrical system.
This guide will walk you through the entire process of safely and correctly adding a new circuit to your unfinished space, from obtaining necessary permits to connecting the final wire. Whether you're adding outlets for power tools in your workshop, lighting fixtures in your basement, or extra receptacles in a new home office, this step-by-step guide will empower you to complete this project confidently and correctly. Let’s get started!
Preparation and Safety Guidelines
- 3/4 inch EMT conduit
- 4x4 electrical boxes
- conduit connectors
- pipe cutter
- flathead screwdriver
- hammer
- specialty wrenches
- adjustable supports
- bubble level
- Sharpie marker
- 3/16 inch masonry drill bit
- hammer drill
- 12 gauge THHN wire (black, white)
- Wago 221 lever nuts
- wire strippers
- outlet tester
- GFCI outlet
- duplex outlets
- faceplate
- Always turn off the power at the breaker box before working on any electrical wiring. Failure to do so can result in serious injury or death.
- If you are unsure about any aspect of electrical work, consult a qualified electrician. Improper wiring can cause fires and other hazards.
- Use appropriate personal protective equipment (PPE), including safety glasses and work gloves, throughout the entire process.
Step-by-Step Instructions
Safety First
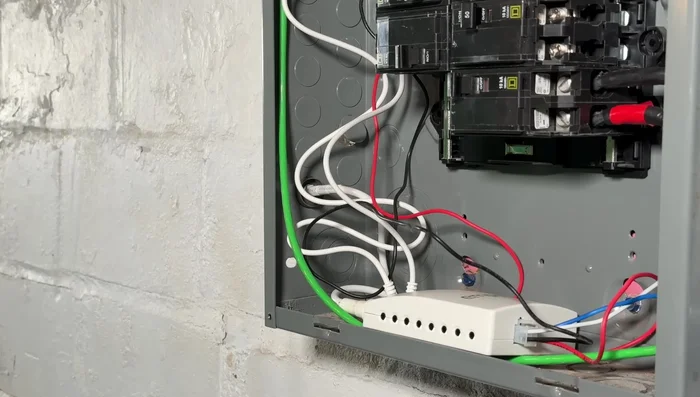
- Turn off the main power disconnect before working on the electrical panel.

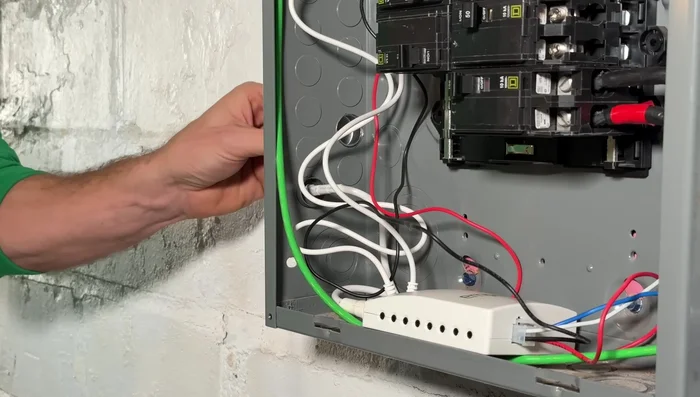
Safety First Prepare the Panel
- Enlarge the knockout hole on the panel to accommodate the conduit connector. Thread in the connector and secure it using a flathead screwdriver and hammer, or a specialty wrench.
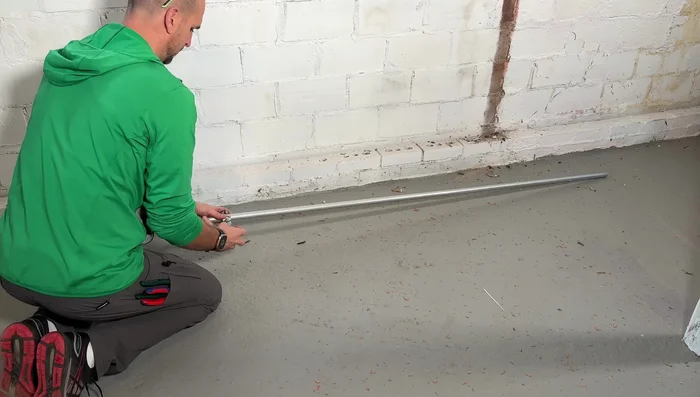
Prepare the Panel Install Conduit
- Cut the conduit to the desired lengths using a pipe cutter. Deburr the cut ends to prevent wire damage.
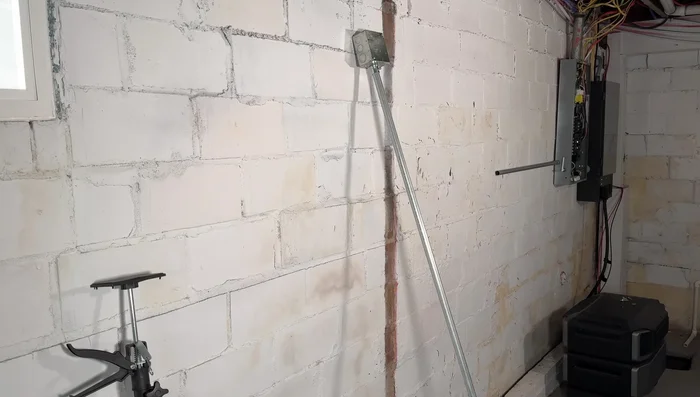
- Assemble the conduit run, using adjustable supports to keep it level and away from the wall. Mark and drill mounting holes for the boxes in the brick wall.
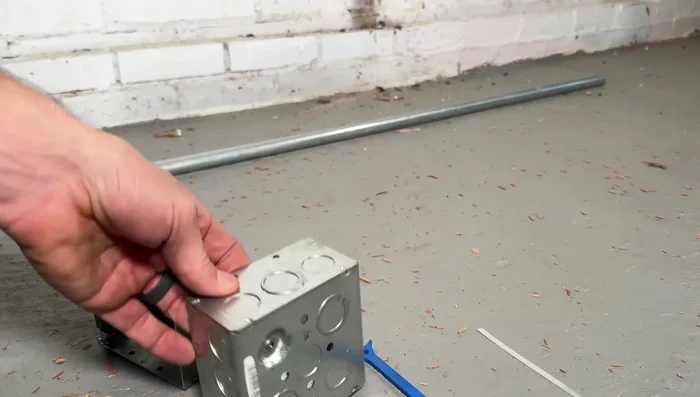
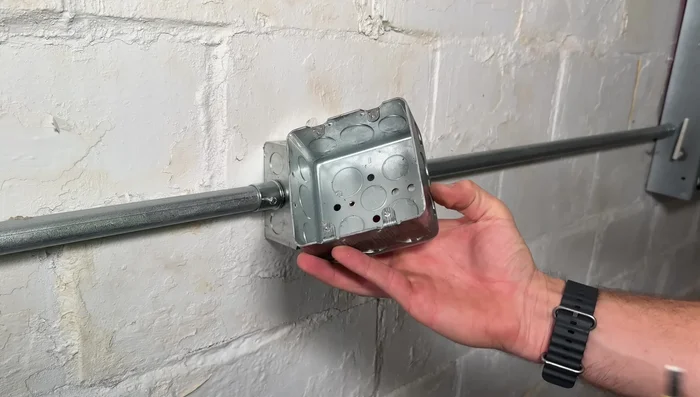
Install Conduit Mount Electrical Boxes
- Install conduit connectors in the 4x4 boxes after removing and enlarging the knockouts. Secure the connectors using either a flathead screwdriver and hammer, or a specialty wrench.
- Securely mount the 4x4 boxes to the wall using appropriate fasteners.
Mount Electrical Boxes Wire the Outlets
- Pull the 12-gauge THHN wires (hot and neutral) through the conduit. Do not use non-metallic sheathed cable (Romex) inside EMT conduit in damp or wet locations.
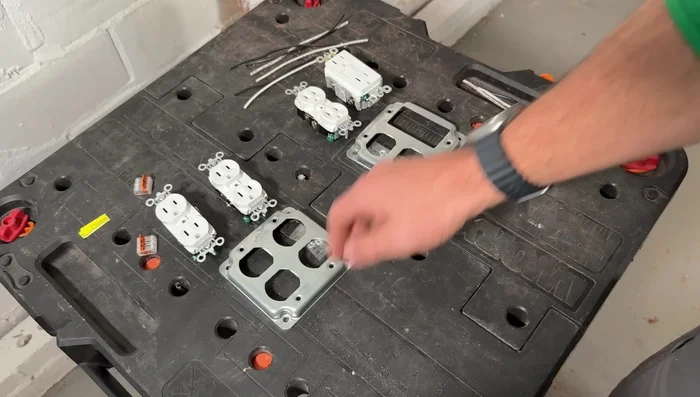
- Wire the outlets using pigtails and Wago lever-nut connectors on the faceplate *before* mounting the outlets in the boxes. This simplifies wiring in unfinished spaces.
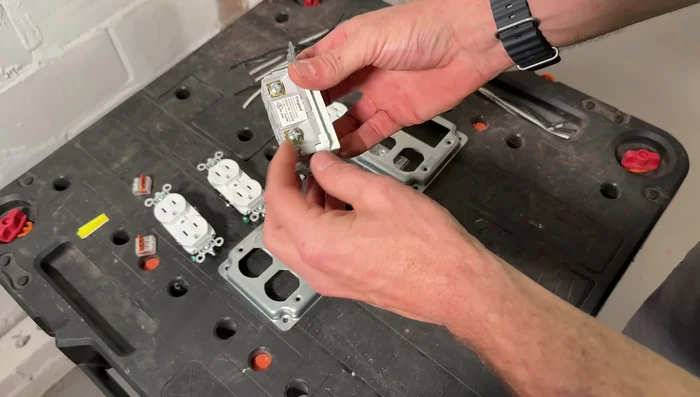
Wire the Outlets Connect to Outlets and Panel
- Connect the wires to the GFCI and duplex outlets according to the wiring diagram (line side, load side).
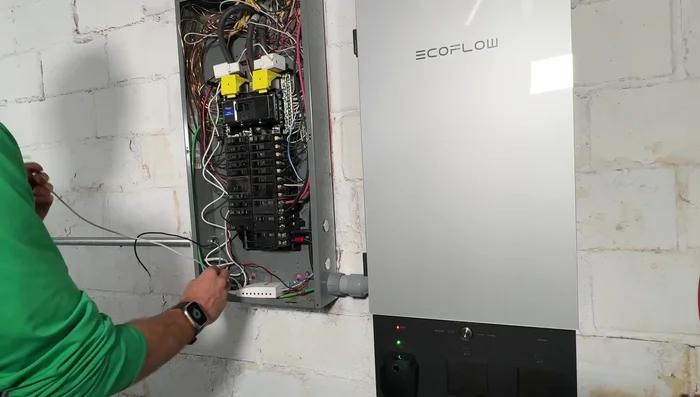
- Connect the hot and neutral wires to the breaker in the panel.
Connect to Outlets and Panel Final Touches
- Mount the outlets and faceplates to the boxes.
- Test the circuit using an outlet tester to ensure proper grounding and GFCI functionality.
Final Touches
Read more: Installing an Outdoor GFCI Receptacle: A Step-by-Step Guide
Tips
- Use a specialty wrench for easier tightening of conduit connectors.
- Hand-tighten the box mounting screws to avoid stripping the holes.
- Use conduit hangers for added support, especially on longer runs.
- In this specific setup, a dedicated ground wire is not required due to the metal conduit and self-grounding outlets.
- Always check with your local inspector for code compliance.