Are your kitchen drawers stuck, squeaky, or simply outdated? Do they look worn and detract from the overall aesthetic of your beautiful kitchen? Replacing your kitchen cabinet drawers is a surprisingly achievable DIY project that can dramatically upgrade the look and functionality of your space. With a little elbow grease and the right tools, you can transform your kitchen from drab to fab, boosting its value and your enjoyment of this central hub. Forget expensive kitchen renovations; a simple drawer replacement can provide a significant return on investment and a huge sense of accomplishment.
This simple guide walks you through the process of choosing the right replacement drawers, measuring accurately, and installing them seamlessly into your existing cabinet frames. Ready to breathe new life into your kitchen? Let's dive into the step-by-step instructions that will guide you through this rewarding DIY project.
Preparation and Safety Guidelines
- Scrap wood
- Screws
- Kreg Jig
- Drawer slides (Amazon)
- MDF sheet
- Countersink bit
- Clamps
- Sandpaper (120 grit)
- Drill
- Combination square
- Always disconnect power to the area before starting any electrical work. This includes removing or installing any electrical components within the cabinets.
- Wear safety glasses and gloves to protect yourself from sharp edges, splinters, and debris.
- Use appropriate tools for the job. Improper tools can lead to damage to your cabinets, injuries, and a poor final product.
Step-by-Step Instructions
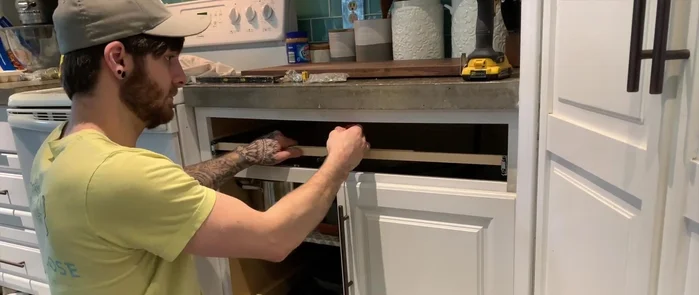
Prepare the Cabinet
- Empty the drawer.
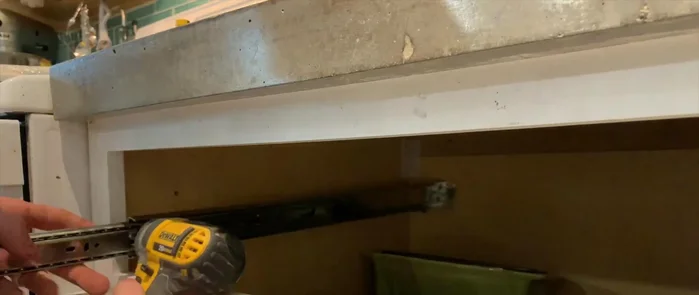
- Remove old drawer slides.
- Attach supporting wood to cabinet for new slide mounting.
- Mount new drawer slides to the cabinets.

Prepare the Cabinet Build the Drawer Box
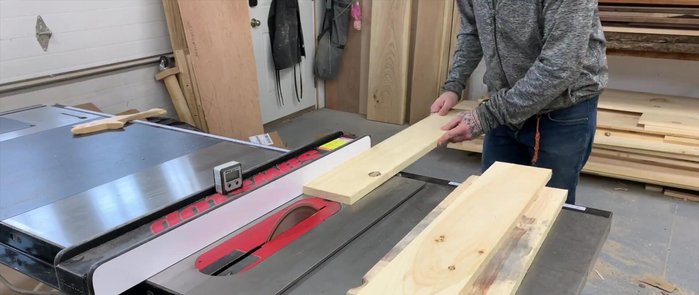
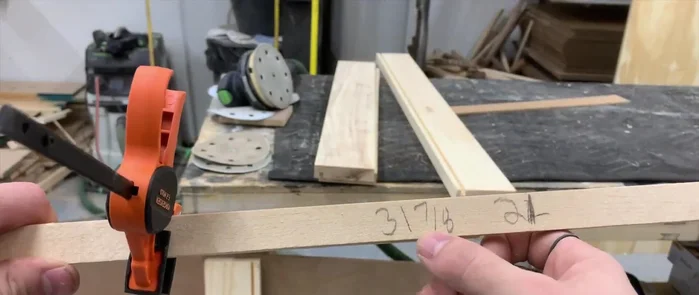
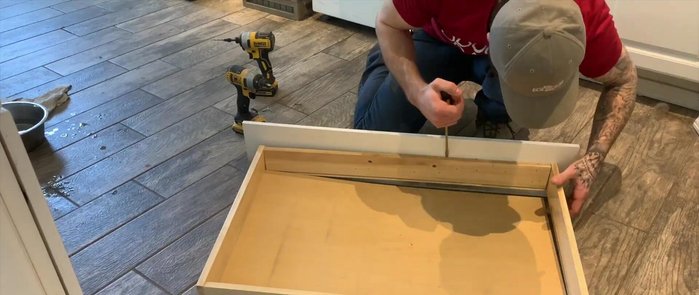
- Measure the drawer dimensions.
- Cut drawer pieces to size (using scrap wood).
- Cut grooves in the drawer pieces for assembly.
- Assemble the drawer using a Kreg Jig and wood glue.
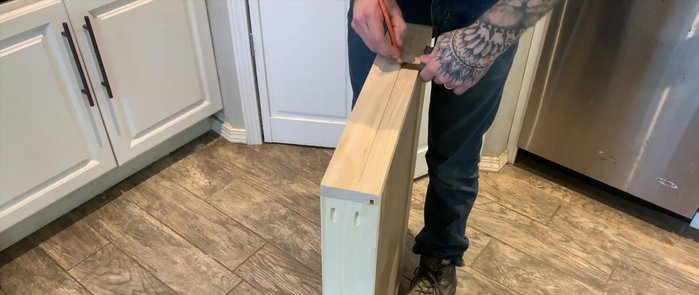
Build the Drawer Box - Cut the assembled drawer to final dimensions.
- Measure and cut the bottom MDF panel.
- Test fit all drawer parts.
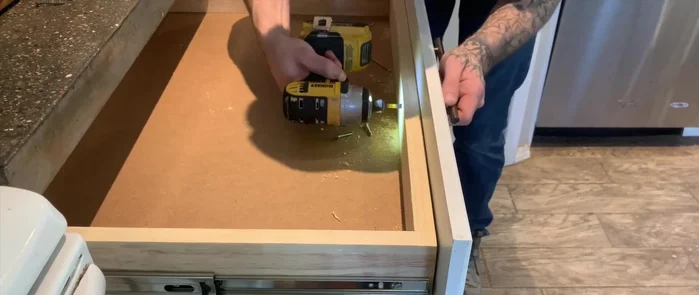
Build the Drawer Box Attach Hardware and Install
- Attach drawer front.
- Install the new drawer slides onto the drawer.
- Attach the drawer face.
- Install the drawer handle.
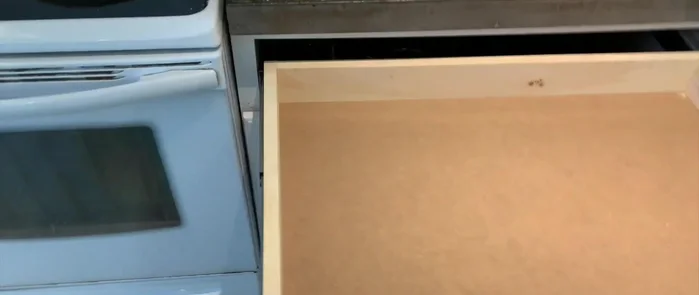
Attach Hardware and Install - Install the completed drawer into the cabinet.
Attach Hardware and Install


Read more: Silence that Squeaky Bed: A Complete Fix-It Guide
Tips
- Use a countersink bit for smoother screw installation.
- Ensure the supporting wood piece for slides is level.
- For square drawer assembly, check measurements during construction.
- Don't overtighten screws when assembling the drawer or installing the handle.