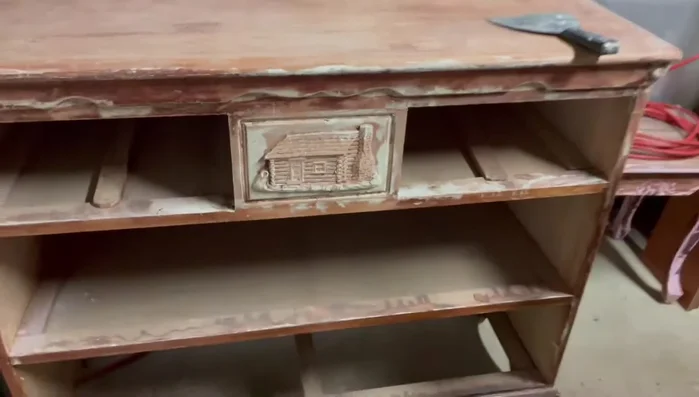
Transforming a tired, old dresser into a charming kitchen island is a fantastic way to inject character and practicality into your cottage-style kitchen. This classic makeover project offers a unique blend of rustic charm and modern functionality, breathing new life into a forgotten piece of furniture while adding valuable counter space and storage. Imagine the delightful contrast of weathered wood against sleek, modern appliances, creating a kitchen that's both aesthetically pleasing and highly efficient. This isn't just about saving money; it's about crafting a truly personal and one-of-a-kind addition to your heart of the home.
This DIY project is surprisingly straightforward, even for novice renovators, and requires readily available materials and tools. We'll guide you through each step, from initial assessment and preparation to the final finishing touches, resulting in a beautiful, custom-built kitchen island that perfectly complements your cottage aesthetic. Ready to get started? Let’s dive into the detailed, step-by-step process!
Preparation and Safety Guidelines
- Dresser
- Sandpaper
- Citrus stripper
- White lightning cleaner
- Hammer
- Plywood
- 1x4 boards
- Wood glue
- Clamps
- Nails
- Nail gun
- Butcher block countertop
- Drawer pulls
- Dixie mud
- Dixie Bell Boss paint
- Minwax stain
- Hemp seed oil
- Miter saw
- Screwdriver
- Always disconnect the dresser from any electrical outlets before starting any modifications. Failure to do so could result in serious injury or death.
- Wear appropriate safety gear throughout the project, including safety glasses and a dust mask. Working with wood and old paint can release harmful particles.
- Ensure the dresser is structurally sound before beginning the conversion. Reinforce any weak areas with appropriate supports (wood braces, etc.) to prevent collapse during use as a kitchen island.
Step-by-Step Instructions
Prepare the Dresser
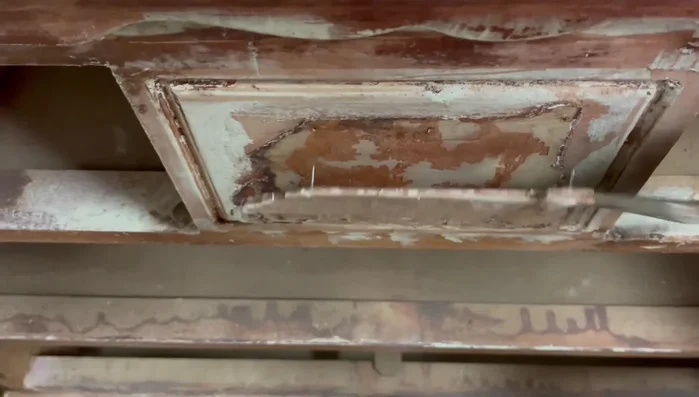
- Remove unwanted parts from the dresser.
- Strip old paint and sand down the dresser.
- Clean the dresser thoroughly.
- Sand everything down and prepare for painting.

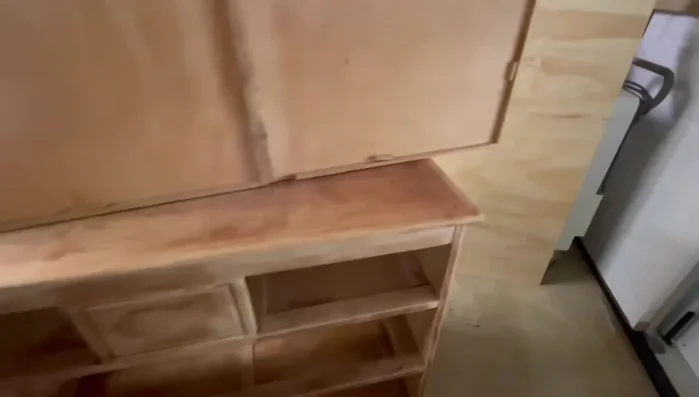
Prepare the Dresser Construct the Island Frame
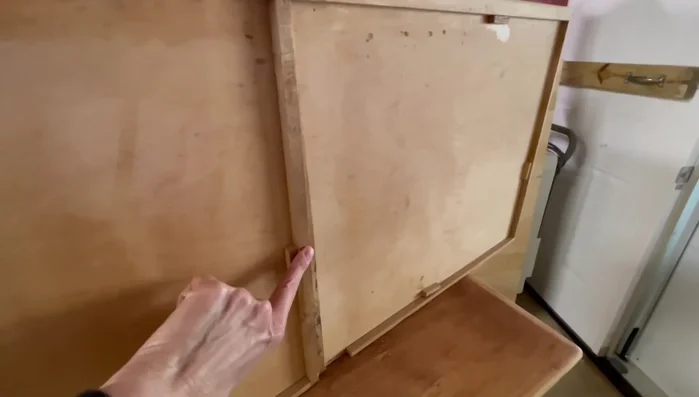
- Replace the back of the dresser with plywood.
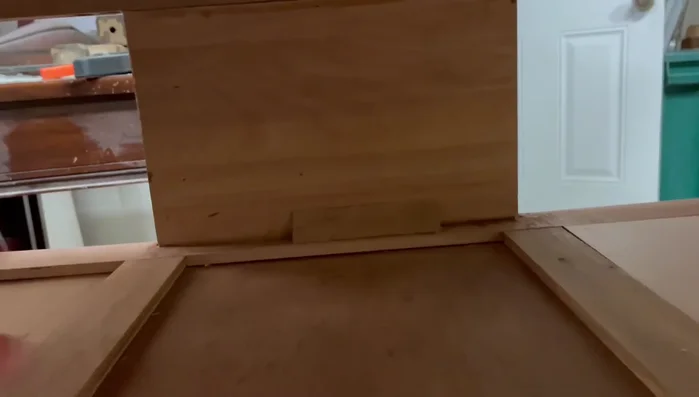
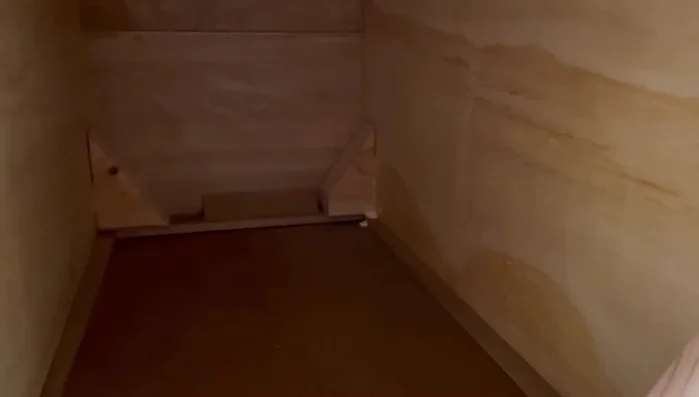
- Add supports for the butcher block top.
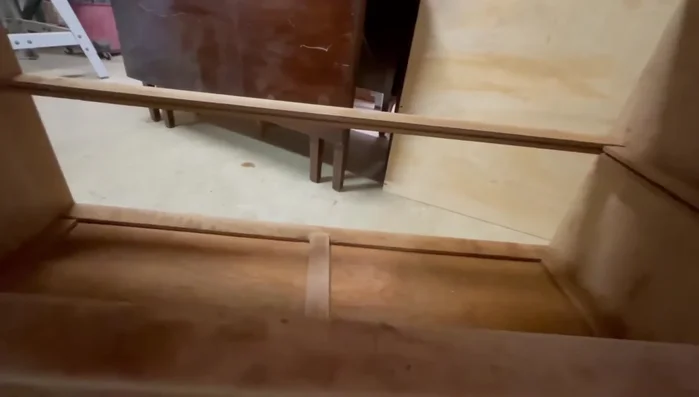
- Replace missing drawer runners and add stops for baskets.
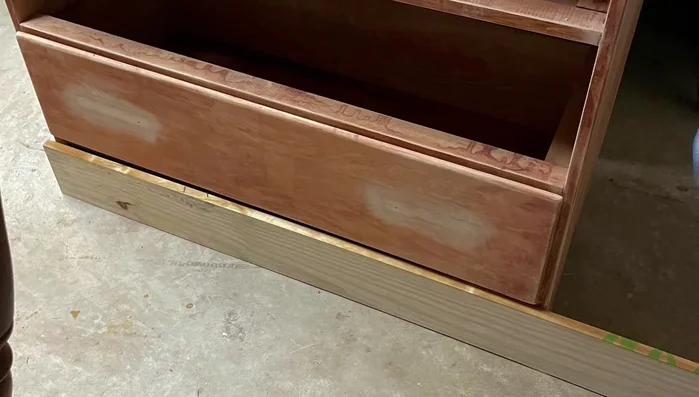
- Replace the top molding with 1x4 boards for a cleaner look.
Construct the Island Frame - Add a new piece of plywood to the back to cover any gaps and for additional support.
- Glue and nail support blocks to the inside of the dresser to support the butcher block.
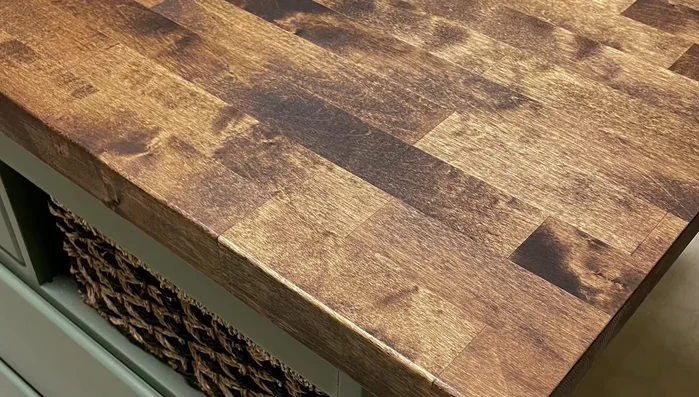
Construct the Island Frame Install Countertop and Trim
- Install the butcher block countertop.
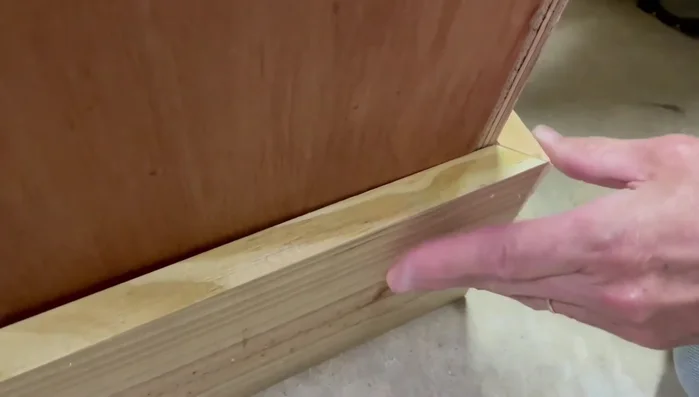
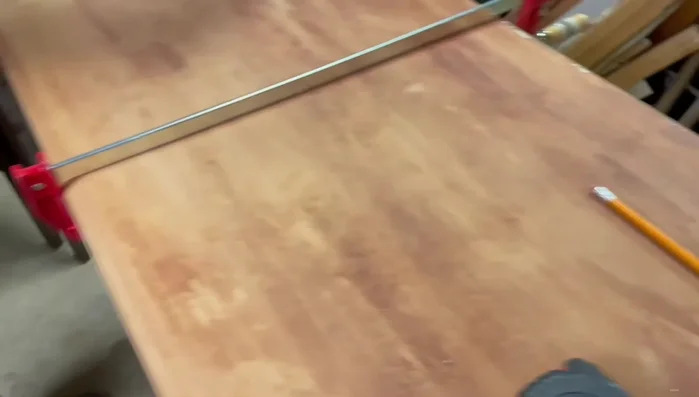
- Attach the bottom trim using mitered cuts.
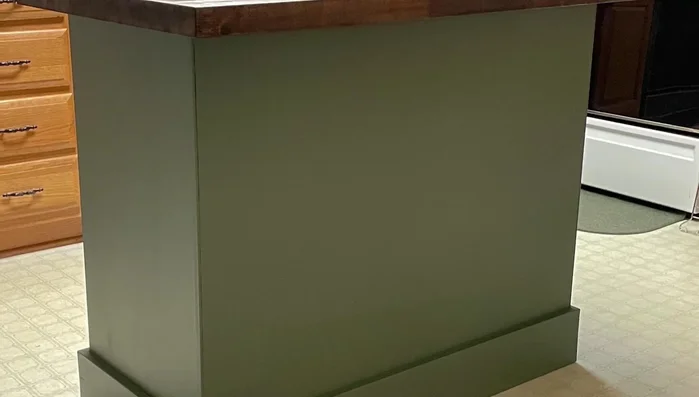
Install Countertop and Trim Finishing Touches
- Paint the dresser and stain the butcher block top.
- Add drawer pulls and baskets.
- Seal the butcher block top.
Finishing Touches


Read more: DIY Upcycled Bed Frame: A Step-by-Step Guide
Tips
- When choosing plywood for the back, select a piece with minimal blemishes.
- Space the back slightly off the floor to allow for wood expansion and contraction.
- Use what you have on hand; repurpose materials from other projects whenever possible.